
Bedroom Makeover on a Budget
My lovely client Anya hadn’t done much with the bedroom since moving into her first home. She wanted to keep her furniture and light fixture, continue with a blue colour scheme, and make things more comfortable for her partner Amit who had since moved in. She also wanted to keep all the updates under $1000.
This sounds like a lot of money, but new bedding alone can cost upwards of $200, most rugs are in the $300-$400 range, and the minute you say “window treatments” that’s another few hundred right there. But we nearly pulled it off with a little patience, persistence, luck, and creativity — and you can too!
Identify what needs to be added, removed, or changed
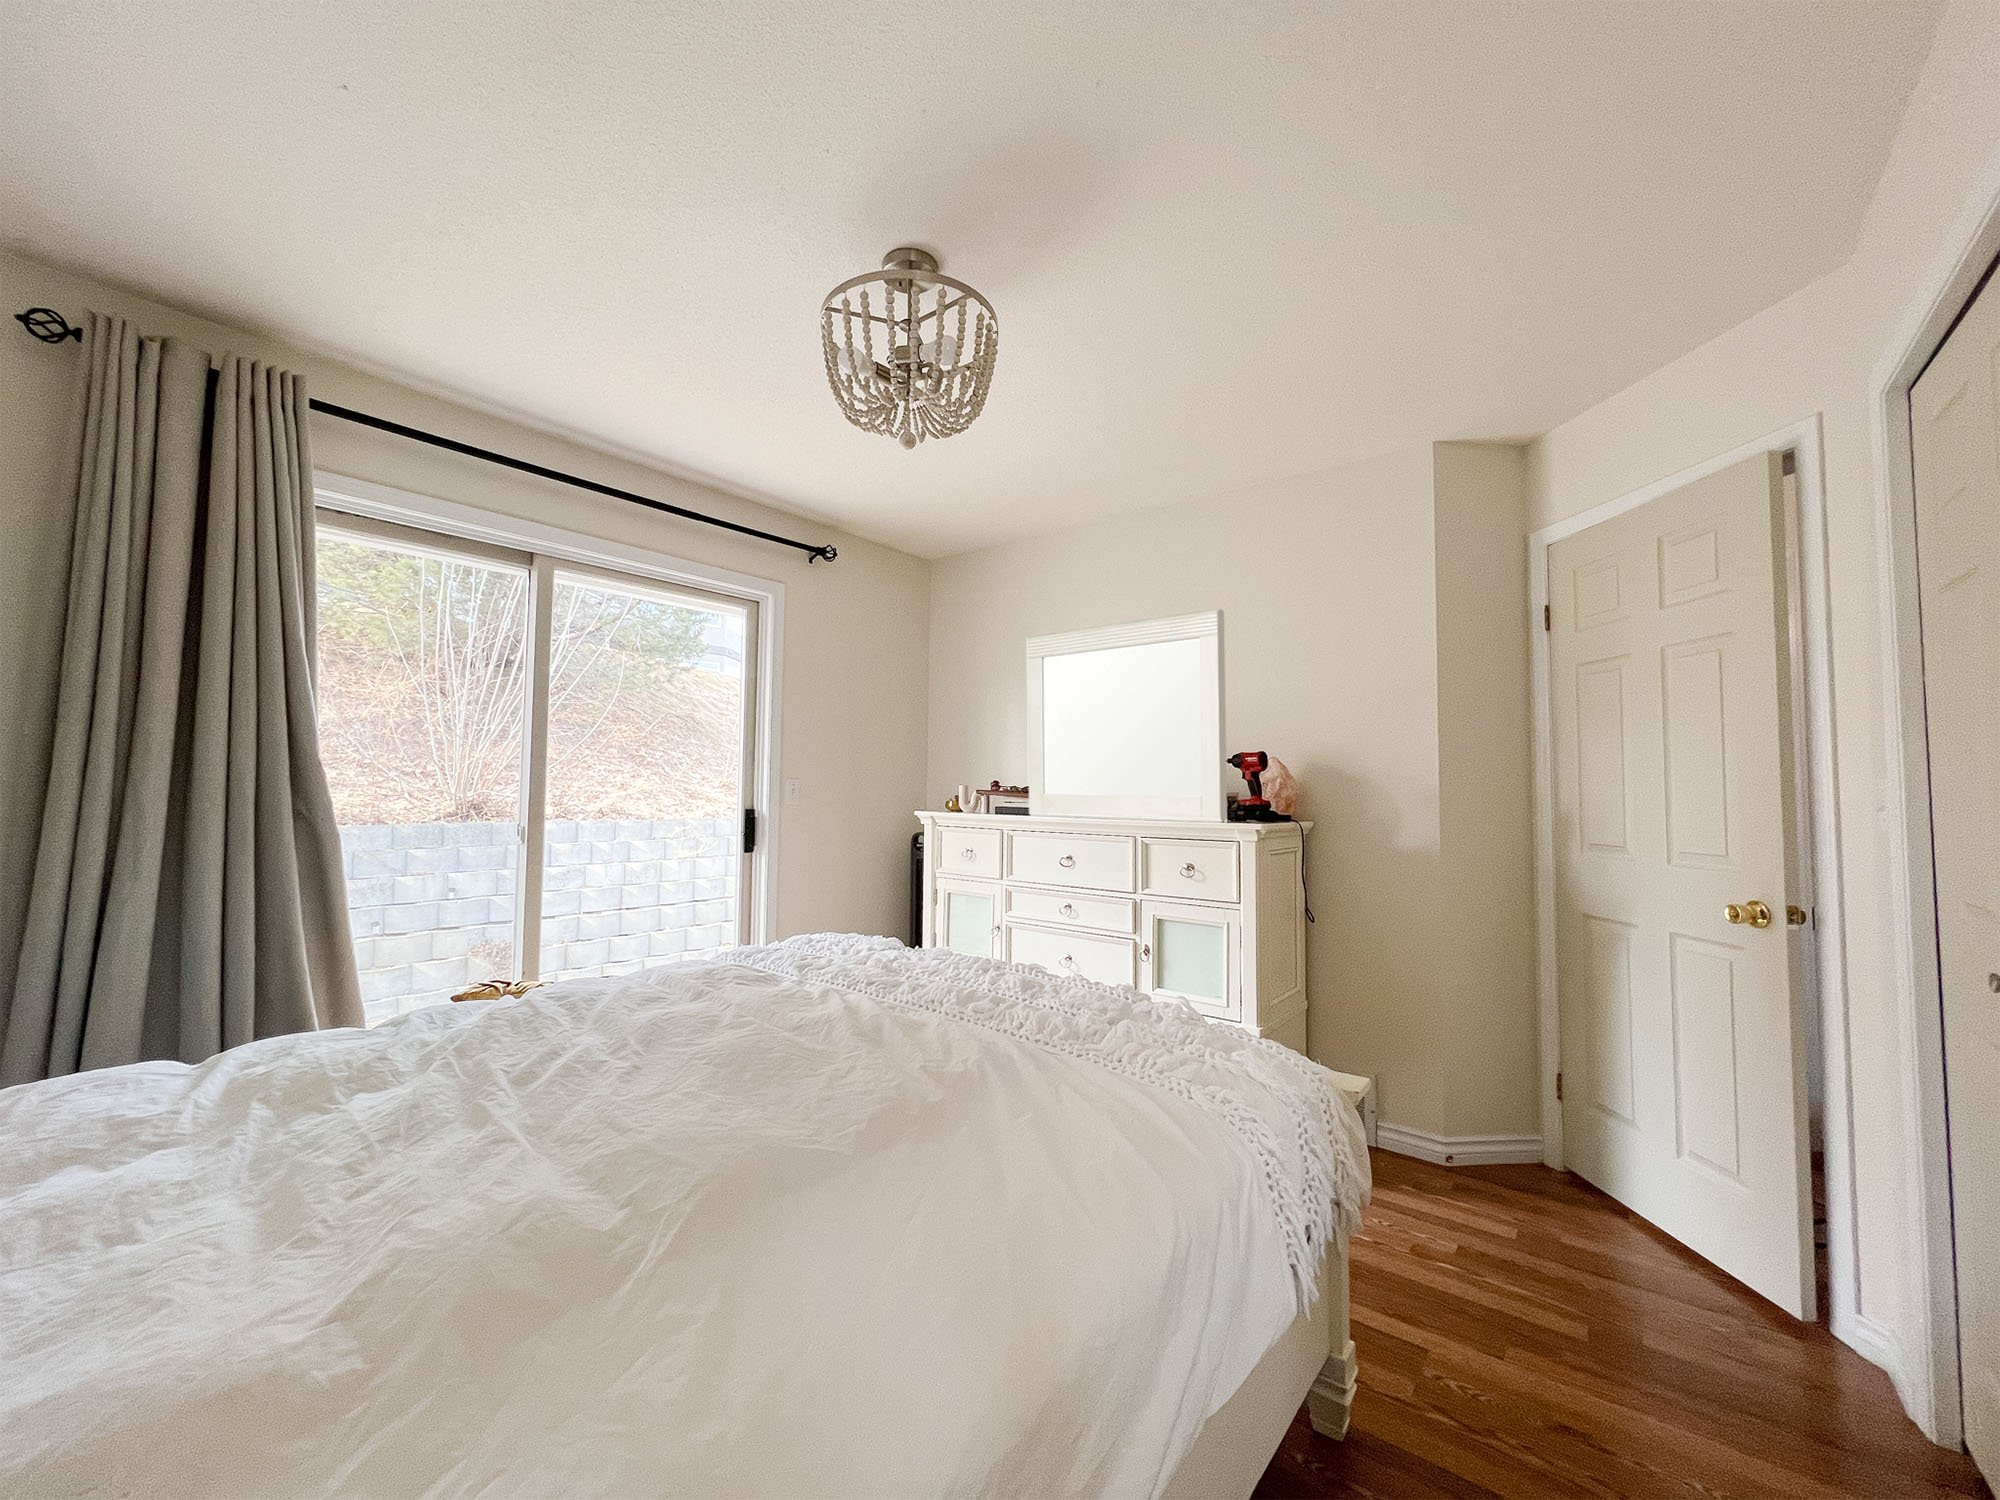
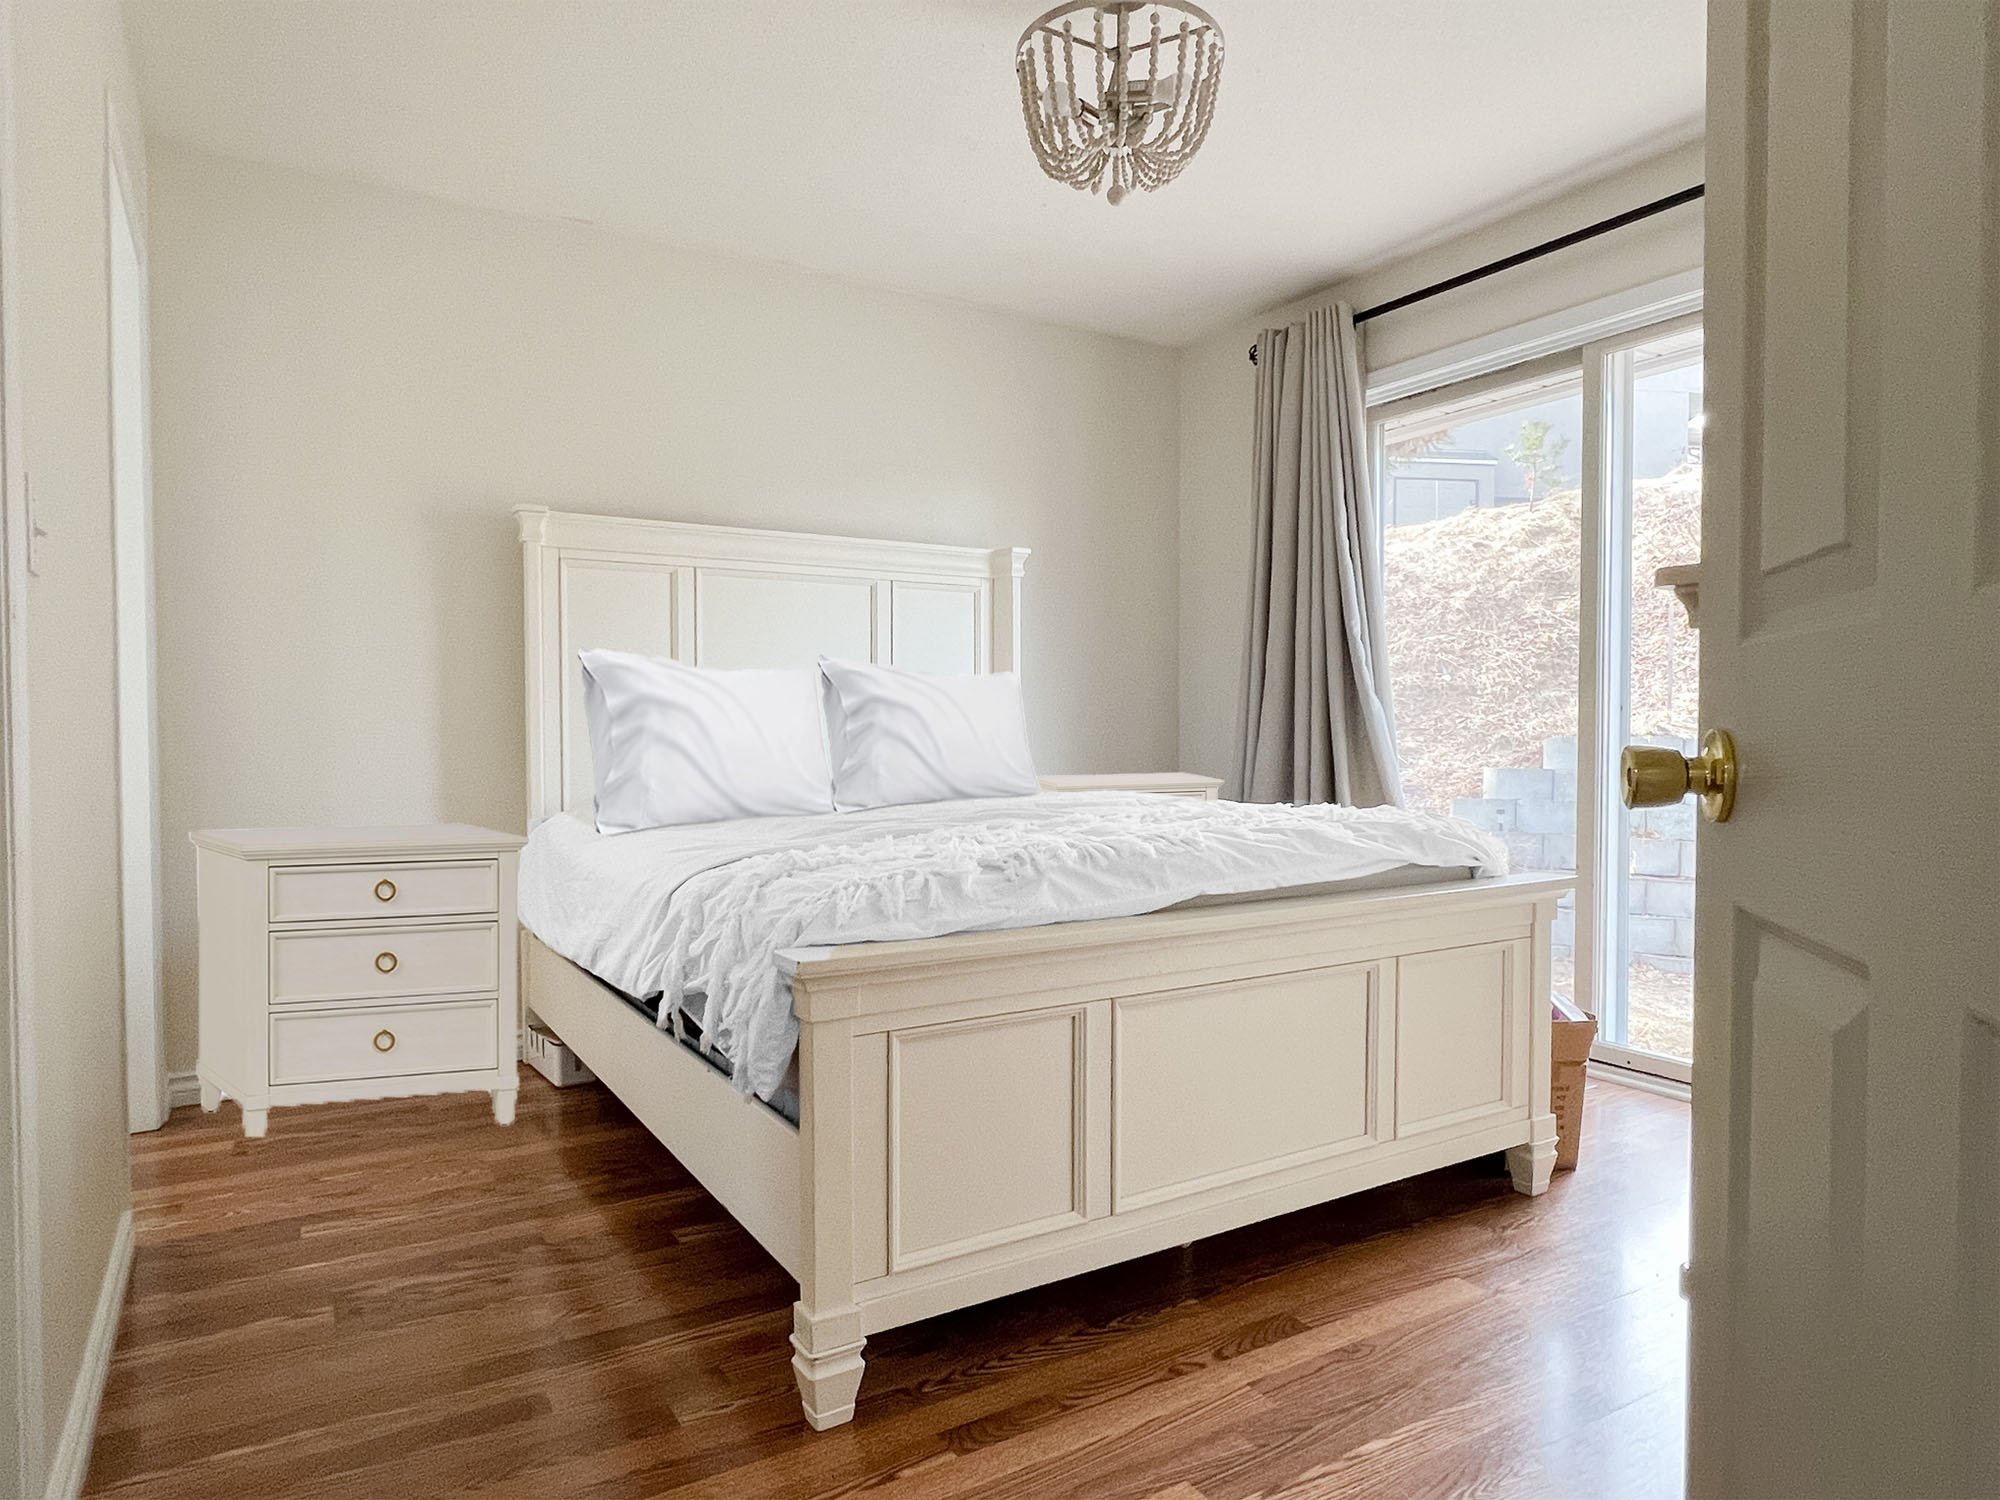
NOTE: I forgot to take photos before getting started, so I Photoshopped back in the two pillows, night tables, and dresser mirror!
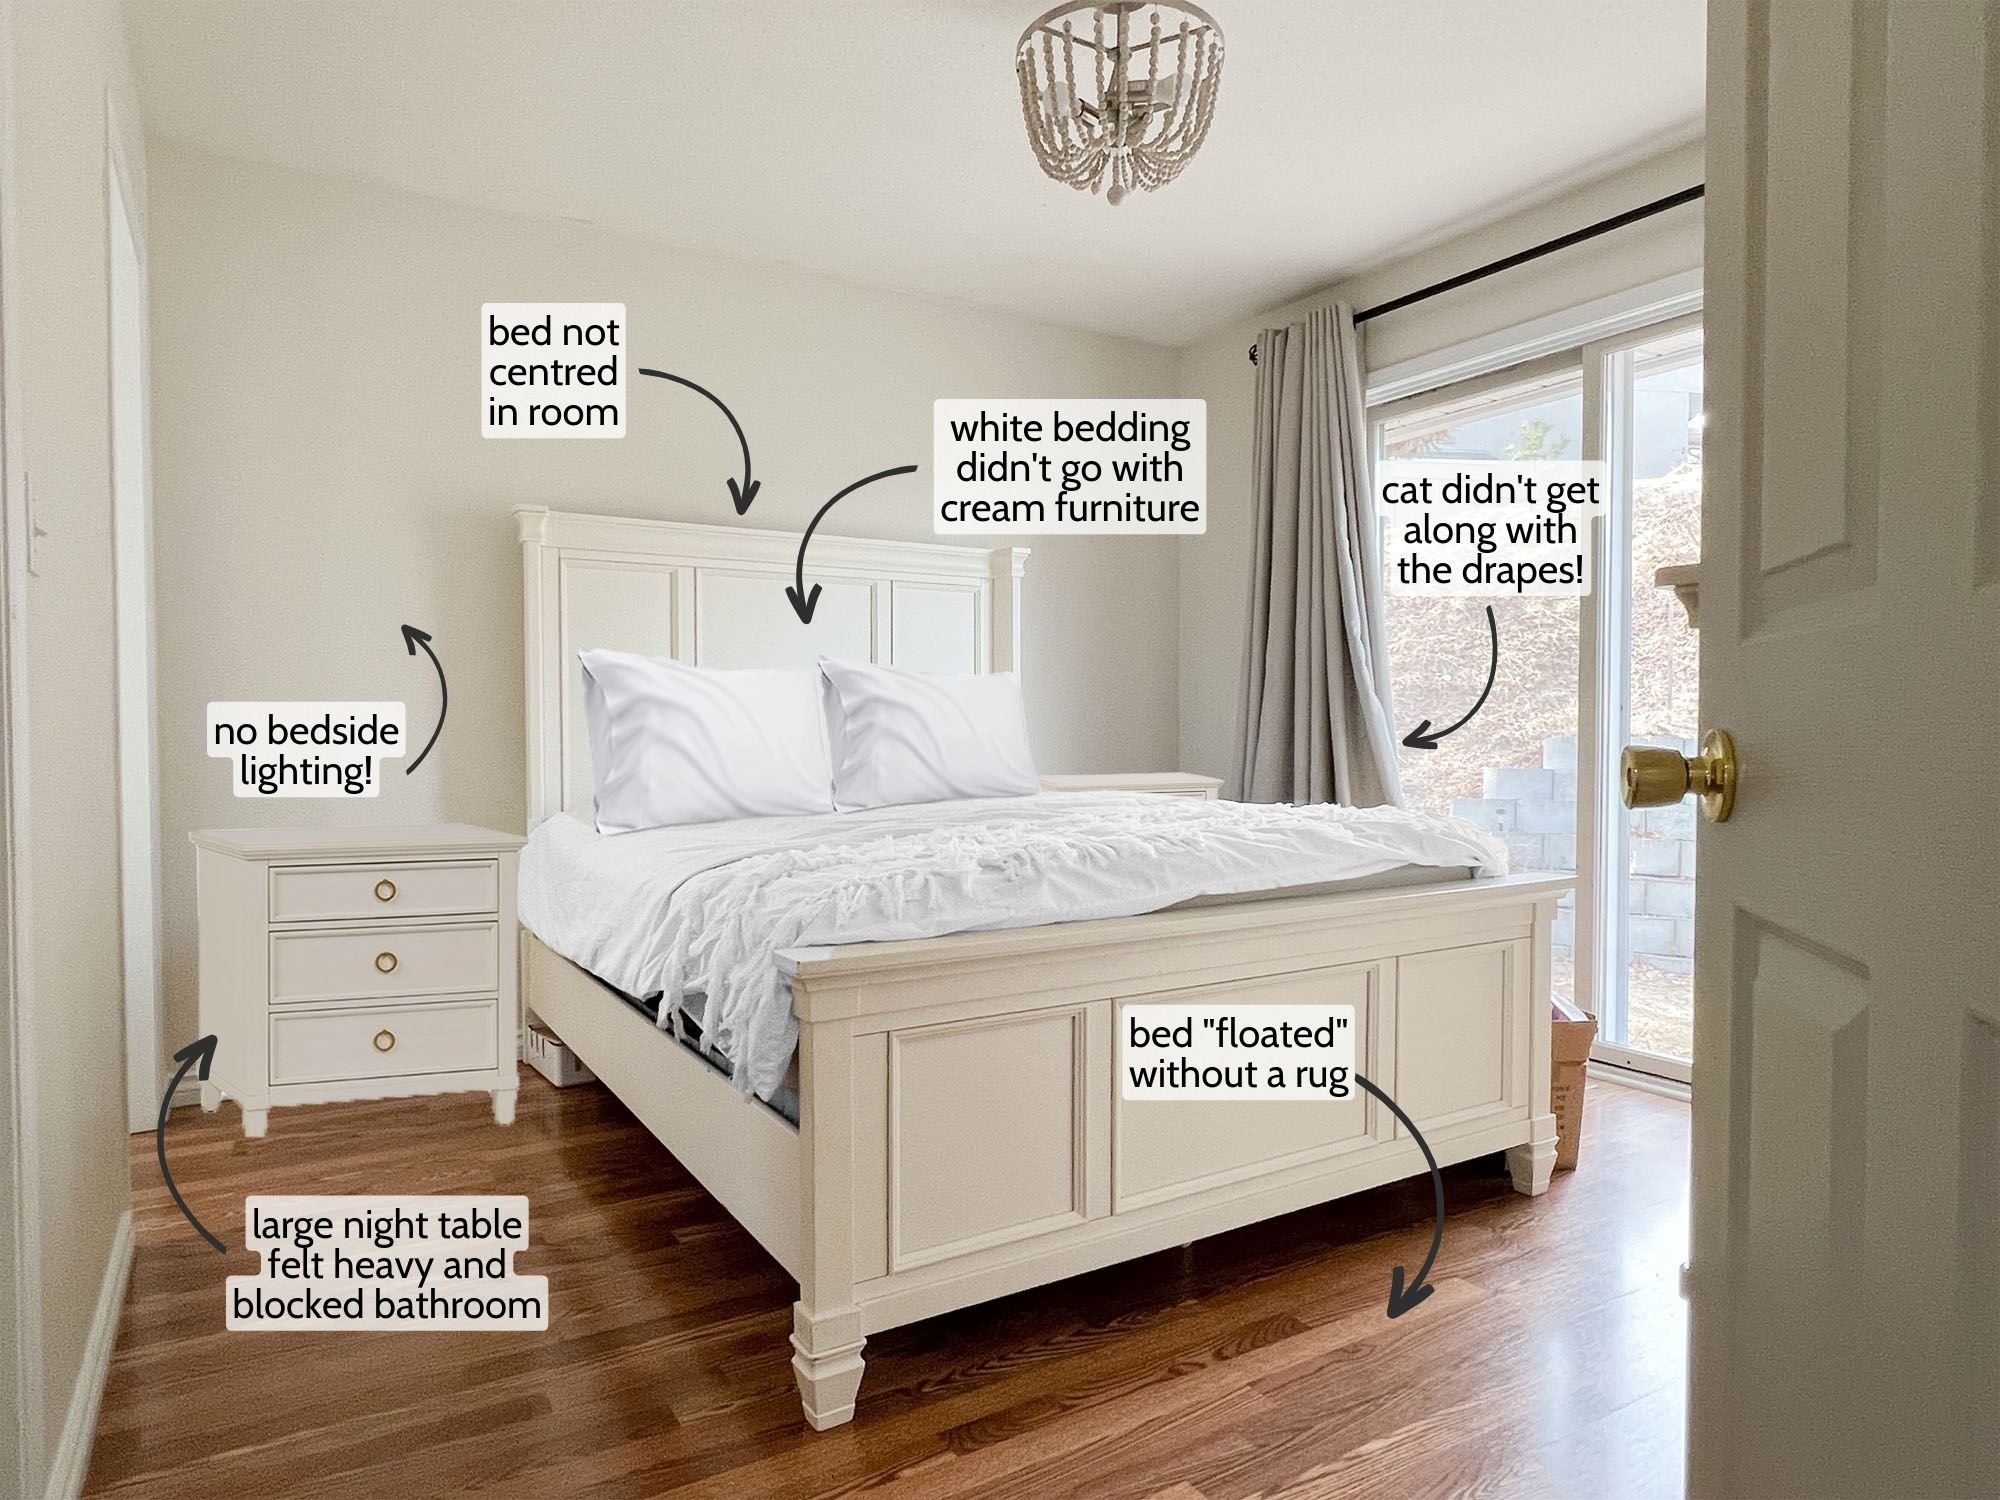
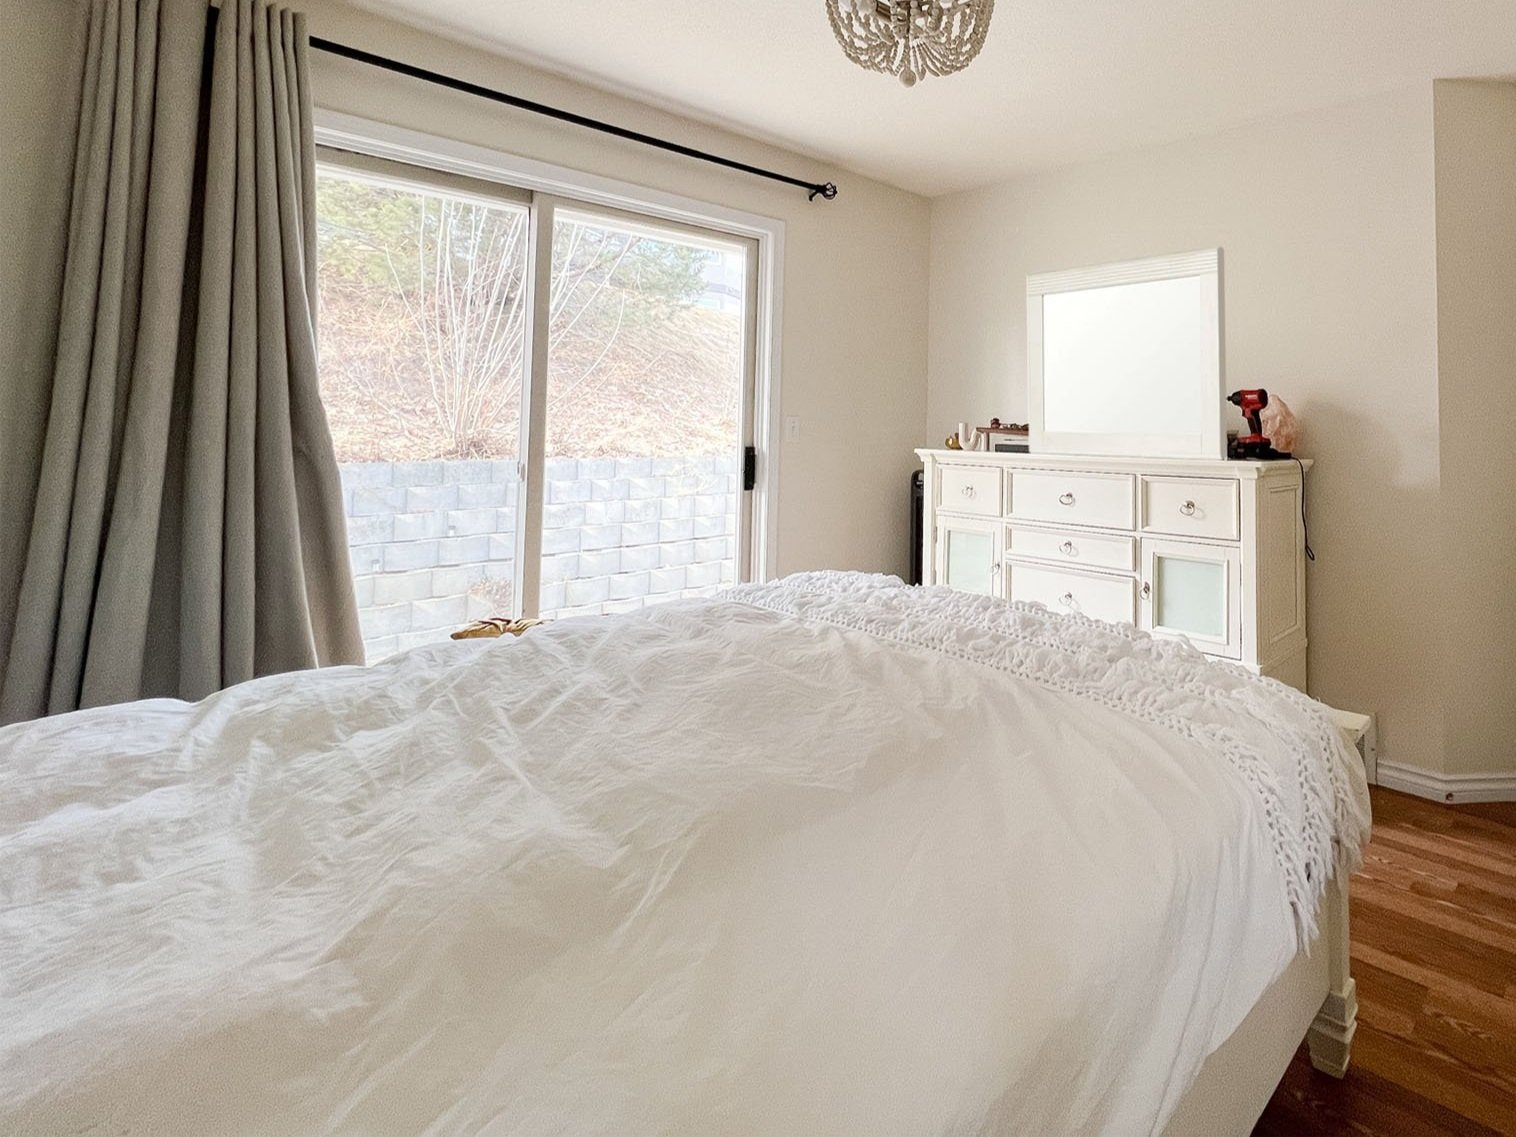
First thing’s first: figure out what is and isn’t working, and what you’re gonna do about it. These were the pain points with Anya and Amit’s room (photos below):
Bed was not centred (unequal circulation space).
Night tables were too big and partially blocked bathroom door.
The drapery and cat did not get along!
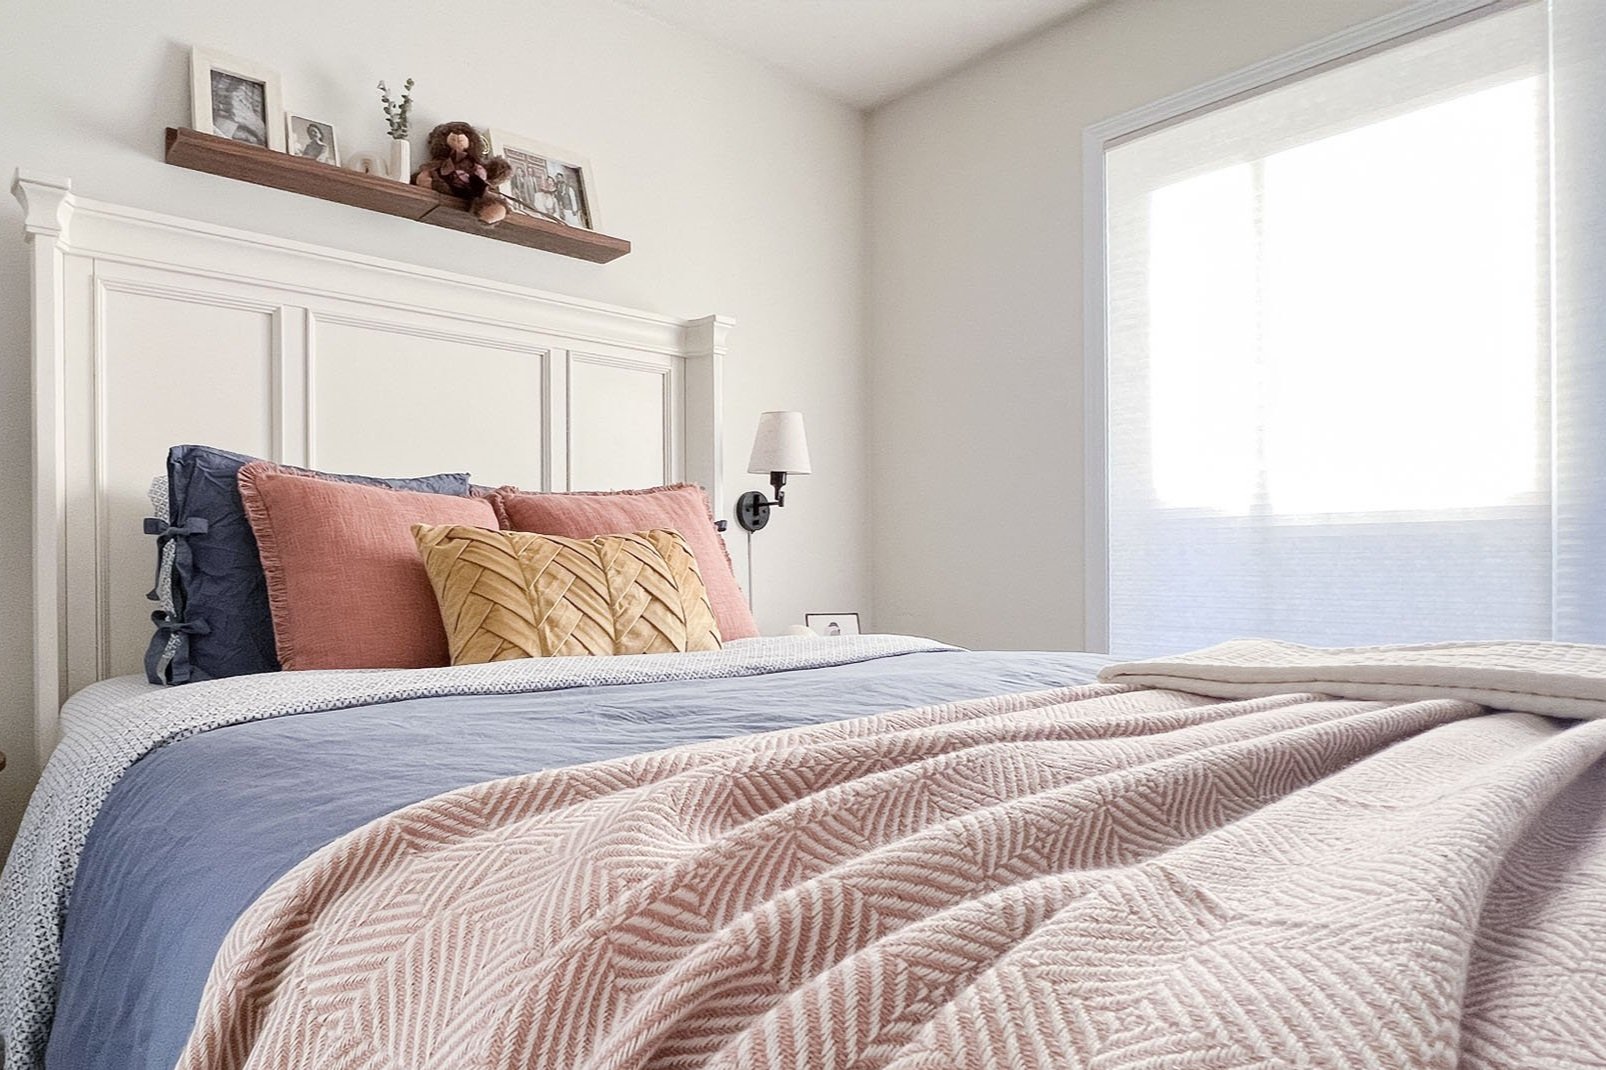
Headboard wall lacked focal point.
No rug to ground furniture.
No bedside lighting.
No full-length mirror.
No styling or decor.
No under-bed storage.

Area Rug
All bedrooms — especially those with hard flooring — need an area rug to ground the space and inspire a colour scheme. (Rugs are also great for giving your feet a quite wipe before hopping into bed so you don’t track anything in!)
Though it’s always preferable to see and feel a rug before you buy it, it’s hard to find an ultra-affordable rugs in-store. You can check places like Walmart, HomeSense, or your local liquidation outlet, but Wayfair is my go-to place for budget-friendly rugs. 👌
We found this one for $200, and I immediately saved it to our Milanote design board where we could visualize the room coming together. Especially when you’re sourcing items online, it’s crucial to get a design board going so your purchases aren’t blind and disconnected, which can lead to mistakes.
💡 TIP: If your rug is curling or floppin’ around, try securing the corners to the floor with rug tape.
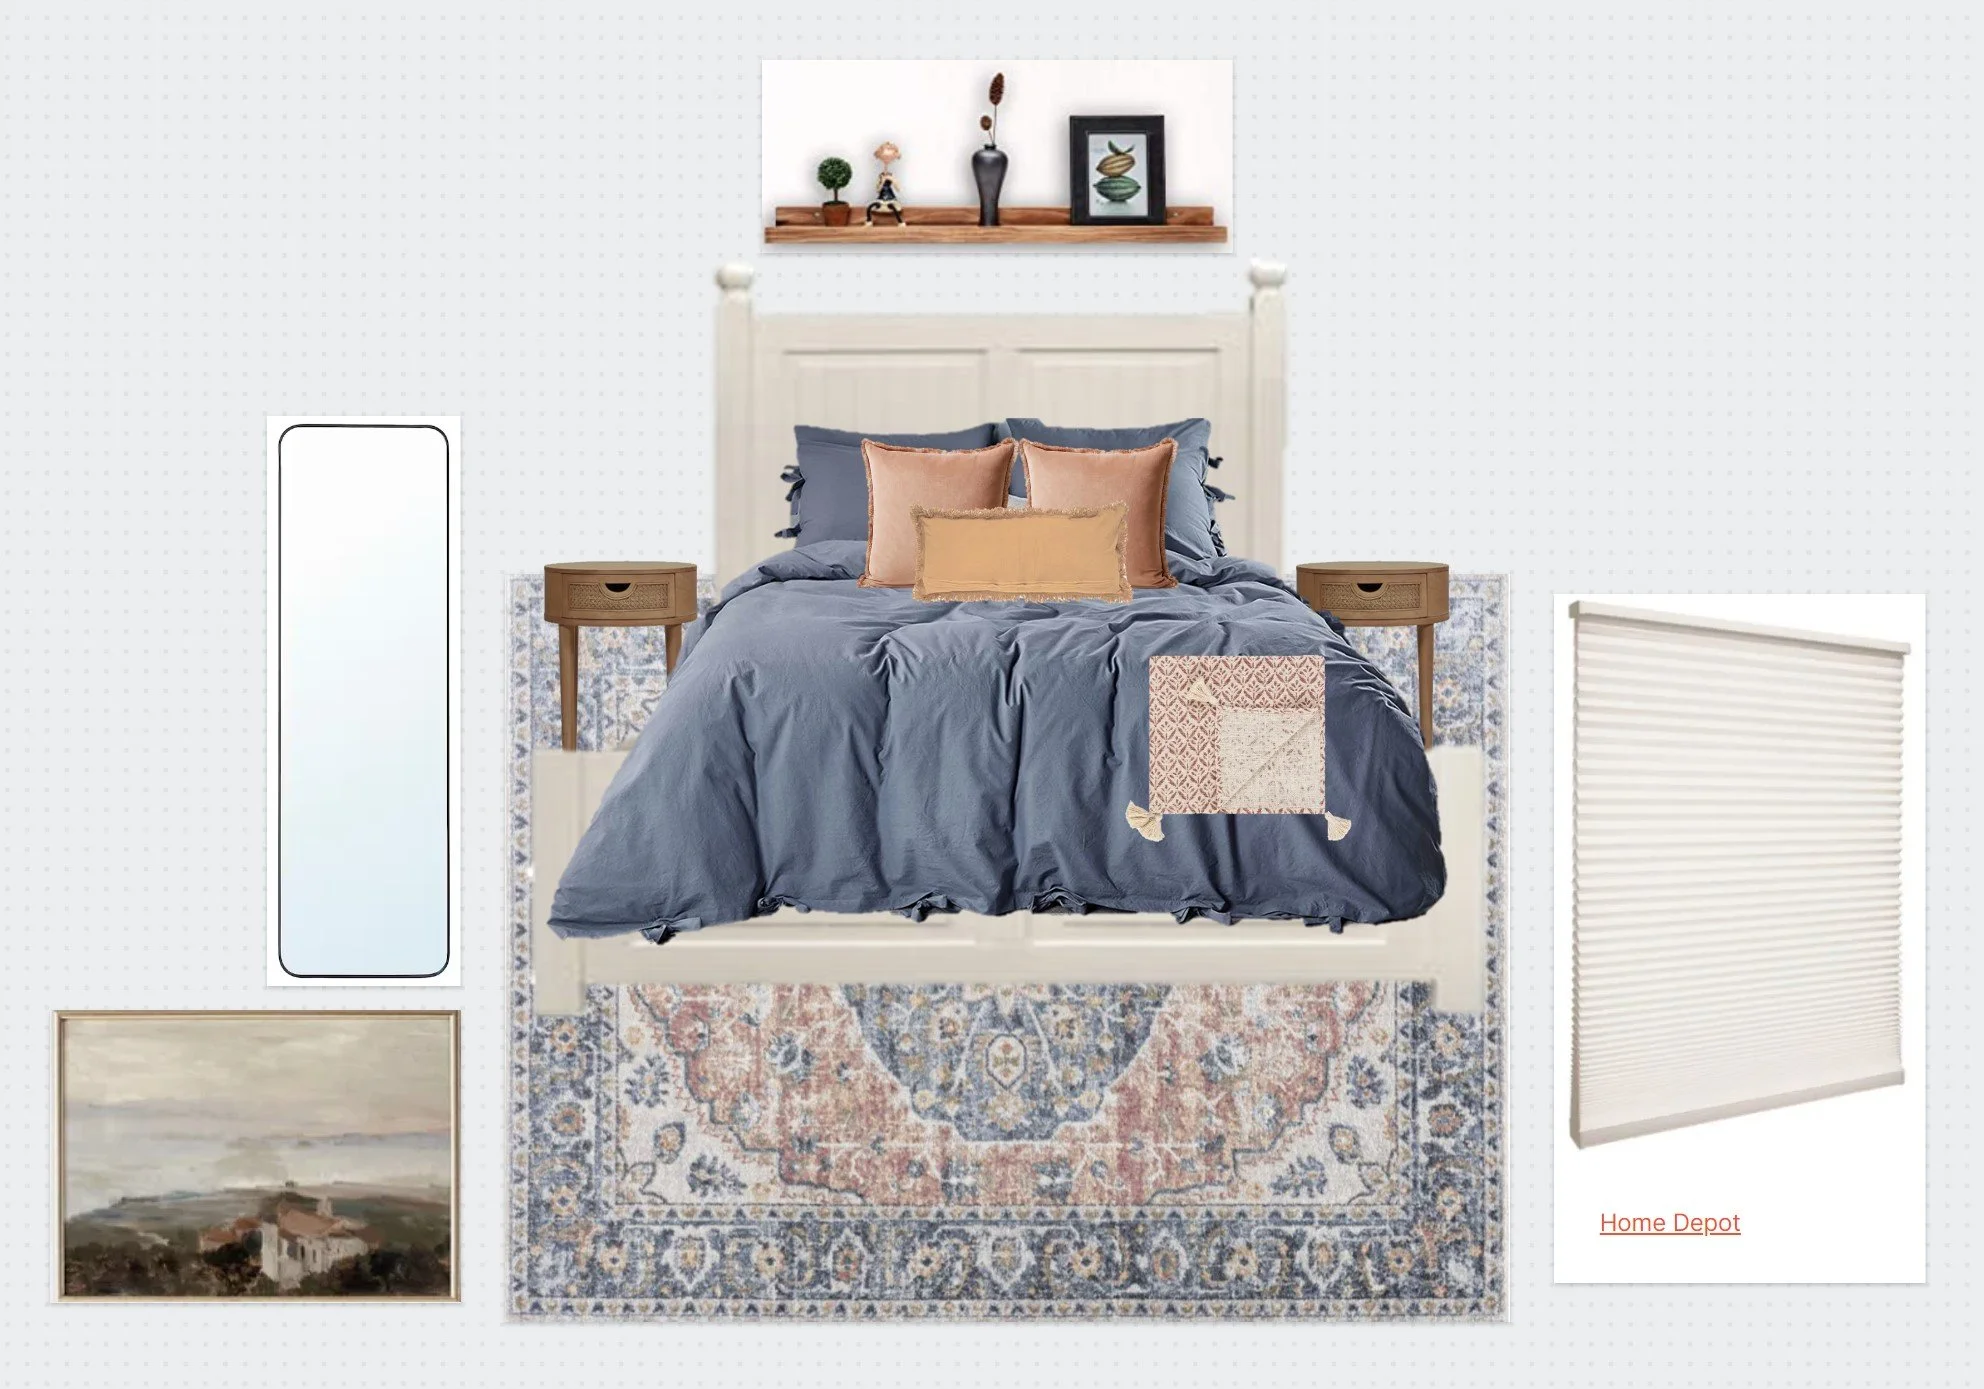
Snapshot of the virtual design board. Use an app like Milanote or PowerPoint to save product links and images as you go!
Window Treatments
The new shades were a big ticket item, but Amit and Anya felt it was worth it. Drapes are normally great in a bedroom, but their cat George loved to rub and curl up against them so they were always covered in hair and hard to maintain.
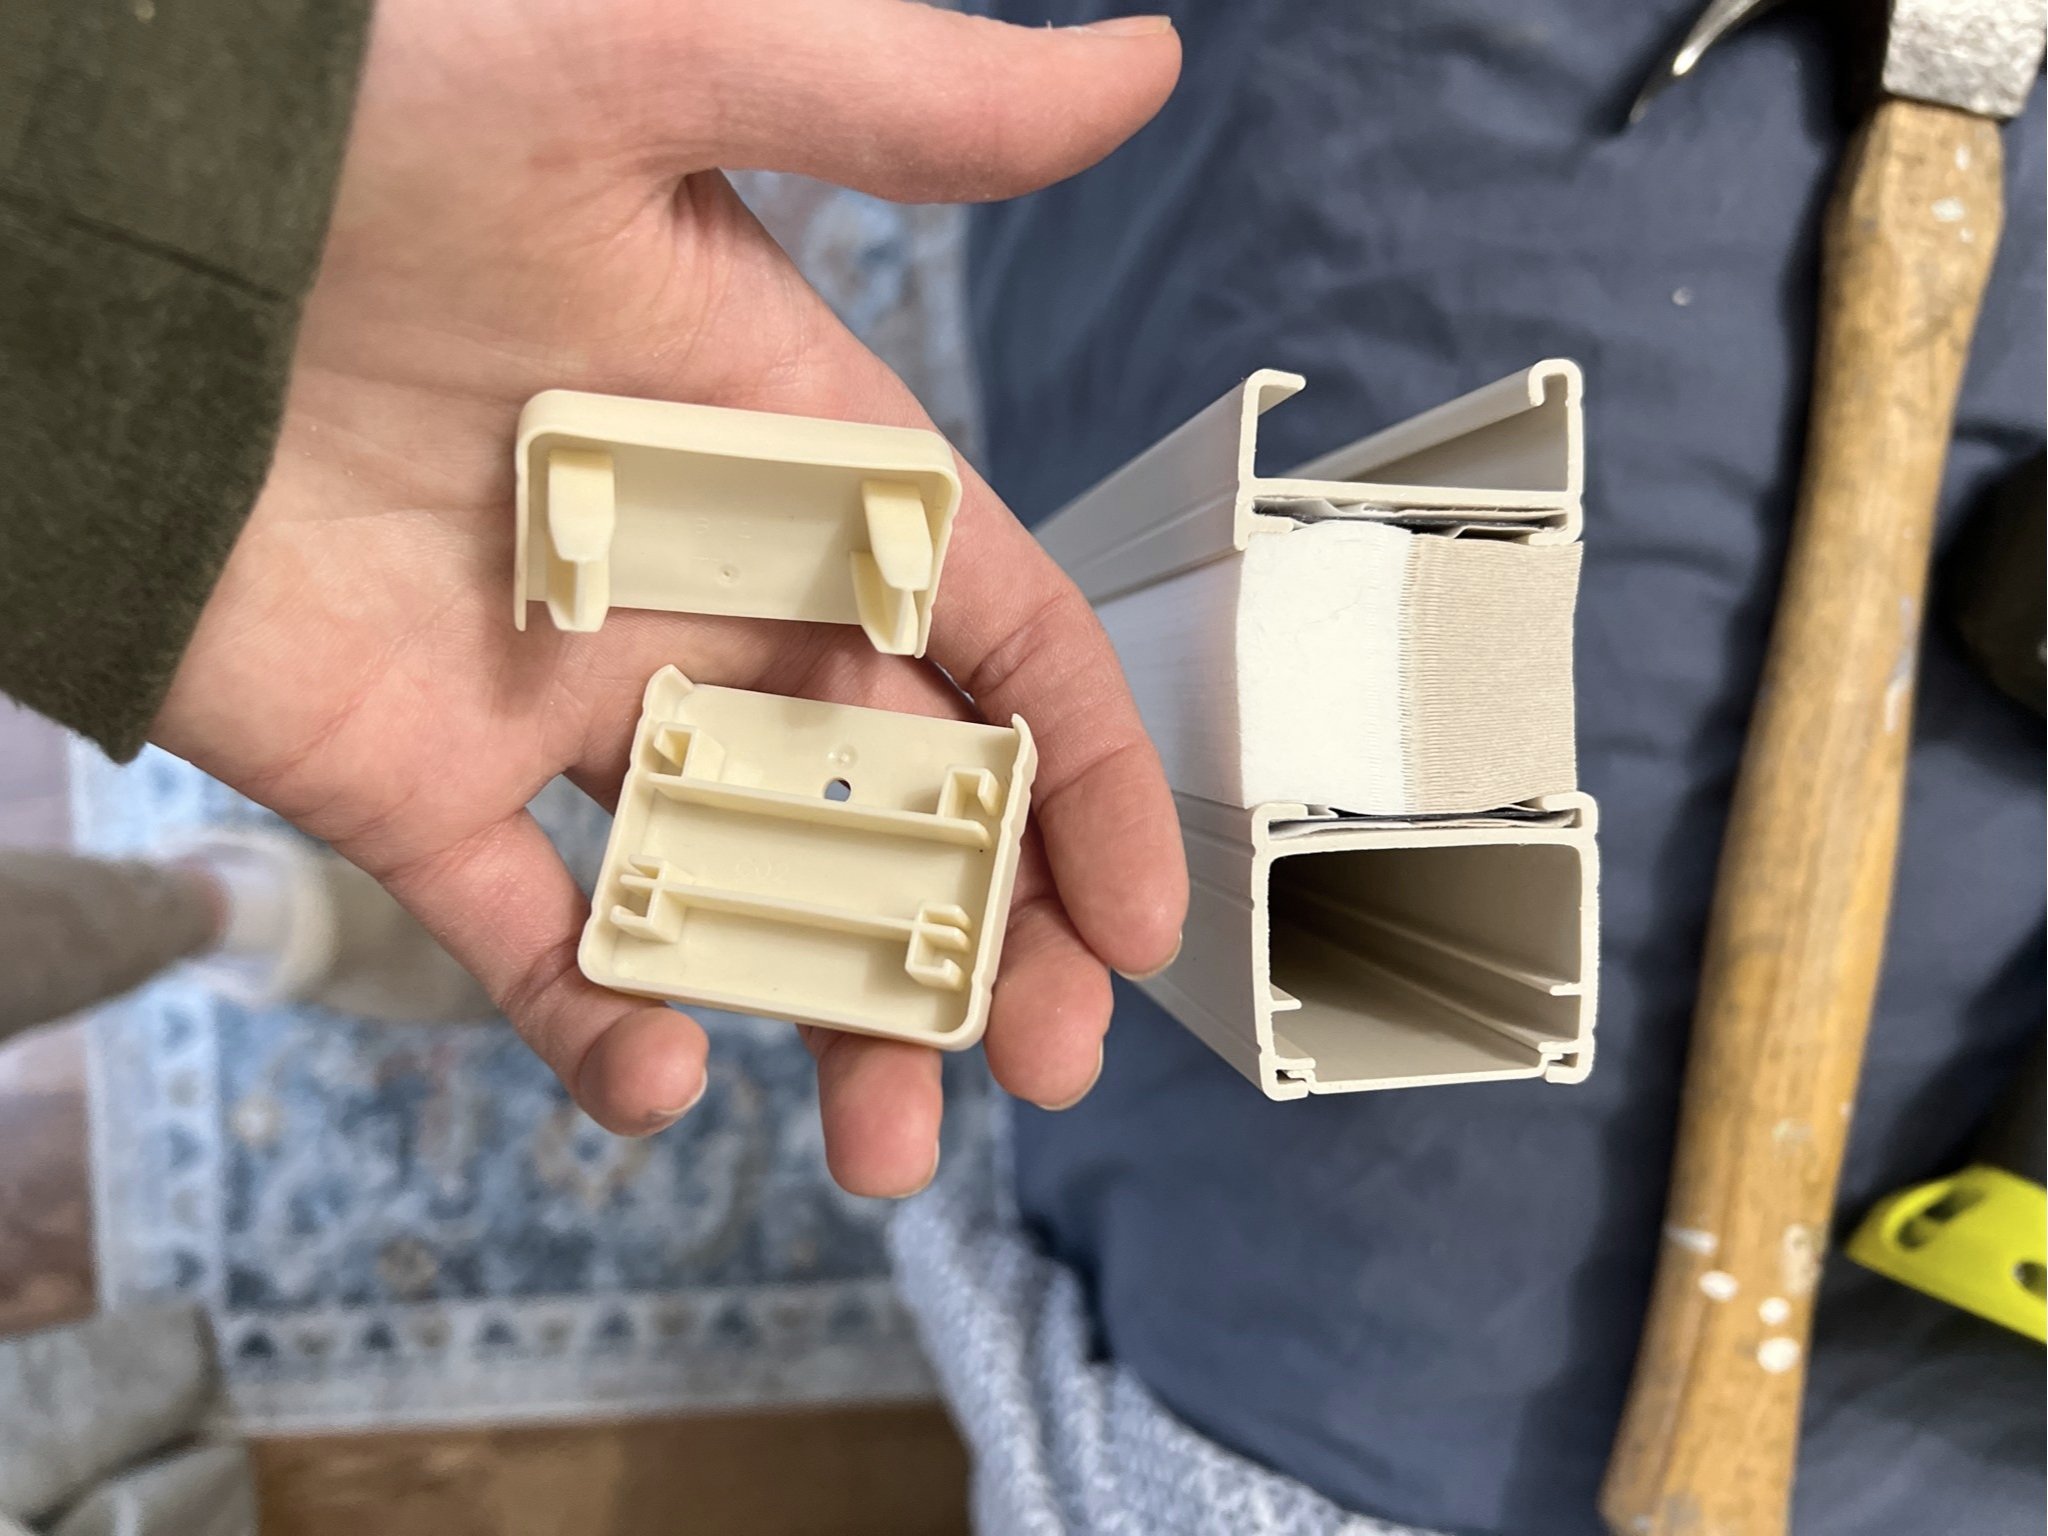
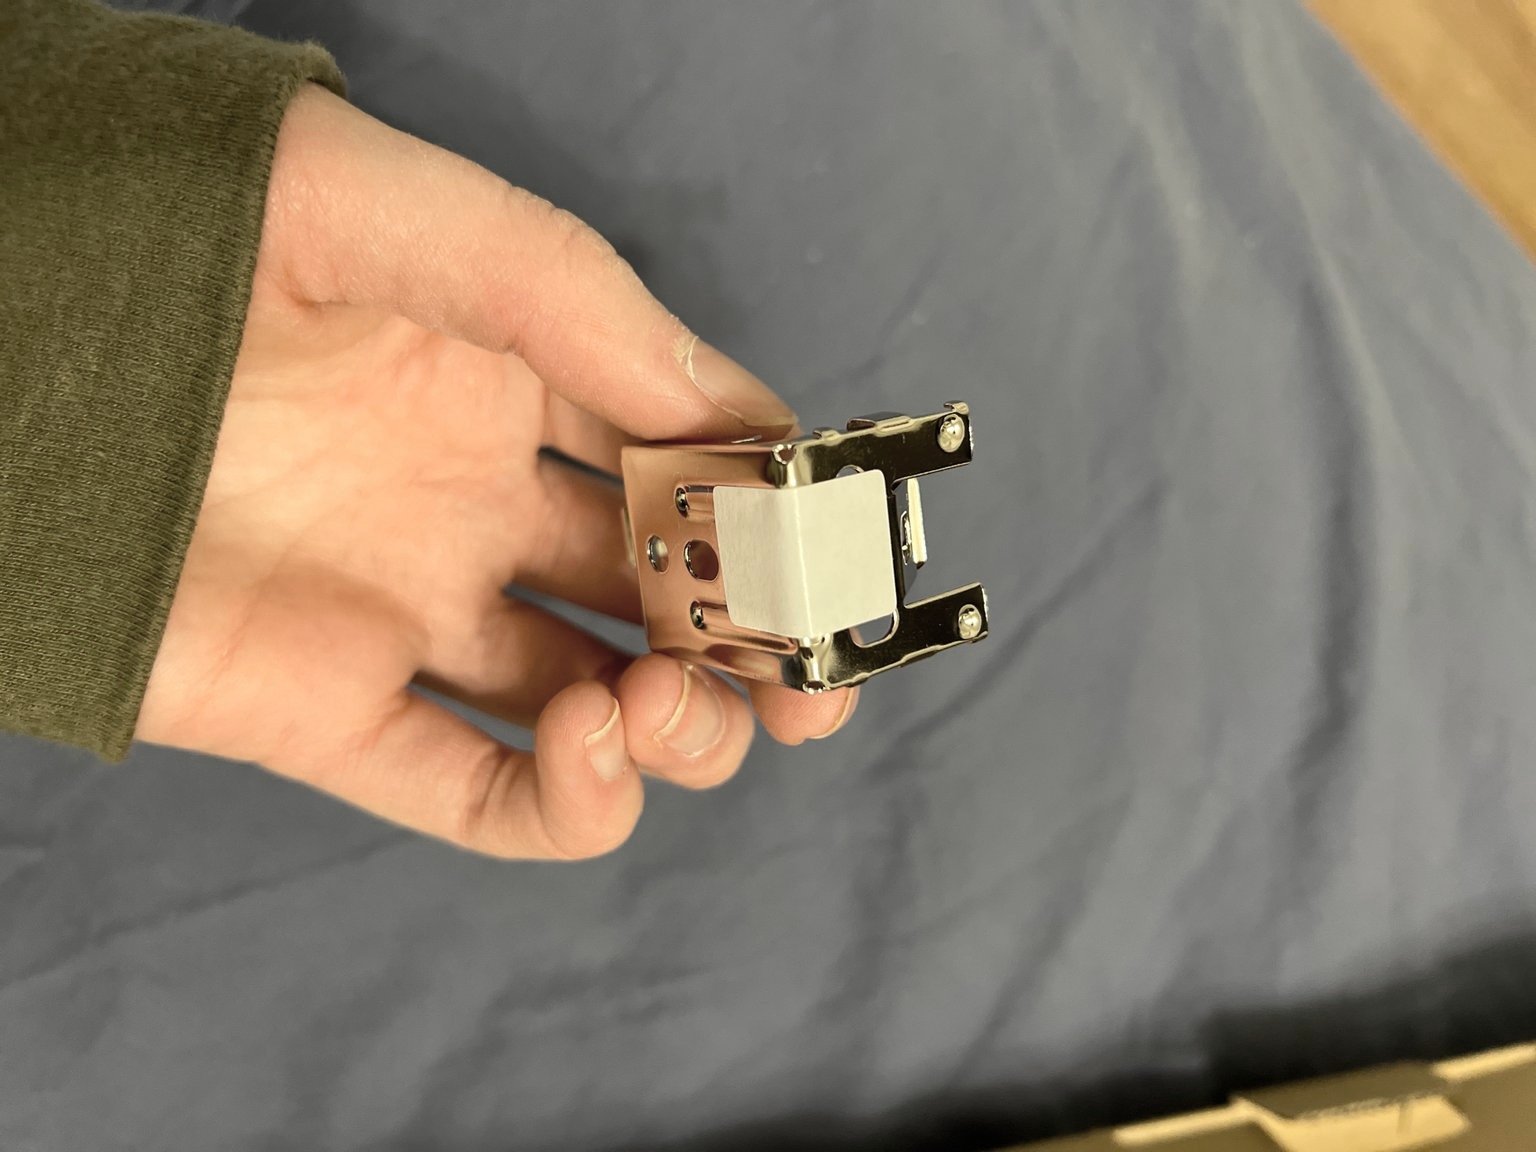
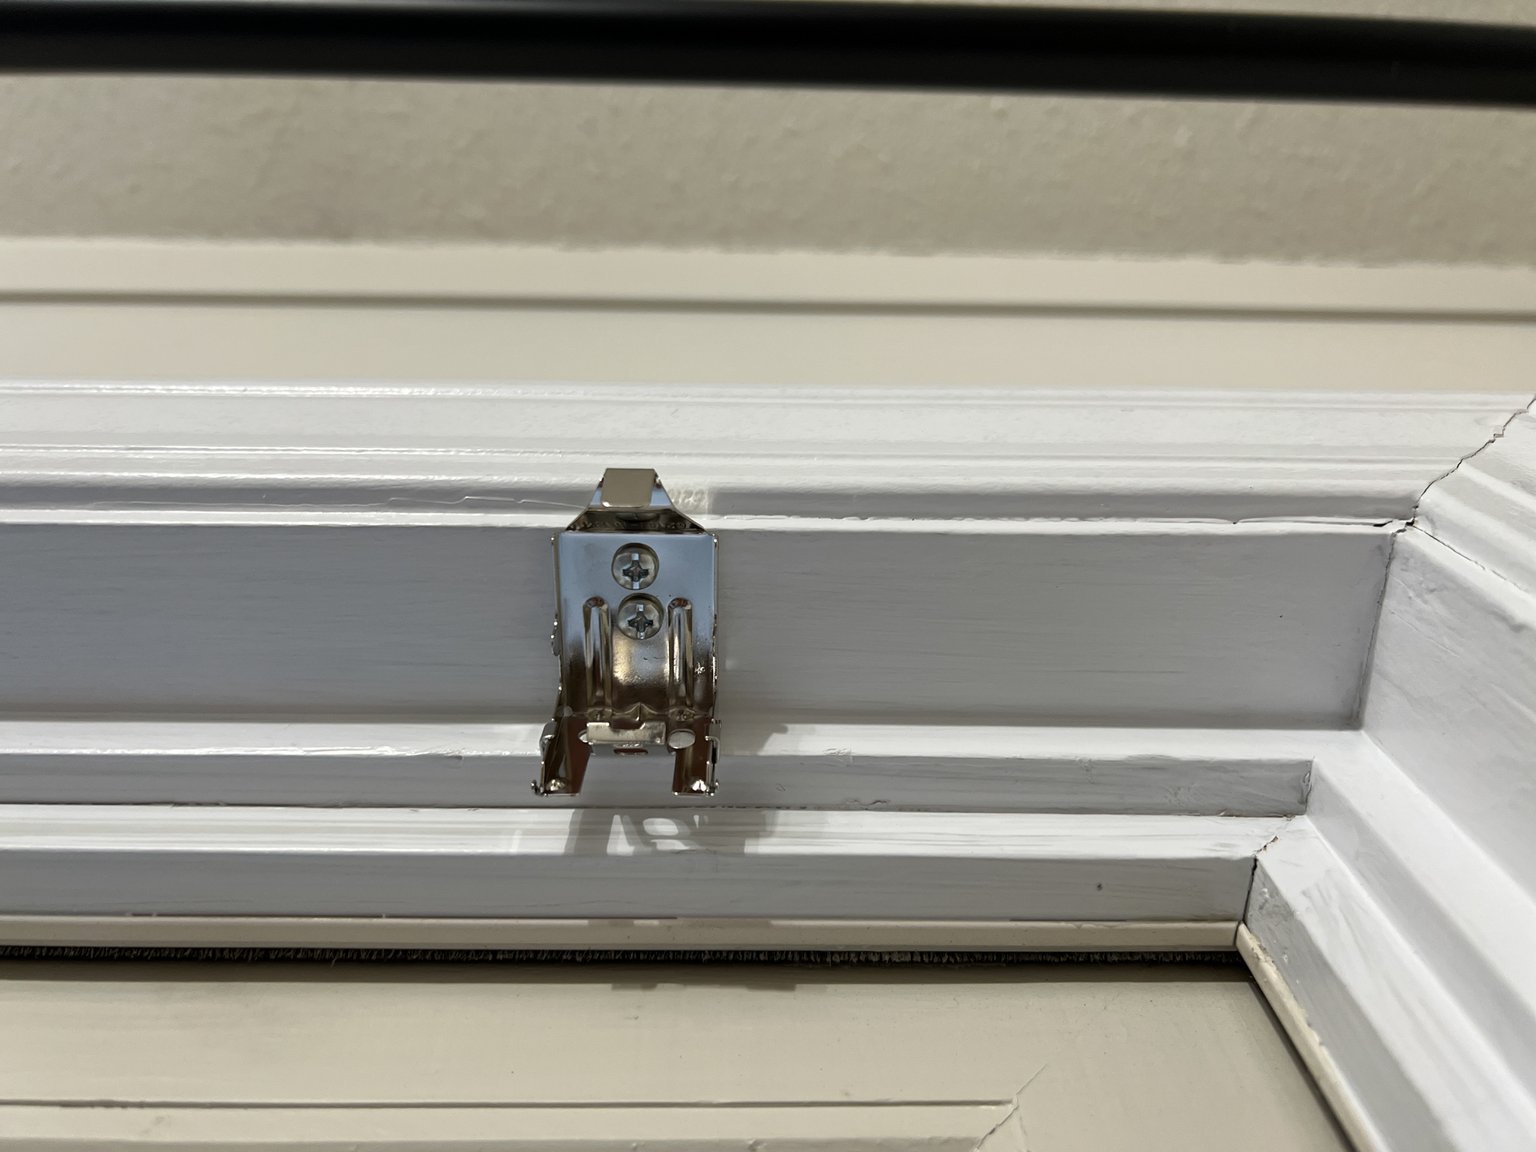
We opted for cordless cellular shades instead, available off-the-shelf from Home Depot. Since they raise and lower vertically, they can hover well above furry lil George, and at under $300 they were still way less expensive than custom shades!
Carefully measure your windows, then select the closest shade size in the best colour available, then have an employee cut them down to width right there in the store. At home, replace the end caps to make them look more finished, then install as per the directions!

Night Tables & Lighting
Both sides of the bed needed a night table and light source. Though Anya originally wanted to minimize costs by keeping her furniture, she conceded that the existing tables were too big for the space. (And on a design note, it looks great to mix and match your pieces!) We got lucky at Marshall’s, finding two round wooden night stands for under $150.
To free up the table tops, I installed a plug-in sconces which came in a pack of two for only $45! 🤯 Cover the cords and paint the covers for a super sleek DIY result.
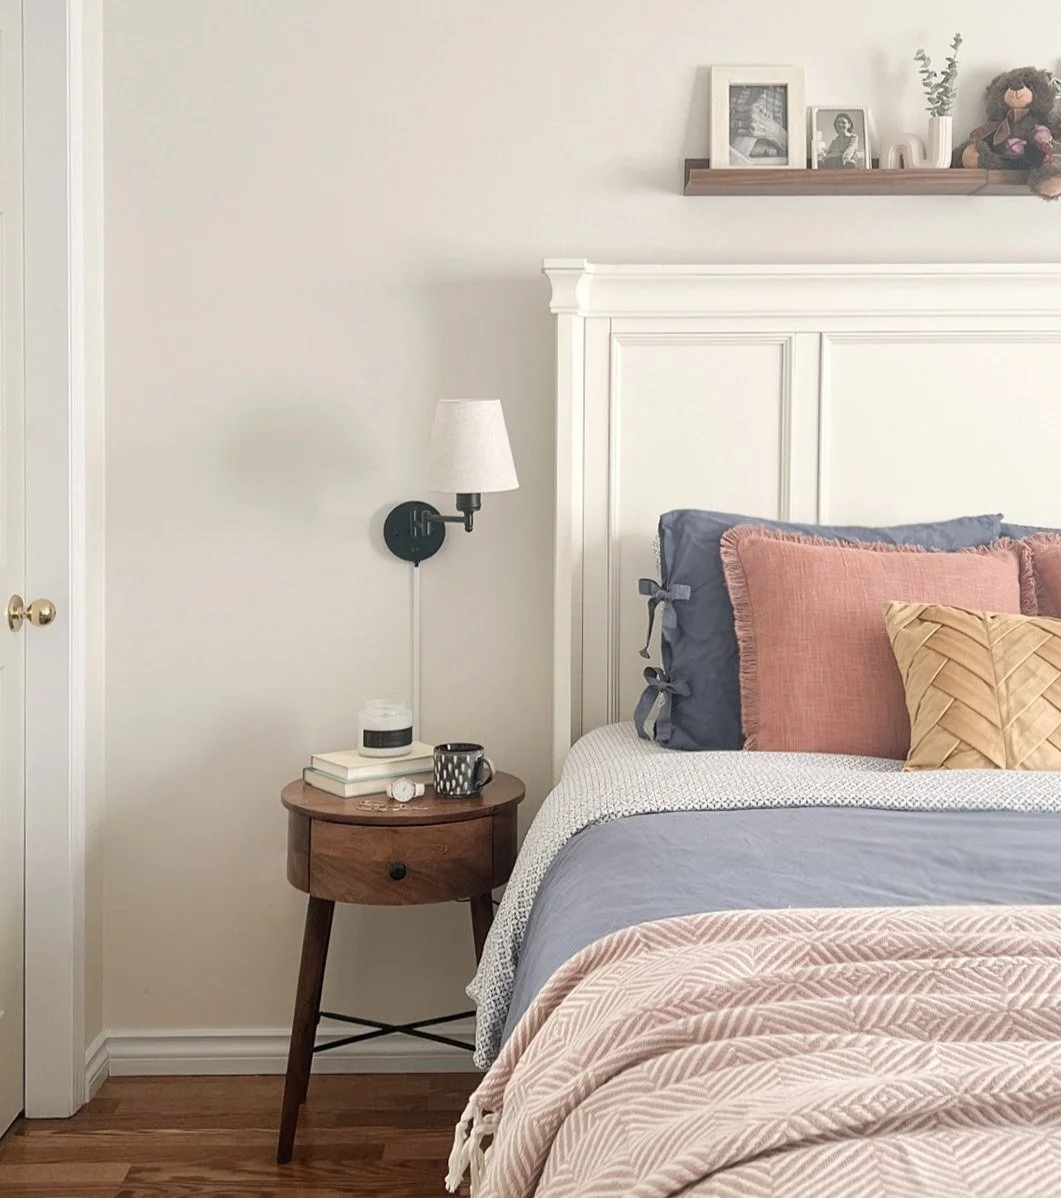
The smaller nightstands are a much better fit in this room. The plug-in sconces keep the table tops free while providing both sides with adequate lighting.
Decor & Styling
Mostly, Anya and Amit’s room needed some colour and personal touches. We pulled dusty blues, terracottas and golds from the rug, repeating the blues from their living room / kitchen while adding a few more colours to their palette.
READ MORE: How to Create a Colour Palette — Pt I
Bedding & Pillows
Never compromise on bedding! Natural fibres are the way to go, and these 100% cotton sheets and duvet set were super affordable at $50 and $60 each. Pillows are another great way to style up your room — these were all less than $30 each from HomeSense, my top spot for affordable decor (though Urban Barn’s sale section is always worth a look too)!
Throw a blanket across the bottom of your bed for extra warmth and style. This patterned blanket was an absolute steal from The Bay at $15, and the cream basket weave throw from IKEA was also $15.
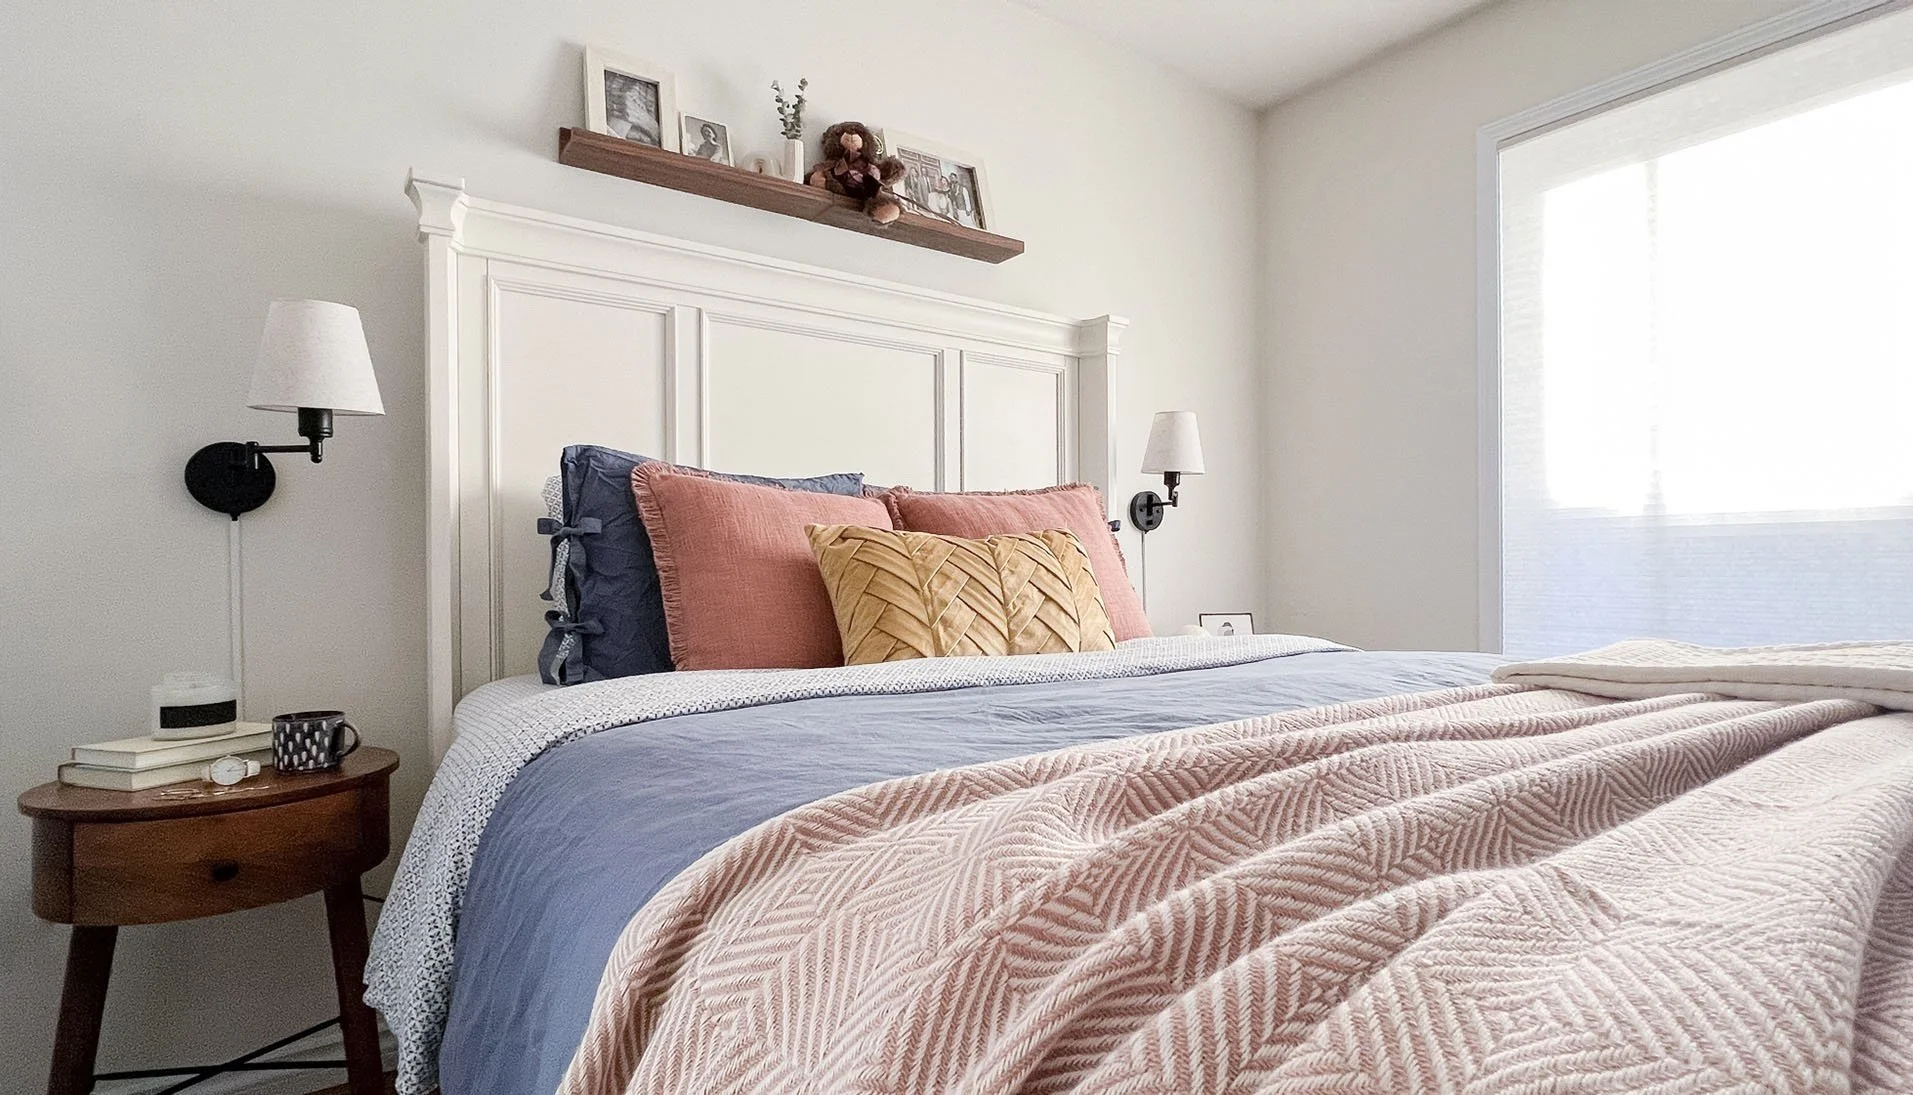
Throw pillows and blankets are an easy way to style your bed and pull a colour palette together.
Pictures Ledges
Anya wanted somewhere to display photos and sentimental items, so I added two picture ledges over the headboard. Picture ledges can be expensive, but IKEA has several affordable options (I picked up two Mosslandas for $10 each). Choose a finish that matches the other whites or wood tones in your space.
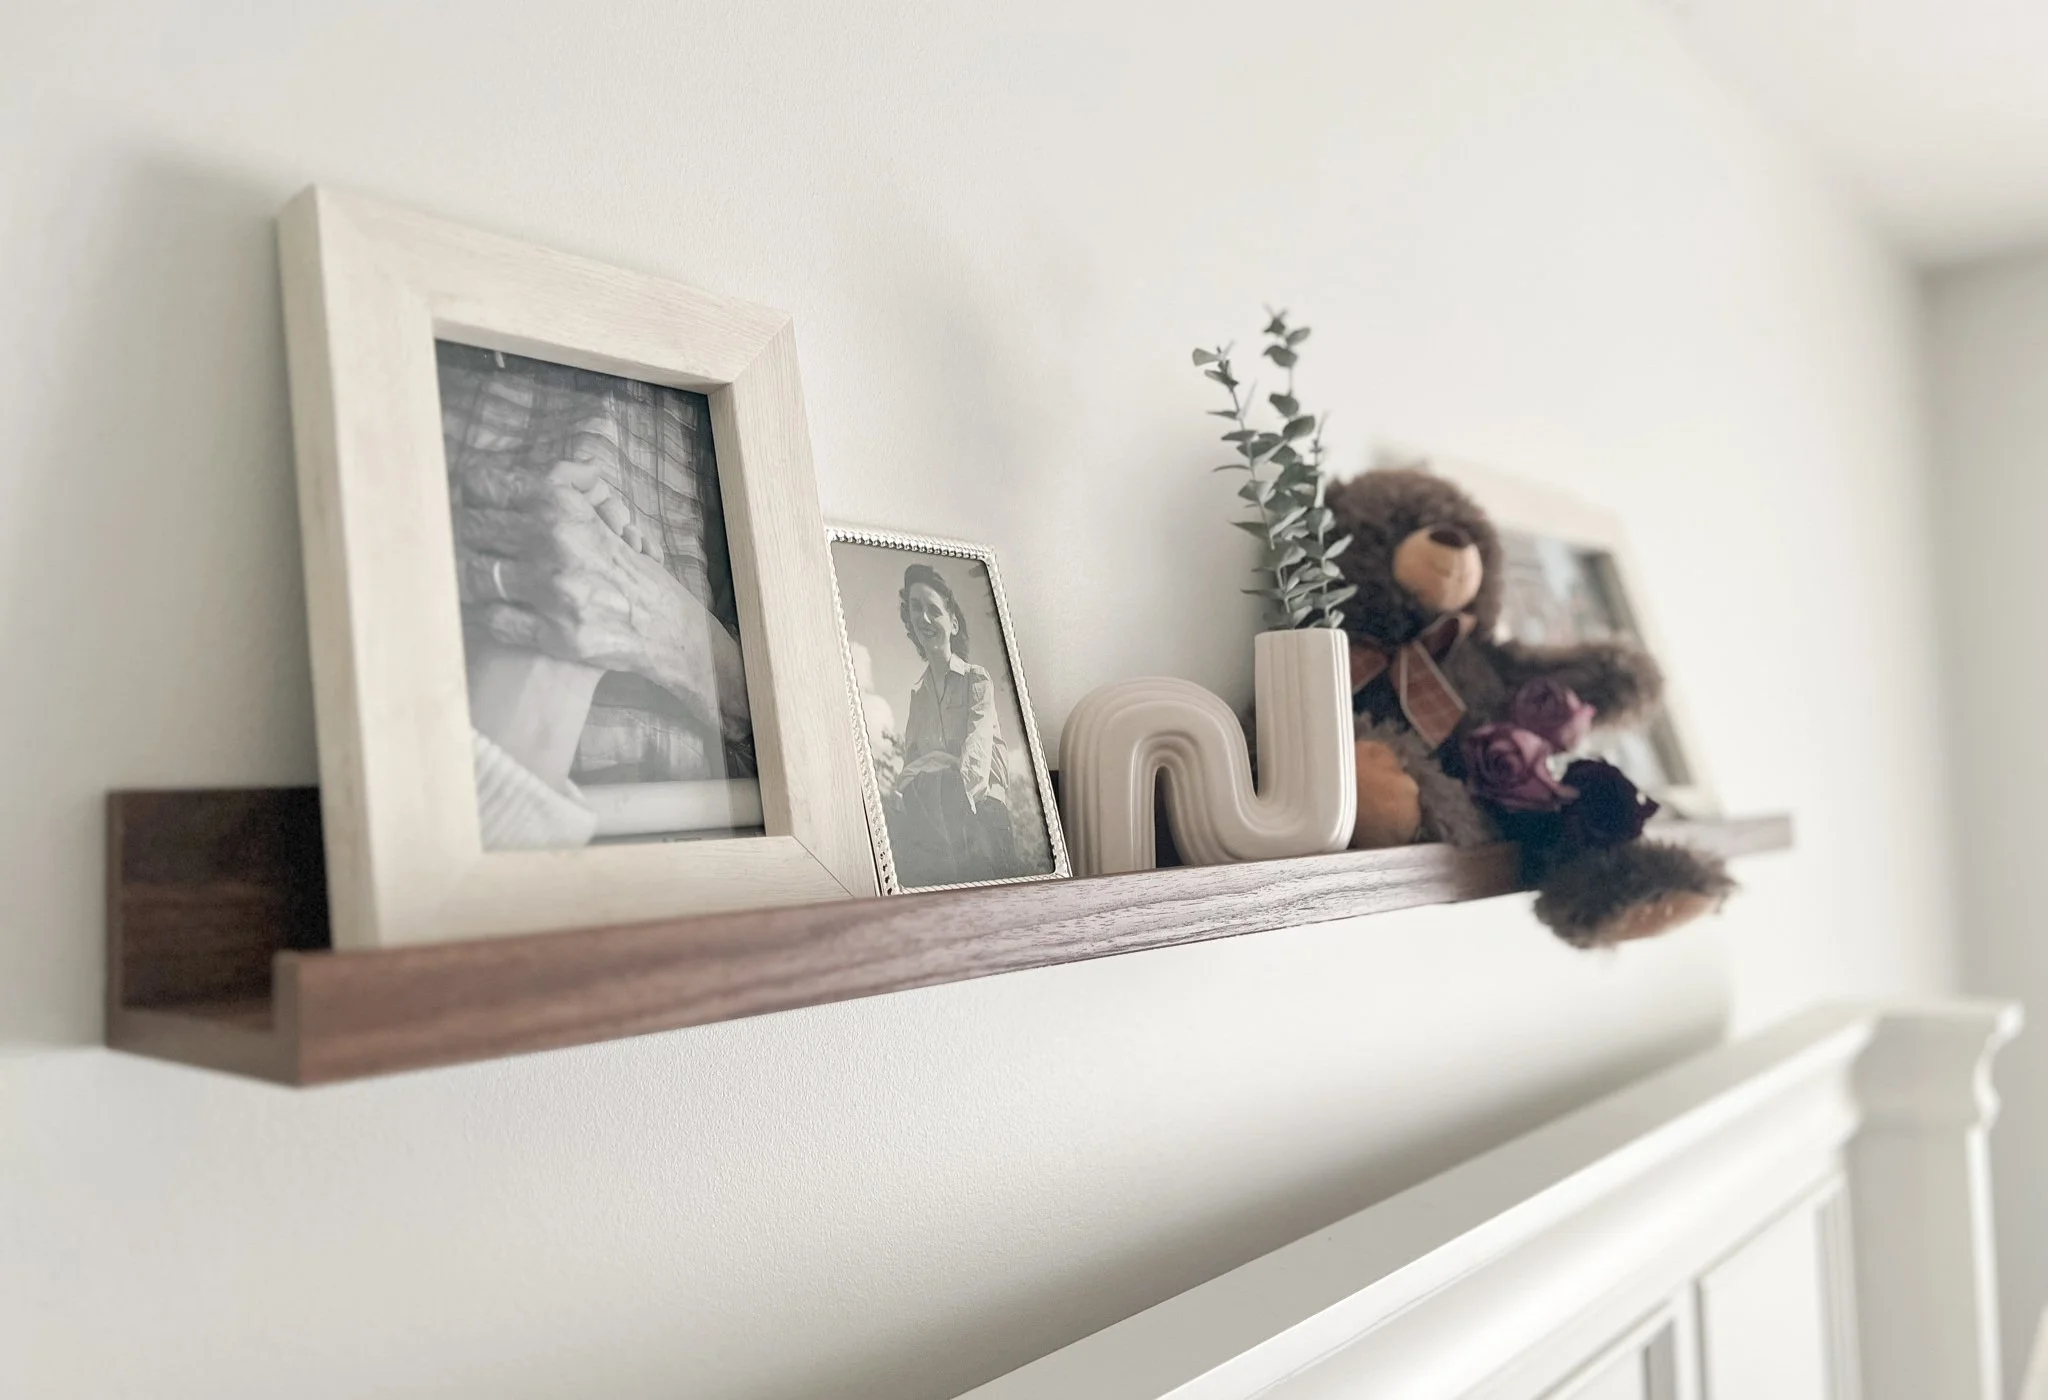
Try adding a large piece of art, artwork set, or picture ledge over your bed to create a focal point.
Artwork & Mirror
The dresser originally came with a mirror, which is a little dated and not the most functional. A full-length mirror is more useful for checkin’ your outfit, but mirrors are notoriouslyyy expensive. I didn’t have any luck at thrift stores or FBMP this time, but the Lindbyn mirror from Ikea was still a great find at $50.
As for the dresser mirror, I repurposed it for artwork by spray painting the frame gold ($20), taping a large, coordinating digital print ($45) right to the mirror face, then securely hanging it a few inches above the dresser using a French cleat ($30). So much better!
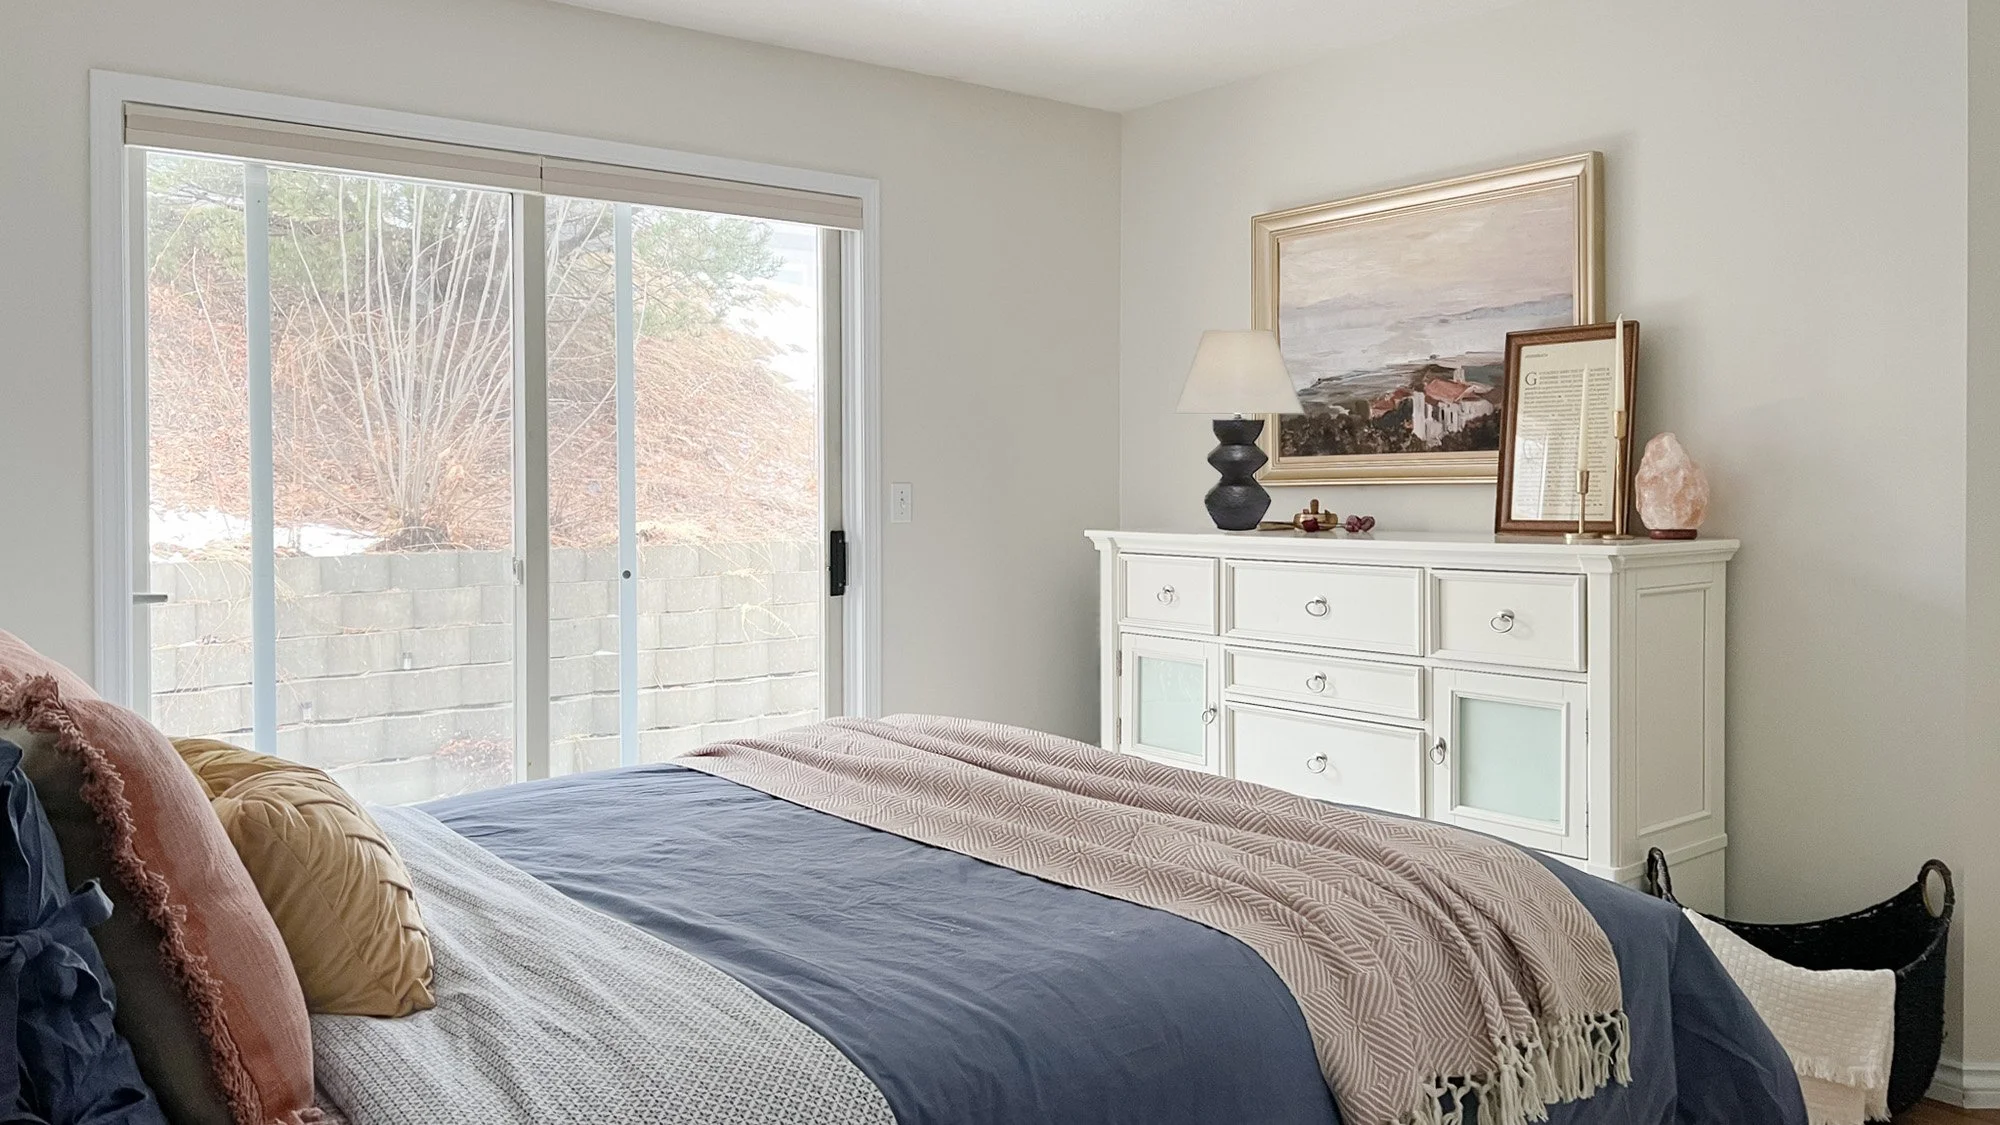
The original mirror was detached from the dresser and repurposed for artwork. Slightly genius!
I styled the dresser with things Anya already owned, and as an afterthought suggested she cover the glass inserts with burlap to soften and update the piece.
Functional Items
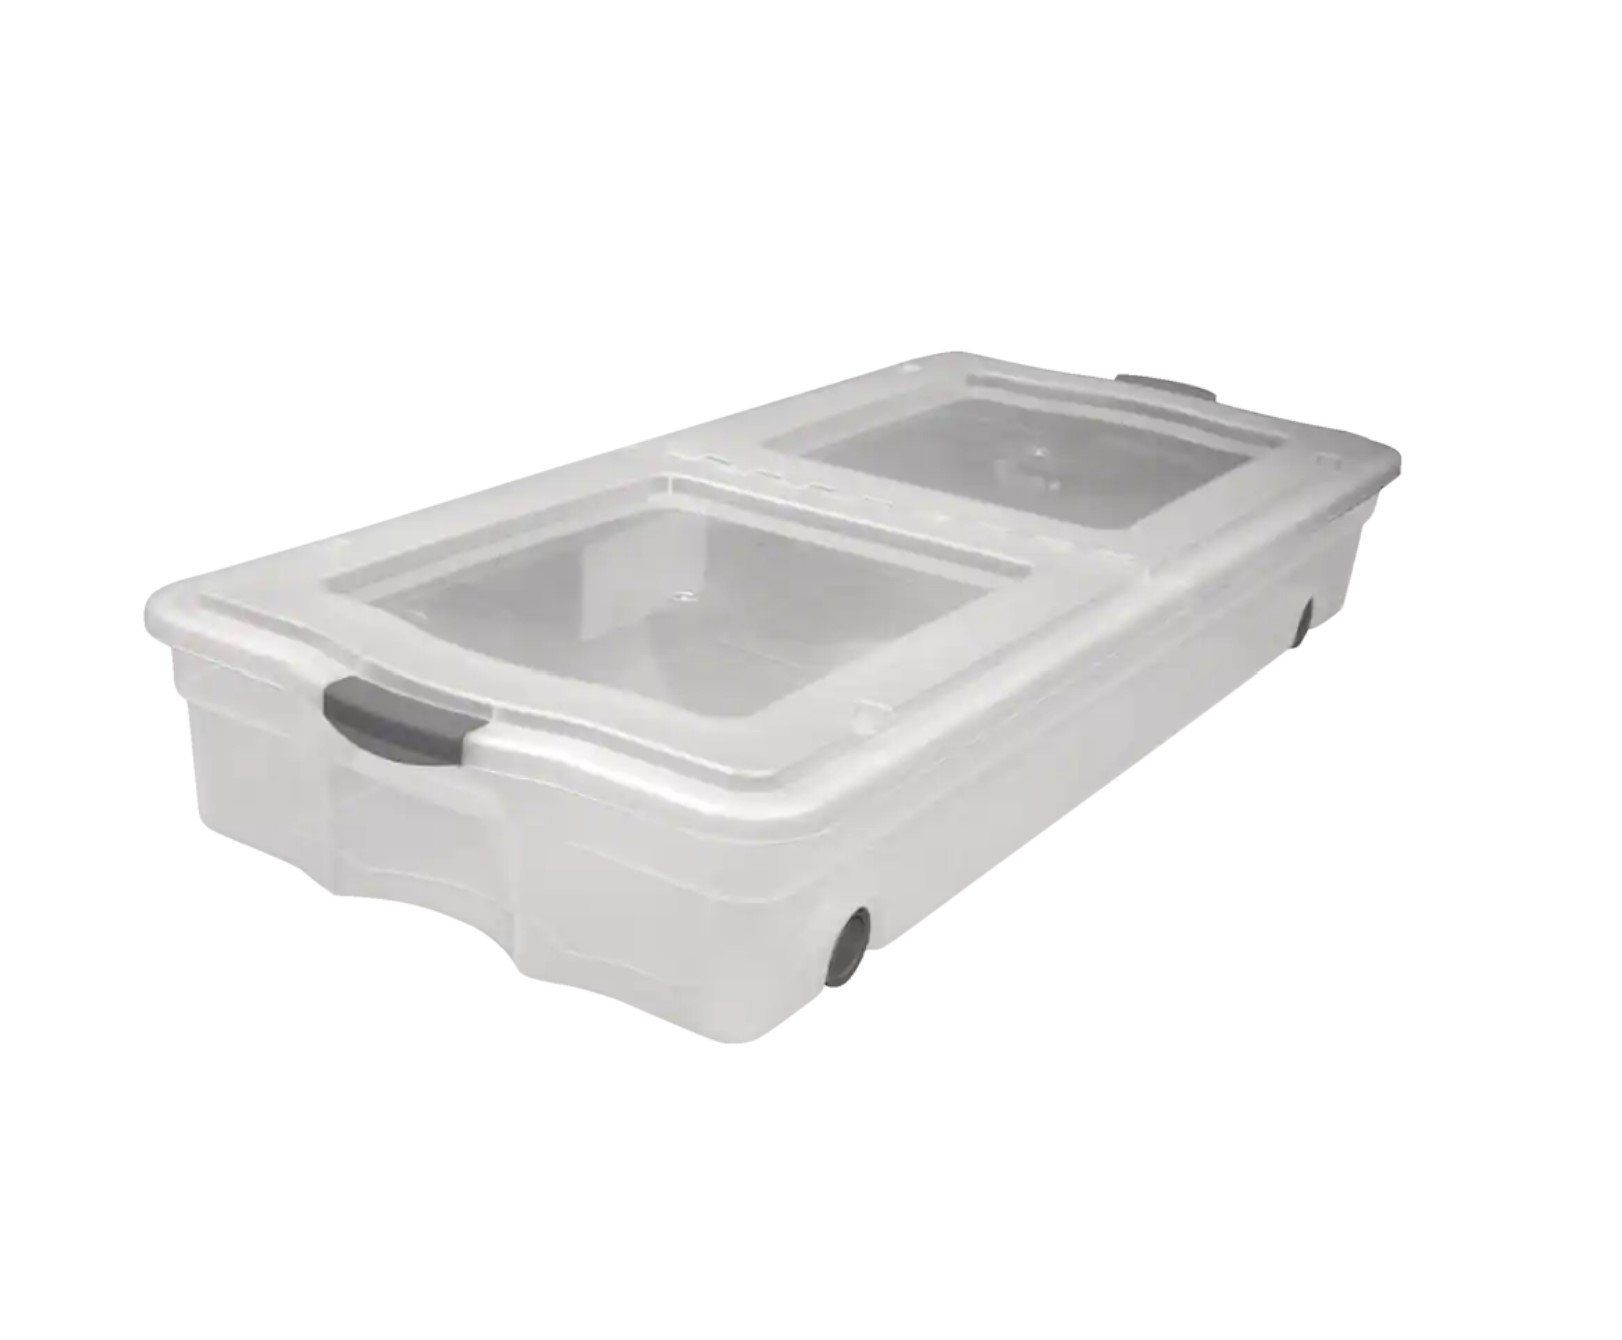
Any small room should take advantage of under-bed storage for extra bedding, off-season clothes, etc. You can get all sorts of plastic and fabric containers for this, but I like clear plastic wheeled bins. Double check your height measurements to make sure the bins will fit!
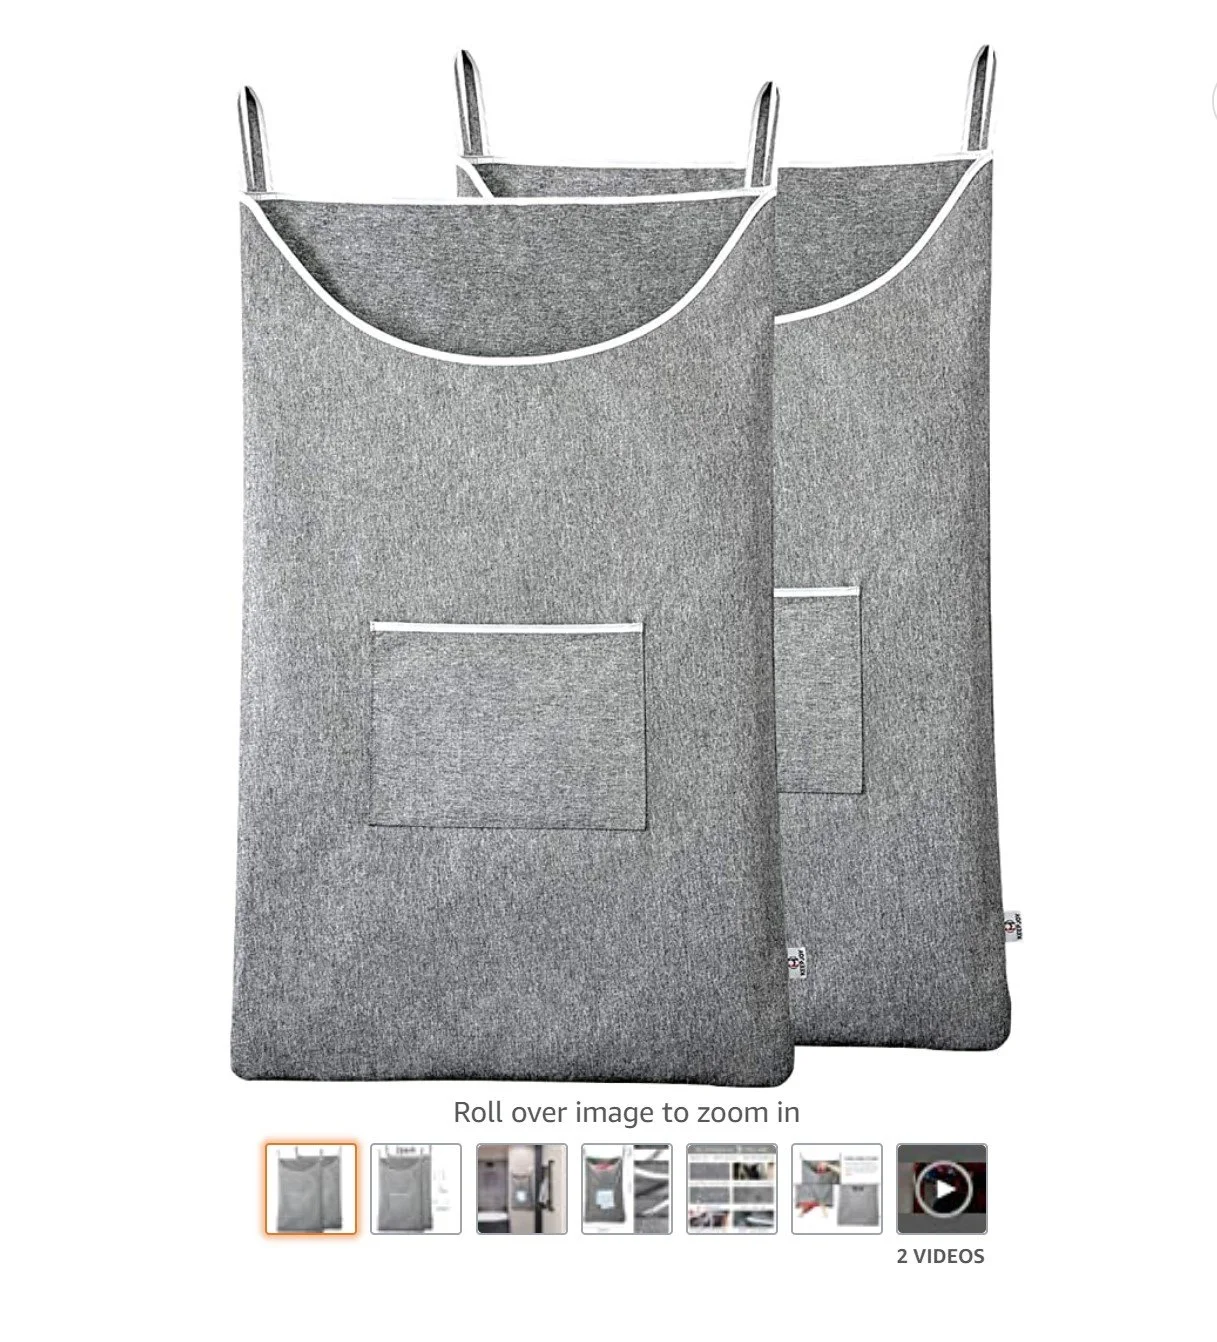
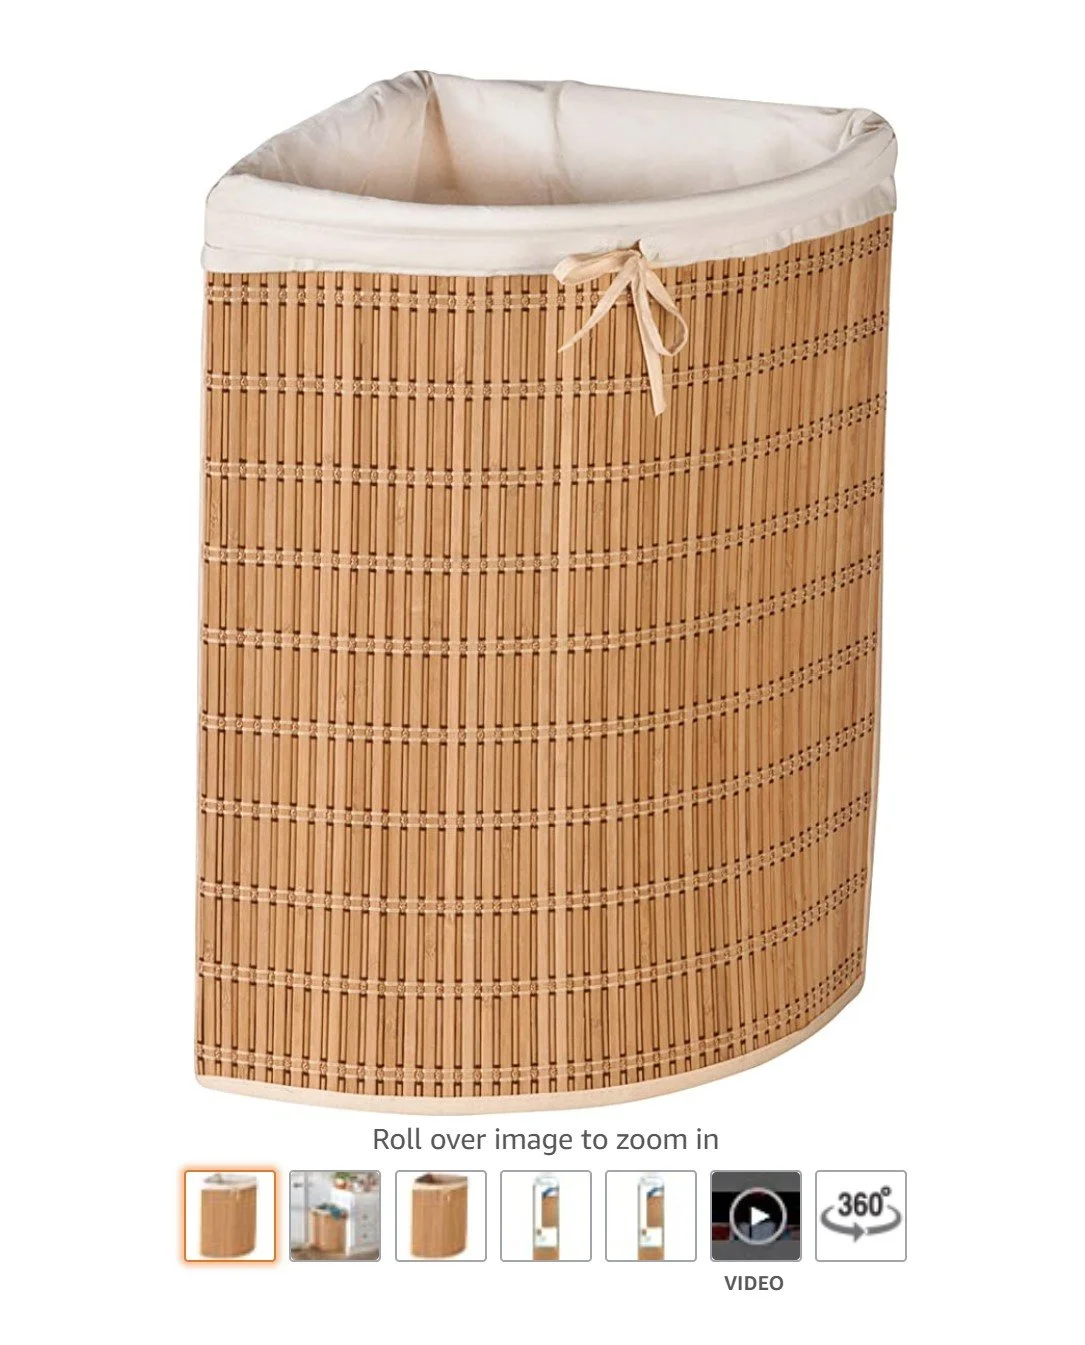
We also picked up some over-door laundry hampers to clear up floor space, though a curved, corner basket on either side of the dresser would have worked too.

Before & After
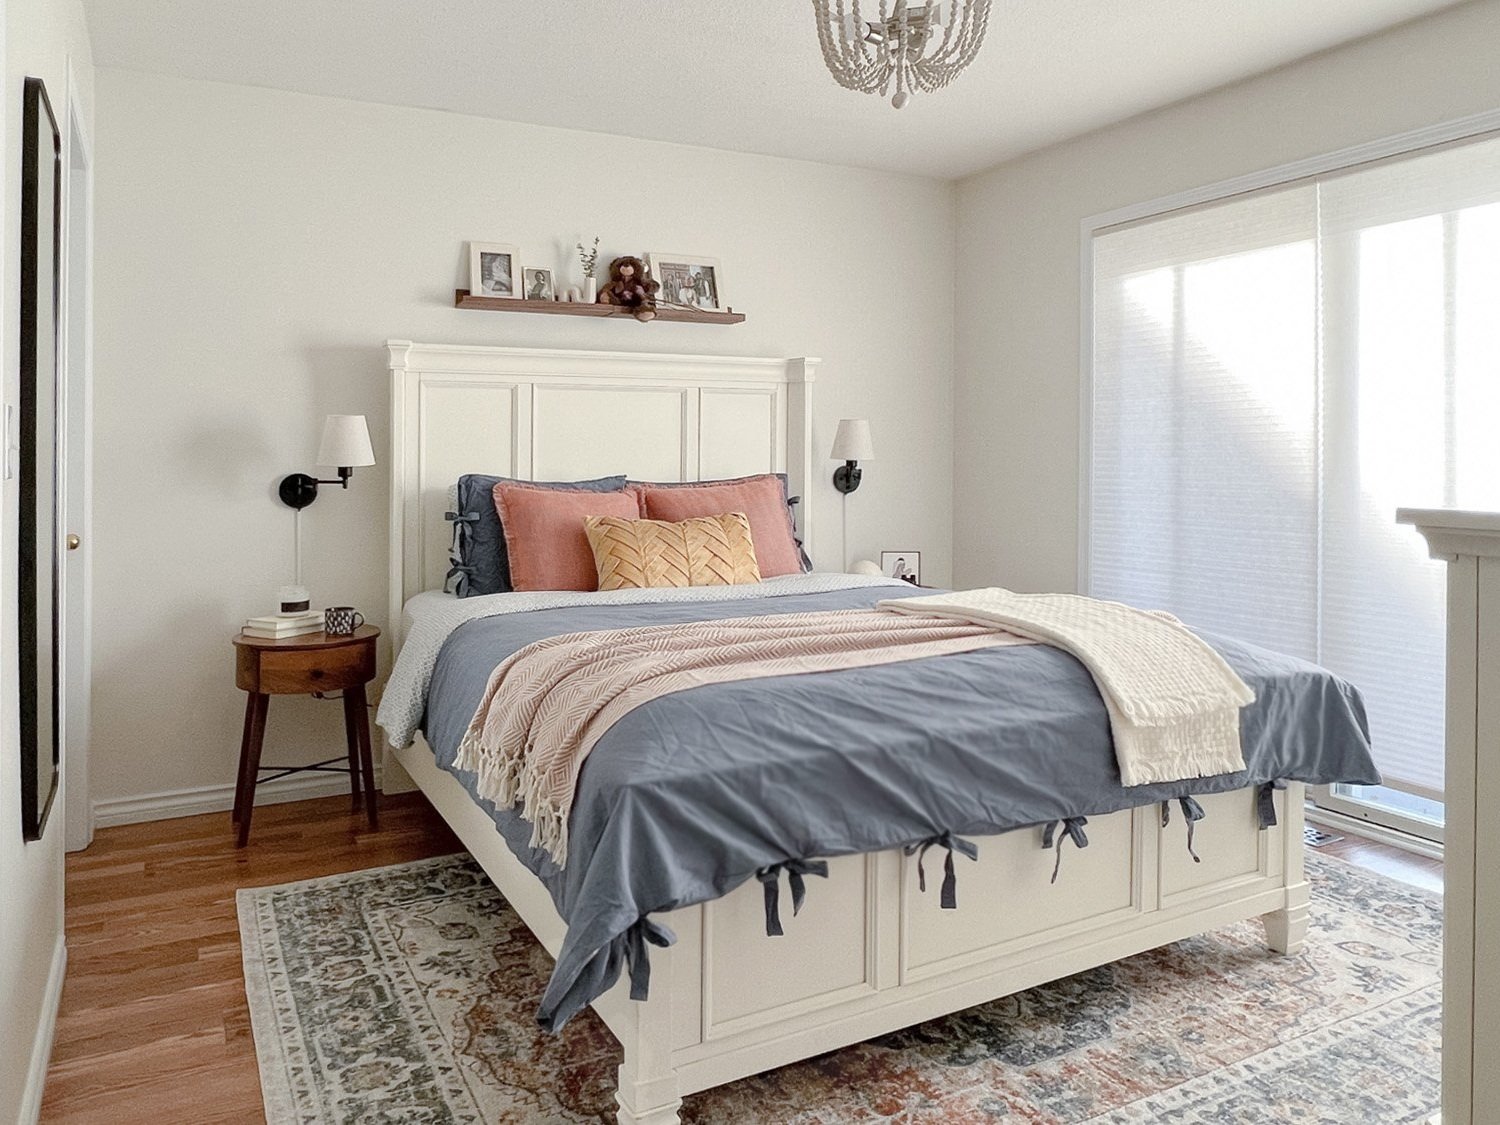

Truly, it doesn’t take that much to really transform your space. If you take the time to hunt around for deals and do a few simple DIYs, beautiful things can happen! I hope this gives you a few ideas for your next home makeover 😊
Related Articles


Front doors are meant to be colourful! See how a pretty coral front door breathes new life into this historical lake-front cottage.