
Functional Sideboard Styling on a Budget
If you have a stretch of wall that needs some love, or if you already have a sideboard and don’t know how to style it, these guidelines can help steer your affordable decorating efforts! Learn how this entire sideboard vignette was pulled together for under $300.
What do you NEED from the space?
This is always the first question I ask before starting a new design project. What will the area be used for? How will it enhance the functionality and beauty of the home? What compromises can and can’t be made?
This little stretch of wall was the final frontier of our apartment, and there were so many things it could have been: a storage wall, a work space, an exercise zone… all very tempting. But after weighing the options — at length — I finally accepted that what we really needed was more storage space, and (drumrolllll!) a pretty backdrop for upcoming YouTube videos! #staytuned
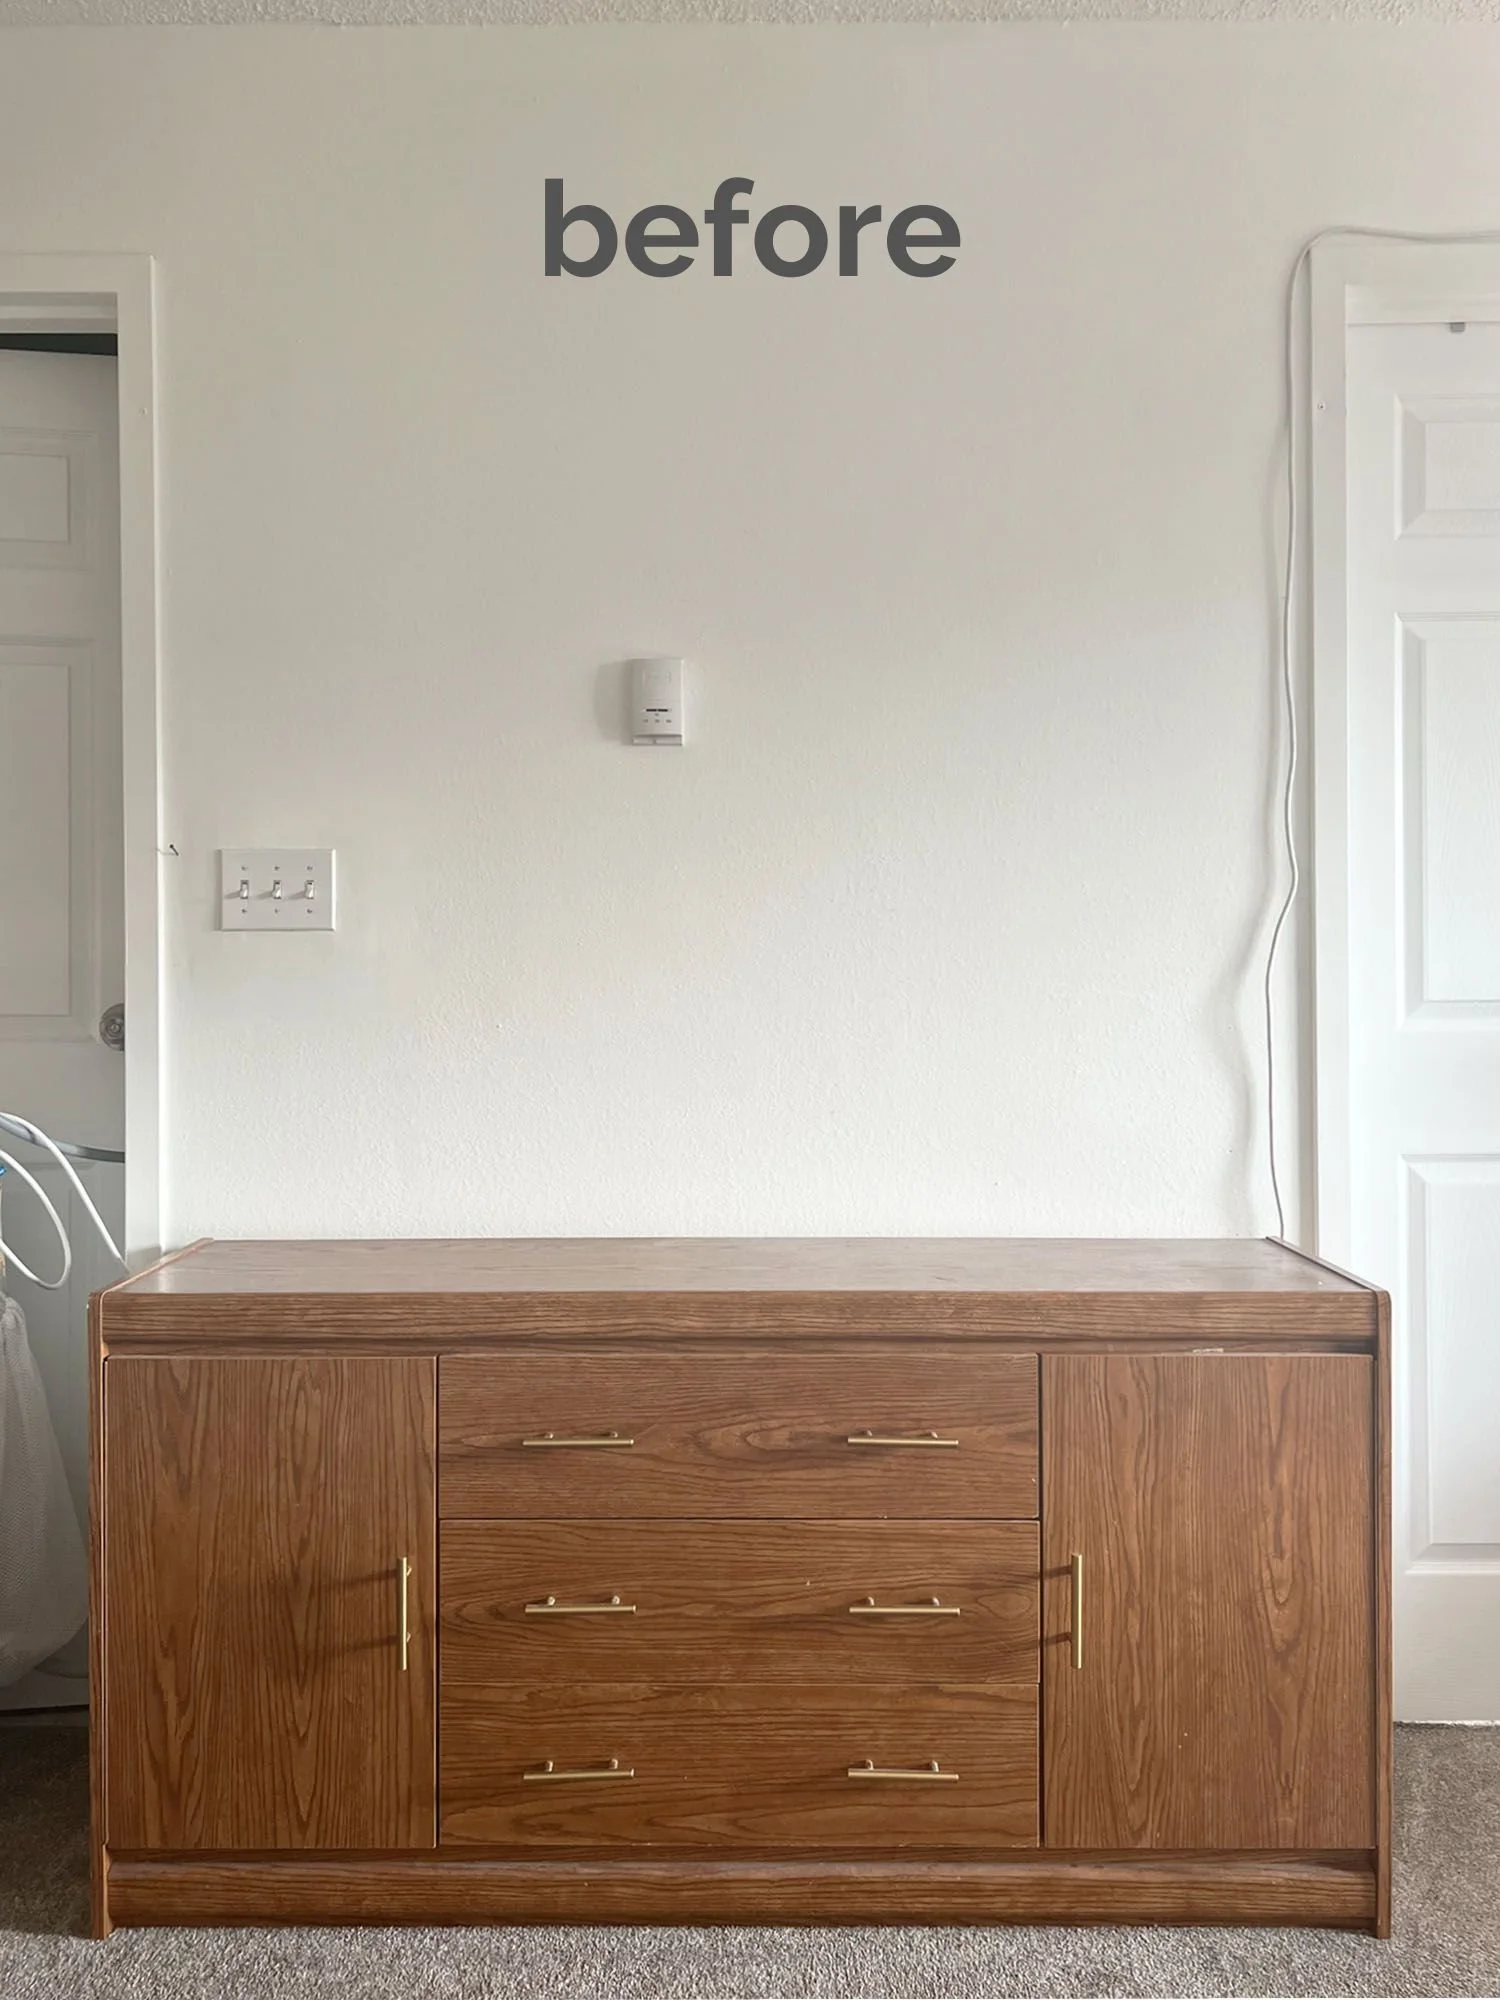
This uuugly sideboard sat here for over a year before I finally decided to commit and spruce ‘er up!
What obstacles are you working around?
Many of us don’t have the space or the money to do precisely what we want, so it’s important to understand your constraints from the start. No sense in designing your dream vignette or purchasing the perfect something, only to be foiled by… oh I don’t know… a THERMOSTAT!
Sometimes, the smallest of obstacles can be the biggest of pains. For example, we have to adjust the heat in our quirky old apartment multiple times a day, so the thermostat had to remain accessible. Originally, I wanted to do something more minimal and elegant like the mockup below, but it was simply tooooo annoying having to move the art every time we needed to tweak the heat. (Believe me, I tried. Weeks of denial.)

I originally wanted to do something similar to this mockup, but it simply didn’t suit our needs and constraints. A big part of the process is discarding wishful thinking and problem solving your way to the best design!
In the end, here was the design check list:
Bring in a decent-sized storage unit (of a fairly precise length and depth).
Keep the surface of the unit (mostly) clear, as this area doubles as our little laundry centre (our portable washer is hard at work in this photo, stage left!).
Cover the thermostat while preserving ease of access.
Create a place to store my large hats. #smallapartmentprobs
Add more wall lighting.
Cover the sconce and extension cords.
Decorate around this criteria for under $300!!!
Let your needs guide your decisions
Usually this means sourcing your largest and/or most expensive item first and going from there. Once that initial hurdle is accomplished, the rest is design dominos!
Phase 1: Find the main furniture piece — in this case: a sideboard.
After weeks of searching, the unit pictured above came up on FBMP. It was dead ugly laminate and falling apart, but it was the perfect size and had a functional mix of cupboards and drawers.
Oh — and it was only $40. Sold!
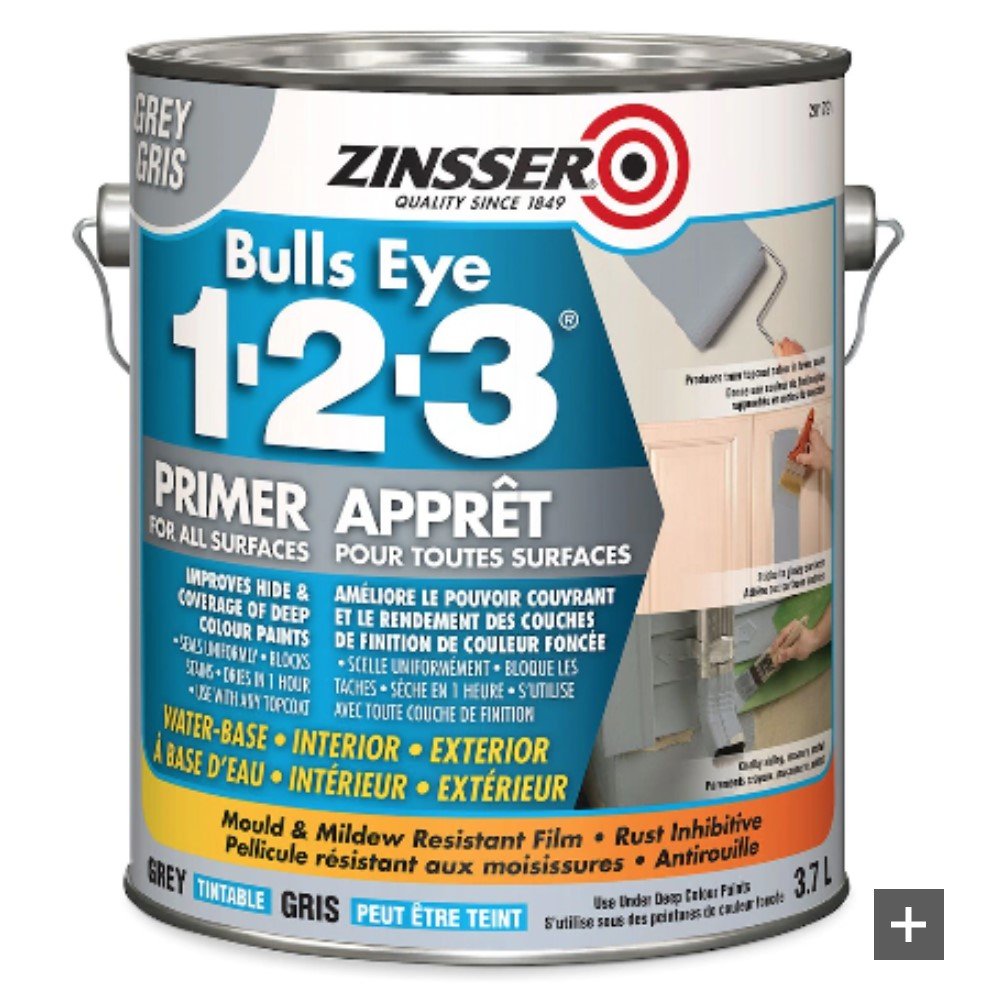
Since I don’t have access to a garage, shop, or any outdoor space, I didn’t want to sand this piece down to refinish. So I used the Zinsser Bulls Eye primer which claims to not require sanding, even on smooth surfaces like laminate. (I’m suuuper skeptical, but it’s holding up so far! I’ll post an update in a few months.)
I topped it with two coats of Behr’s Intellectual, a warm charcoal with purple undertones to coordinate with our violet-grey carpet and charcoal couch (neither of which I like, but in design, if you can’t beat ‘em, you have to join ‘em).

Phase 2: Tackle the styling puzzle, beginning with the main obstacle — in this case: the thermostat.
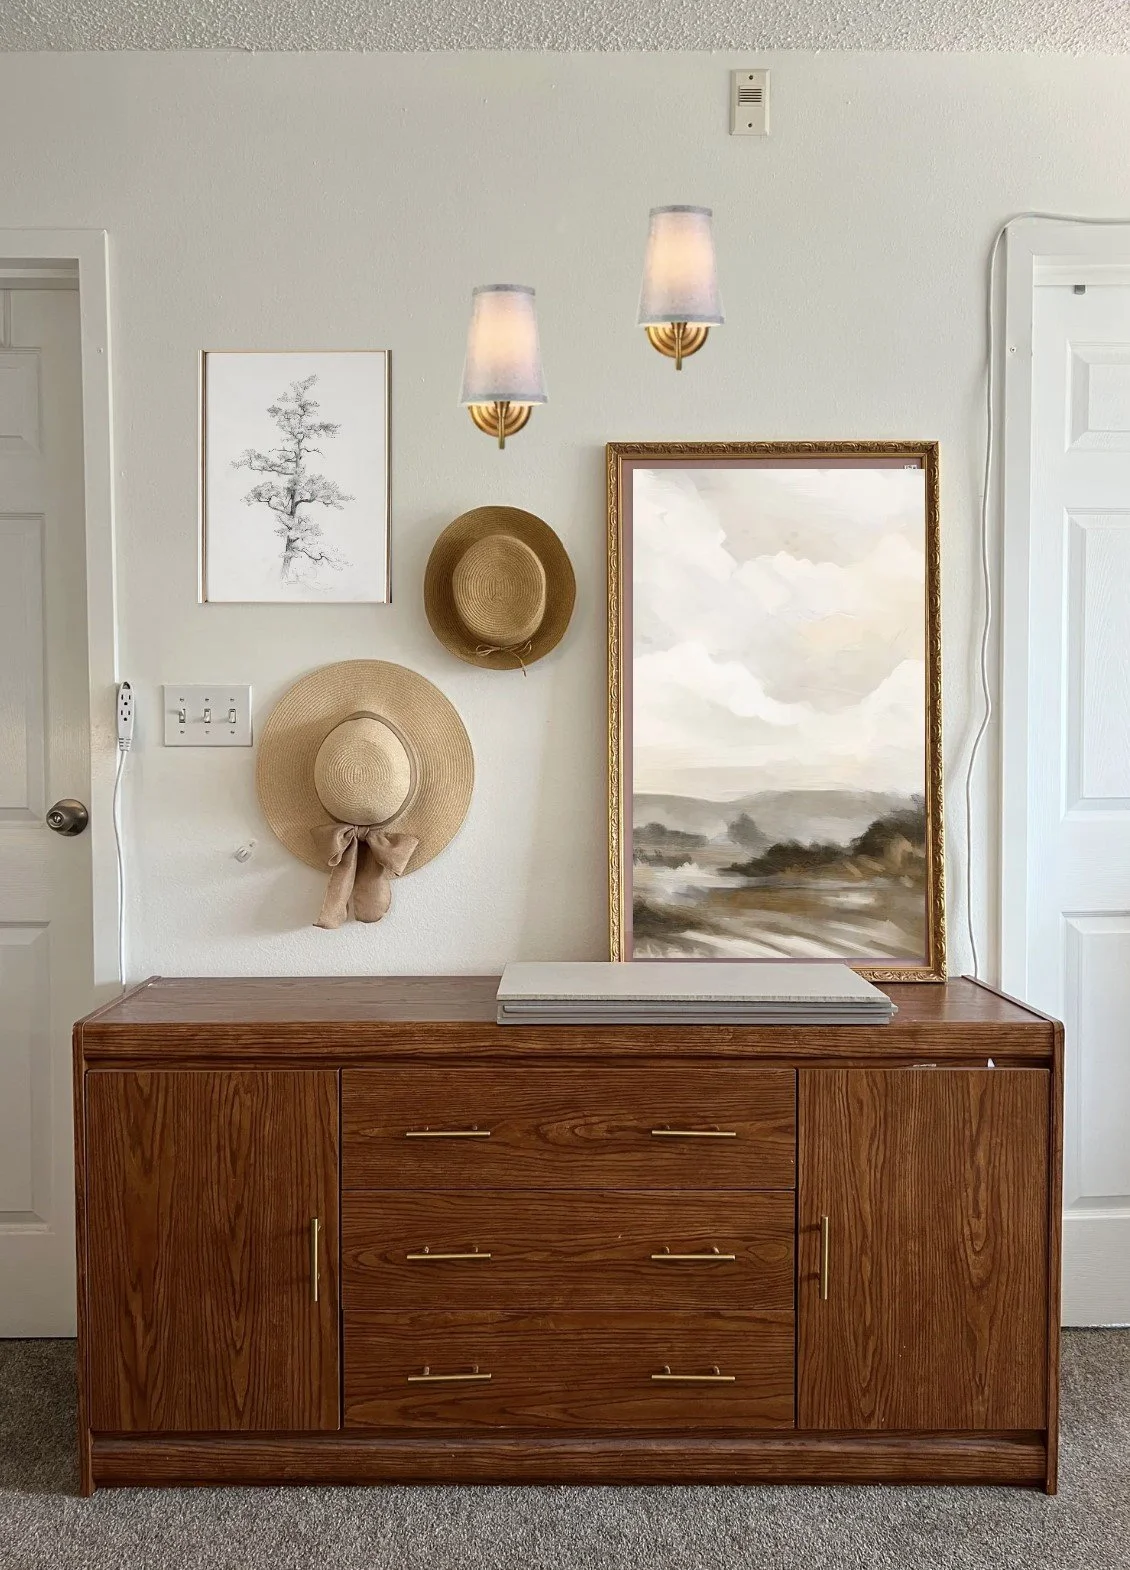
Long story short: my larger hat wouldn’t hook onto the thermostat but the smaller one did, and everything else took shape around that.
I couldn’t cover the light switch, so the sconce & extension cords were directed to the right where they could hide behind a large digital art print.
TIP: I first laid out the wall using Milanote, which is a great online tool for creating design boards (though PowerPoint works too). Design boards allow you to play with different ideas FIRST, ensuring the success of the final look!
RELATED: Where to Buy Affordable Artwork
RELATED: All About Artwork: Size, Spacing, Height, Framing, Colours, and More!
All the other items were chosen and placed using design principles like shape, colour, balance, and proportion. Speaking of colour and balance, the sconces would actually look better in a soft, matte black, so I may spray paint them in the future!
After trying a dozen different configurations in Milanote, I landed on this as a guide:
After trying many different layouts in Milanote, I could see this configuration was the best way to meet our needs and work around the obstacles.
Bring it all together
After laying out the design in Milanote, I spent one afternoon gathering and purchasing all the items, two days priming and painting the sideboard (which allowed plenty of drying time between coats), and one afternoon installing. Everything came together smoothly — the beauty of thoughtful, well-planned design!
RELATED: How to Decorate Bare Walls
And for the final cost breakdown:
Facebook Marketplace | sideboard ($40)
Home Depot | primer, paint and supplies ($75)
Amazon | gold hardware ($25), candle holders ($15), plug-in wall sconces ($20) (NOTE: stock and pricing is always changing on Amazon but there are always deals to be found!)
Salvation Army | large vintage frame ($20)
Ikea | Lomviken frame ($20)
Etsy | digital art prints ($15)
Staples | printing services ($55)
All the other decor I already owned. Always “shop” your own home before buying new! 😉
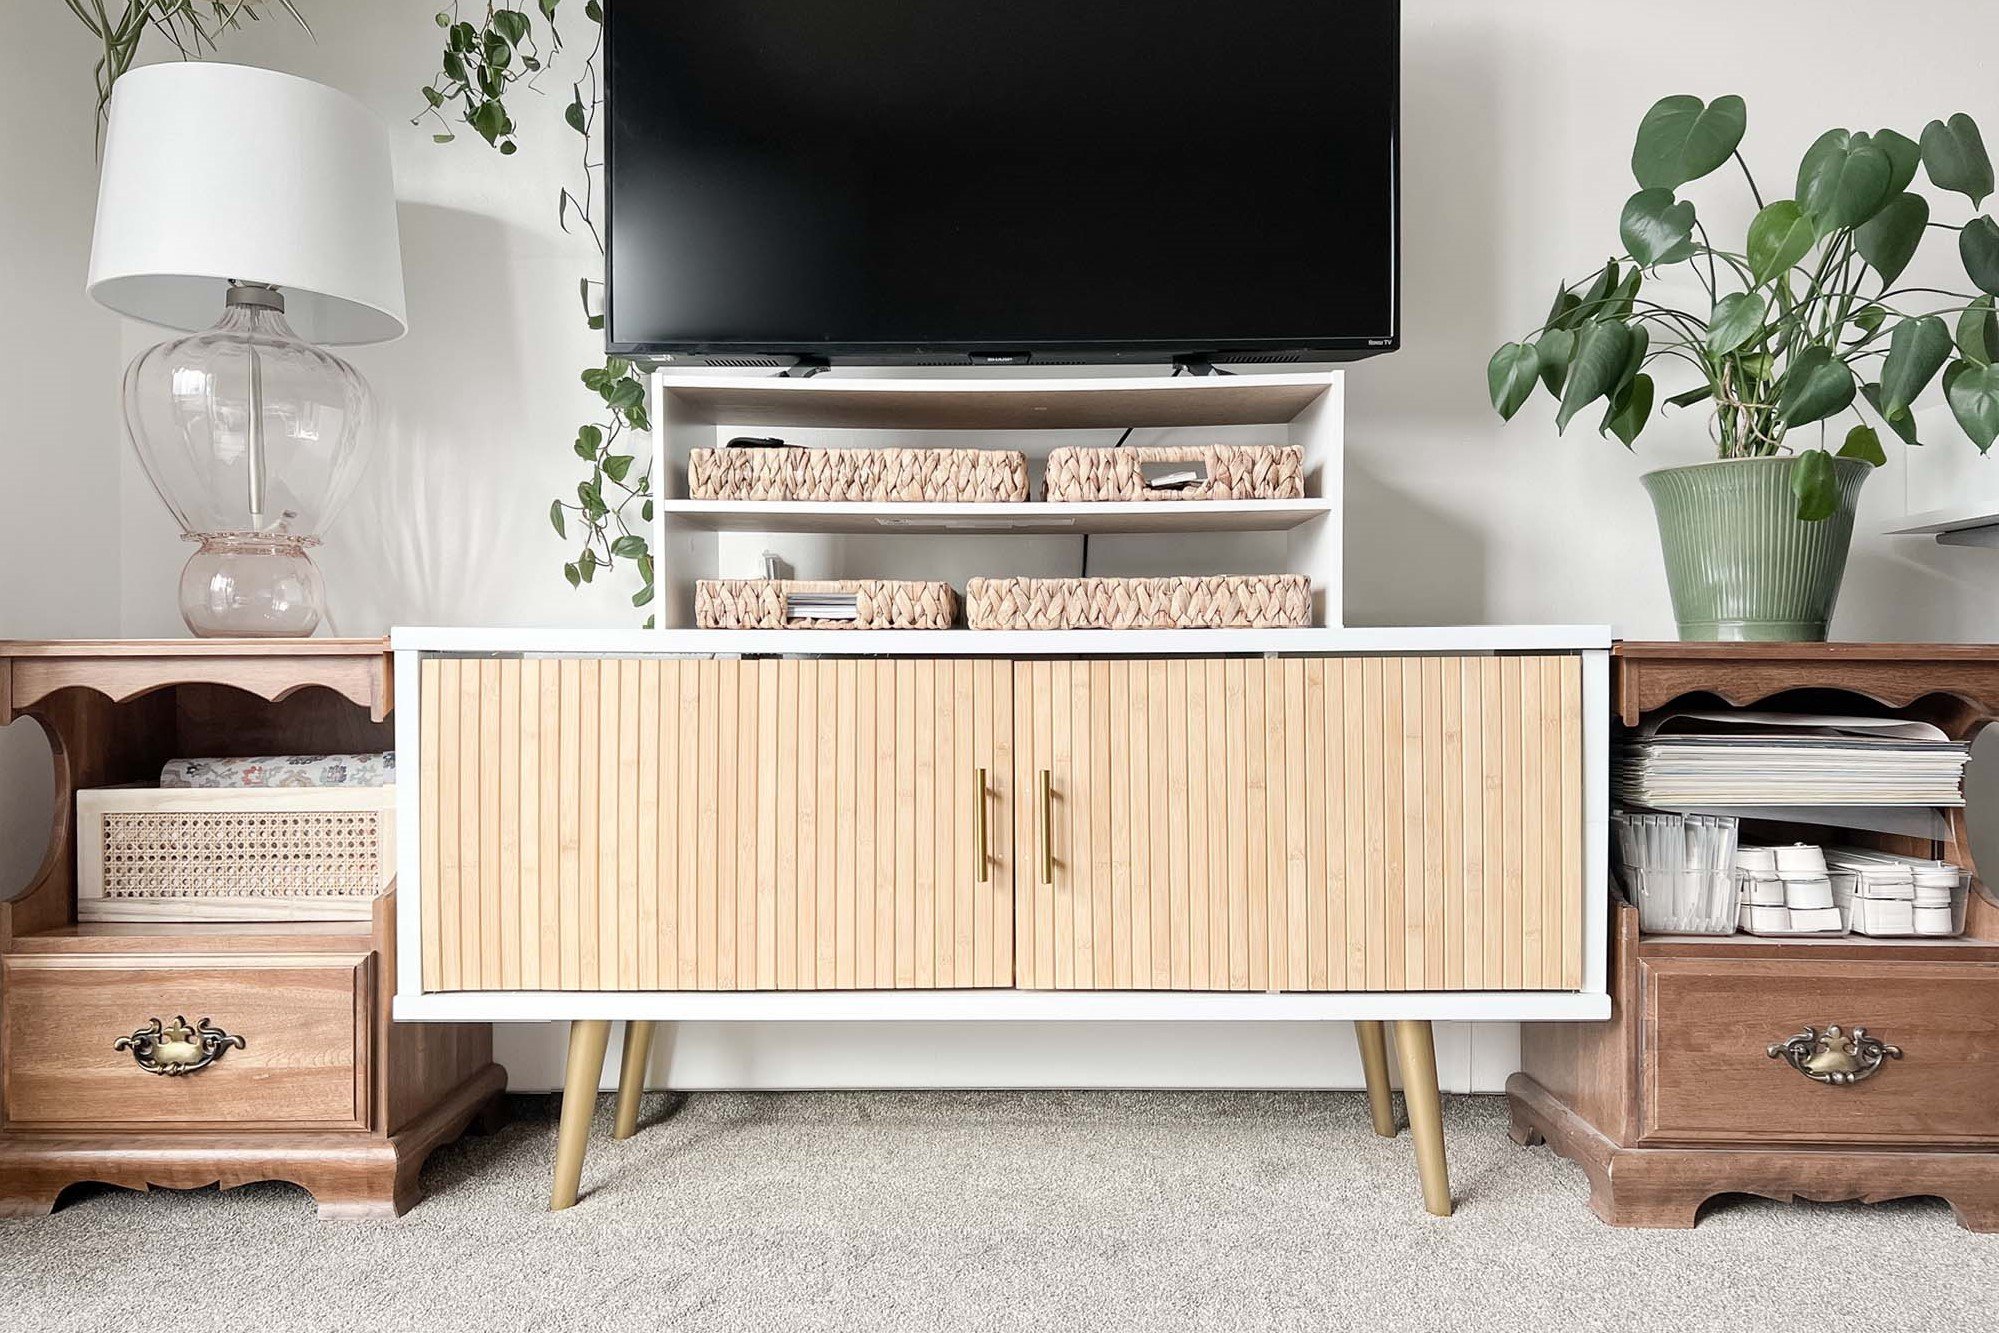
And here is the functionally styled sideboard:


With careful consideration, time and effort, it’s totally possible to create functional and beautiful spaces on a budget. I hope this gives you some ideas for your next styling project!
Related Articles


Front doors are meant to be colourful! See how a pretty coral front door breathes new life into this historical lake-front cottage.