
How to Extend a Small Apartment Kitchen

Many old apartments have small galley kitchens that either dead-end with a wall or pass-through to a dining area. Both configurations are small, and those without enough counterspace may even feel unusable.
Every kitchen needs a minimum of 36” of UNINTERRUPTED counter space to be truly functional.
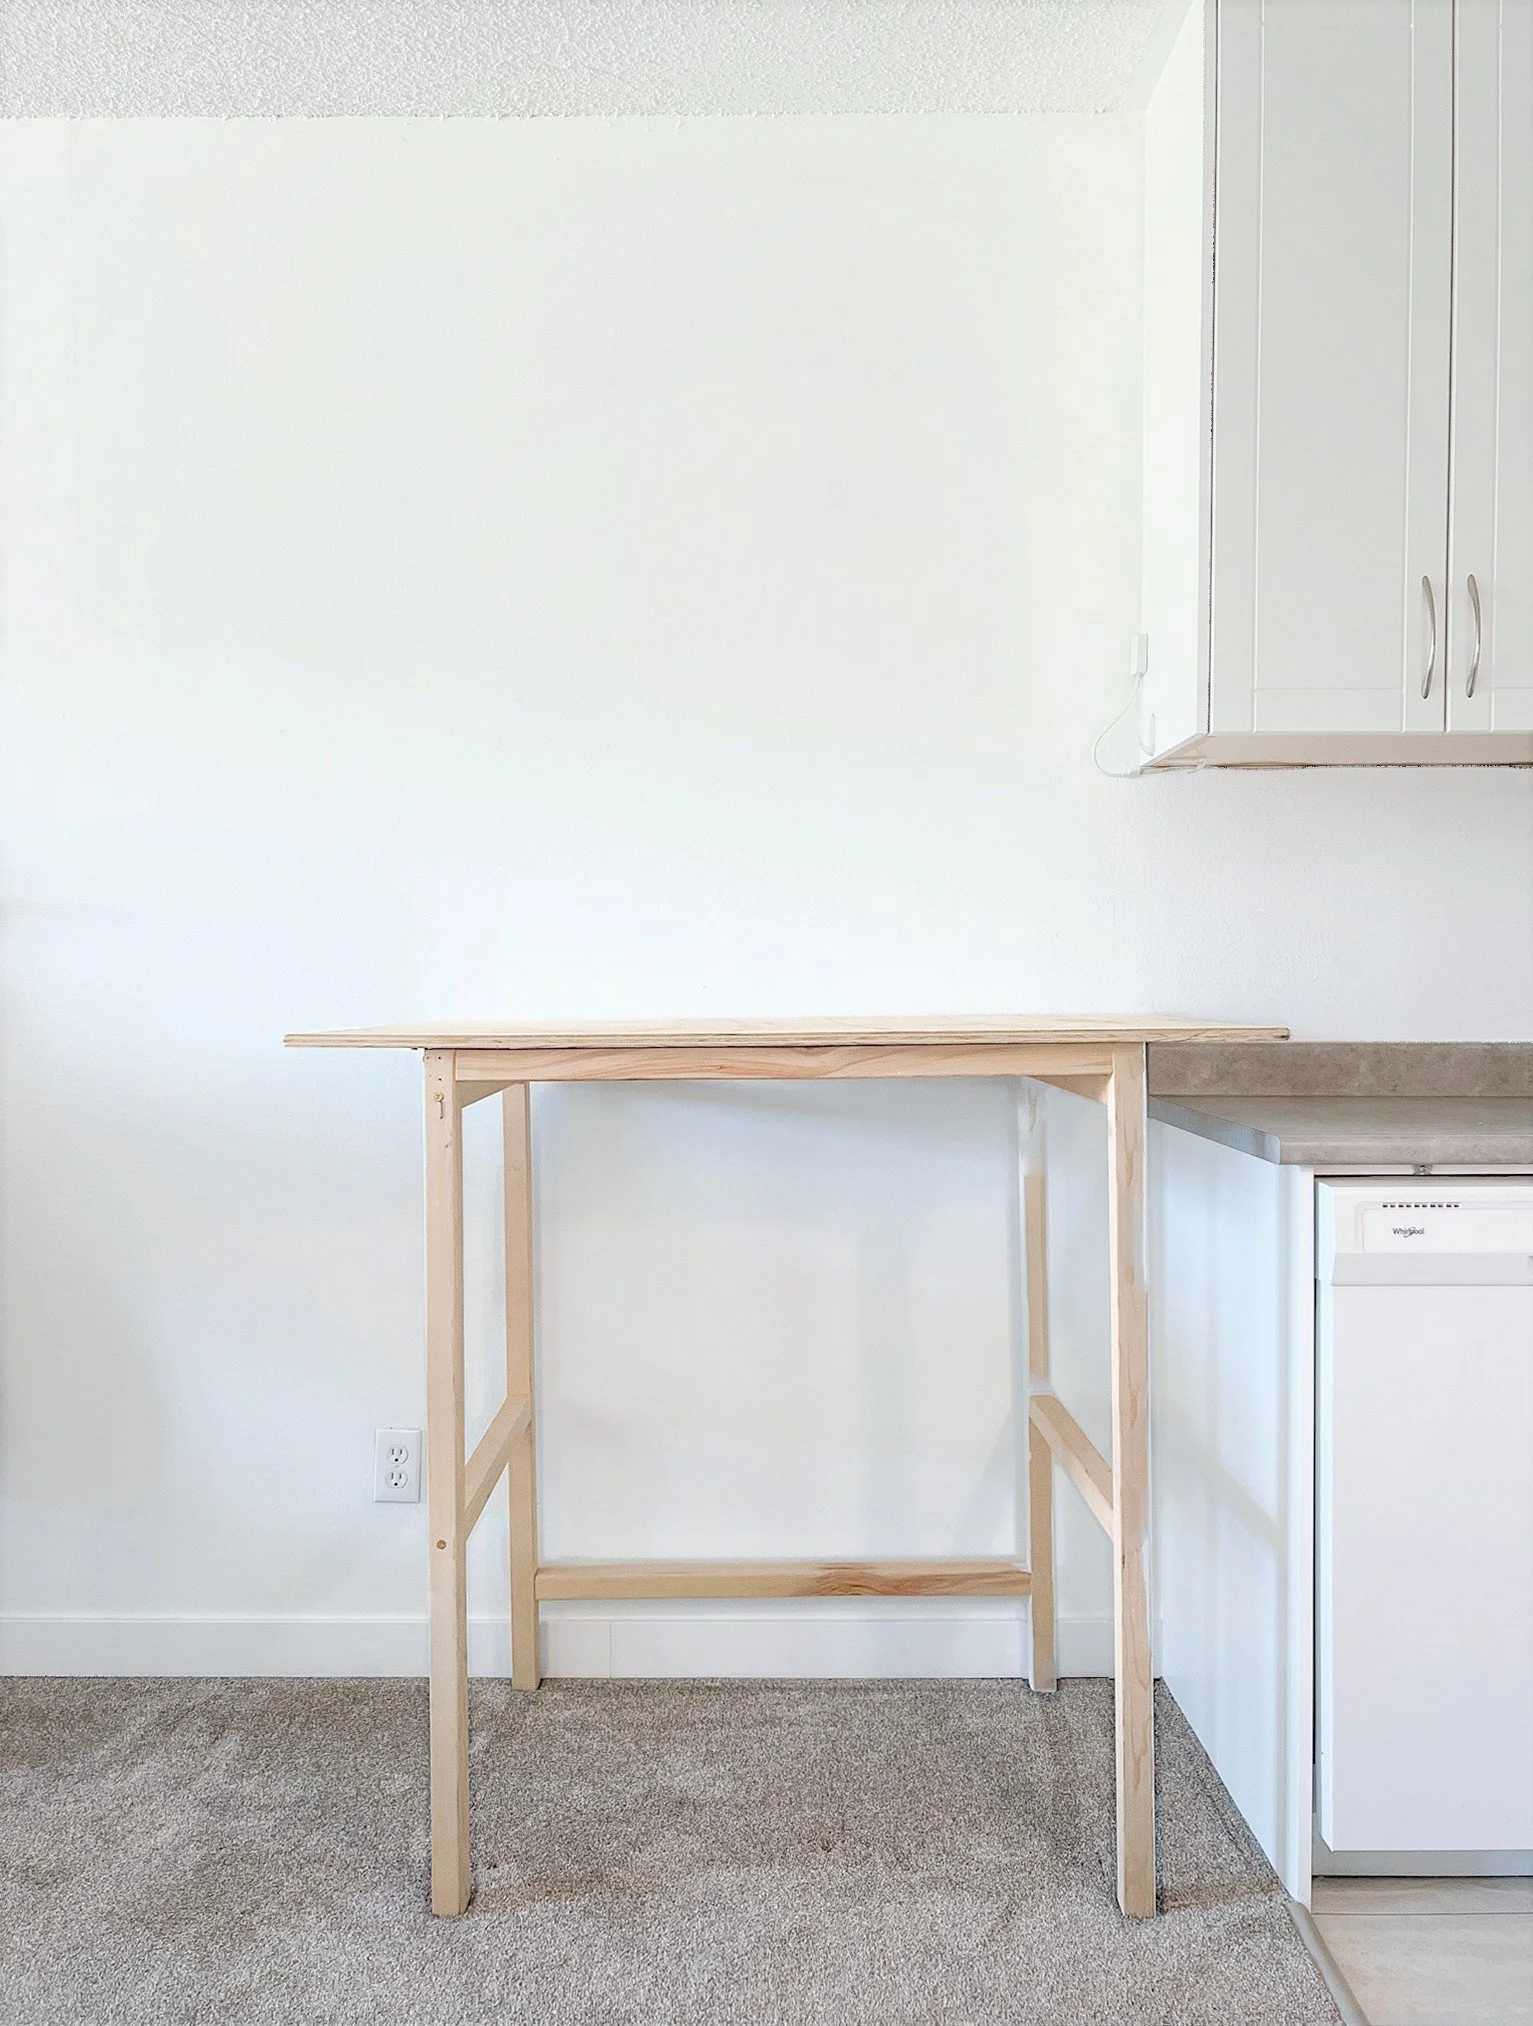
If yours isn’t making the cut, consider extending your kitchen by adding more work surface to the end of your countertop. This can be done with a butcher block, a counter-height table, or as in our case: by revamping an old, standing-height drafting table.
Here’s how to do it!
Step 1: Choose Your Surface
Rather than buying a lovely little prep table , we saved money by repurposing the drafting table Jake built me as a design student. We could have cut the legs to make it counter height, but I’m nearly 5’-11”, making this 42” surface a nice option for me.
Remember, whenever you’re making custom additions to your home — even the janky, budget variety we churn out here at DBC 😏 — it’s about doing what’s right and comfortable for YOU, no matter what the “standards” dictate.
NOTE: if your household’s primary cook is under 5’-2”, a table-height work surface of about 30”-32” high could be a comfortable option. Test it out!
Step 1: Choose Your Surface
Step 2: Prep Your Surface
If you’re purchasing or reusing a finished piece of furniture you can skip this step, but if you’re building something from wood you’ll have to finish your new surface to make it wipeable.
If you want to preserve the wood look you can use a some sort of clear coat, stain, or penetrating oil. If you want a more uniform aesthetic, you can paint the surface with a durable, high-gloss paint, or use contact paper.
I painted the base of our table with some BM Chantilly Lace I had leftover from another project, and applied white contact paper to the top when we ran out of paint! Just #Makin’Do, ya know? You can find contact paper at hardware stores, Walmart, or on Amazon — but make sure it’s a durable, heavyweight option like this.

Step 2: Prep Your Surface
Step 3: Maximize Your Storage
Consider the best use for the space beneath your addition. If your new surface will double as an eating area, the space underneath may simply be taken up by chairs. If not, it’s important to maximize that potential! For example, where we live near Vancouver, we could have rented out the space under our table as a “junior suite” for an extra $1,500 a month, but we opted for the extra storage instead. 😉
Most fridges (and particularly small apartment fridges!) don’t provide nearlyyy enough freezer space, so we bought in this amazing little upright freezer. Sitting on top is our perfectly-sized compact microwave, and the gap above usually houses our full-sized baking sheets.
Beside the appliances is our “baking centre”. All our various ingredients and instruments are kept in this handy little storage tower which juuust fits beside the freezer, and on top of the drawers sits the perfect-sized basket I found at our local thrift store.
Finding all the perfect items to maximize your space can be a painstaking, upfront effort, but it’s always worth the optimized, comfortable, and functional result!

Step 3: Maximize Your Storage
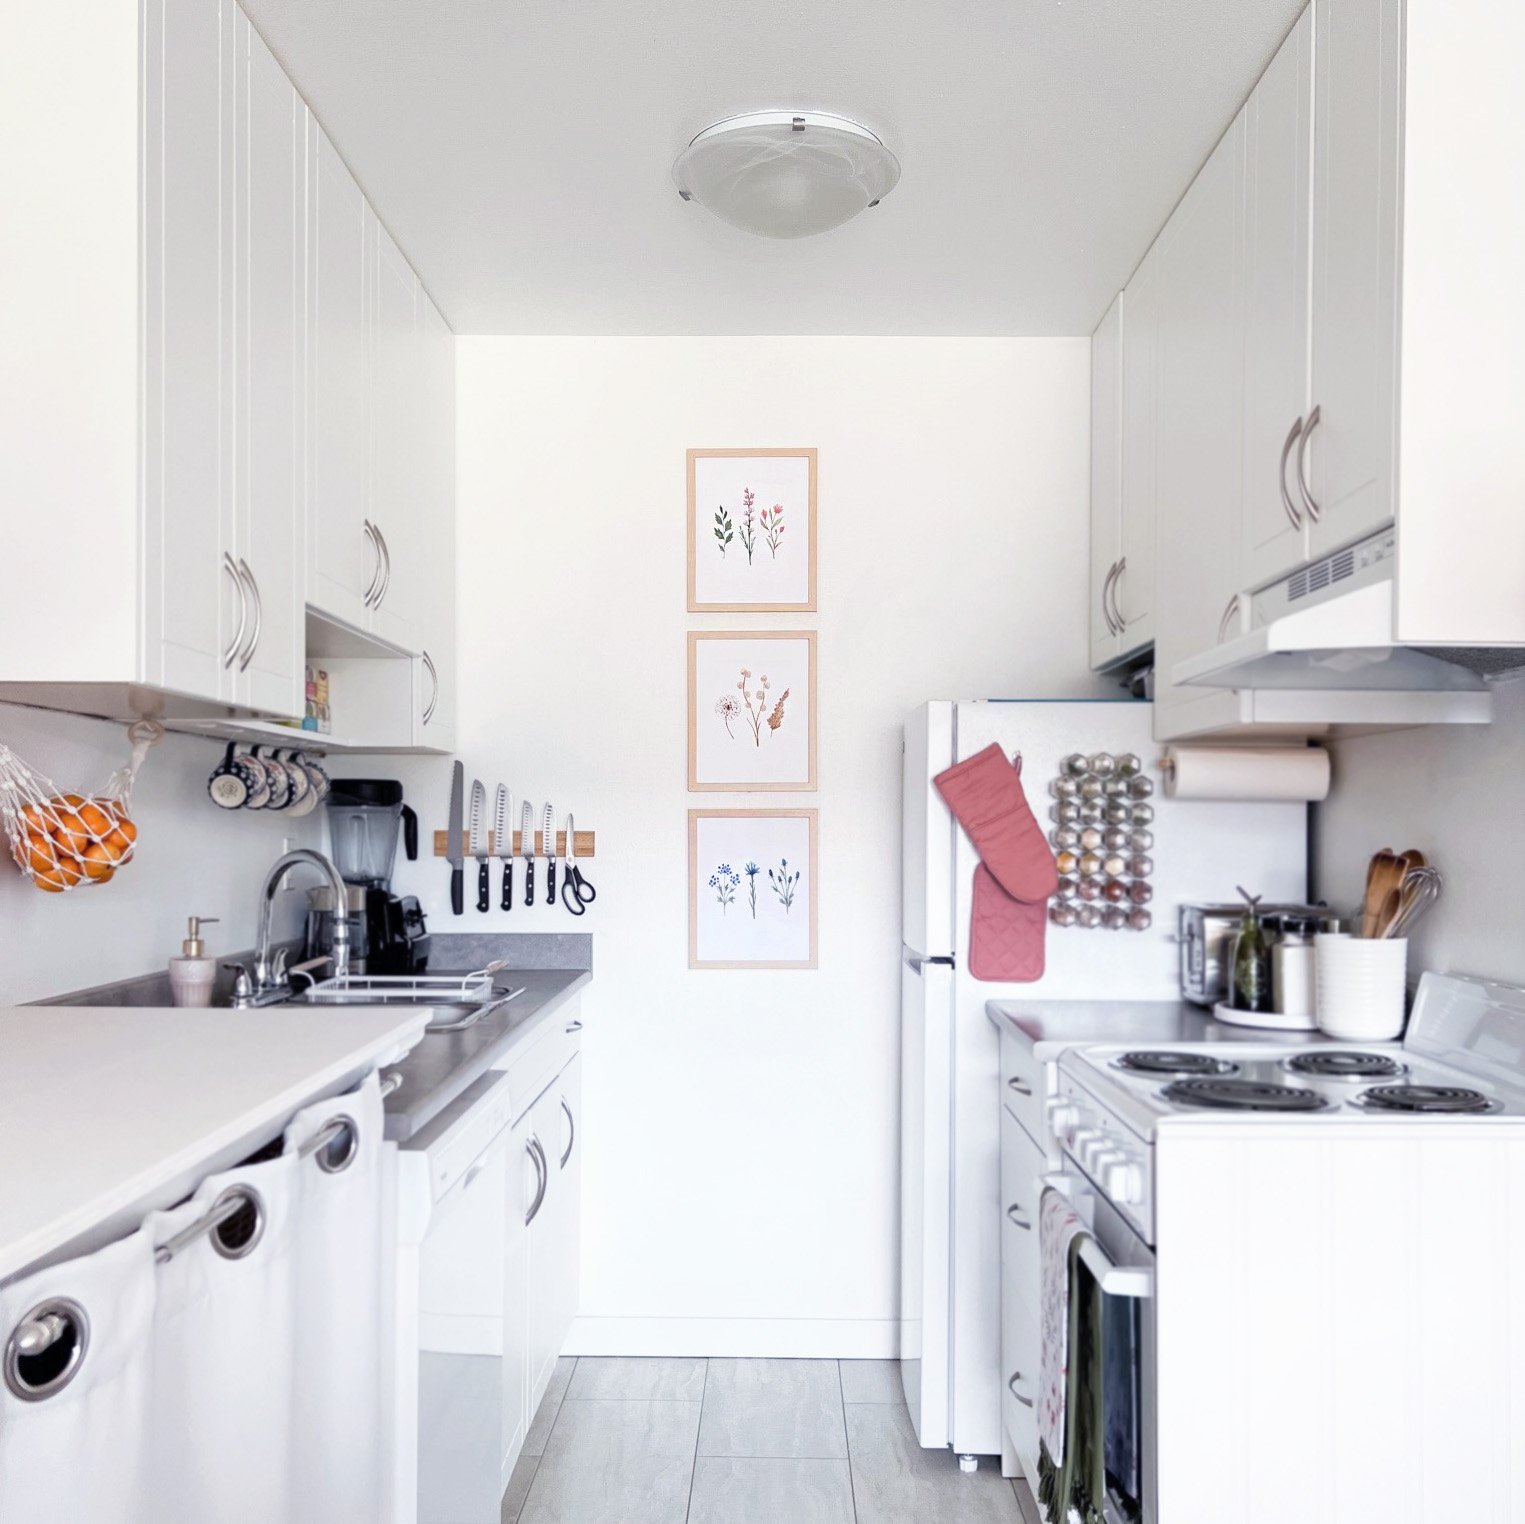
Step 4: Add Vertical Storage
Vertical storage is consistently underutilized, even though it can make ALL the difference in a small space! Kitchen rails are a great way to store large or bulky items on your wall, and they also provide a golden opportunity for functional styling.
We installed IKEA’s super affordable Hultarp rail system using screws and anchors since the placement didn’t align with our studs. The rail now holds a mélange of our difficult-to-store items, and the plant adds some colour and life to the kitchen.

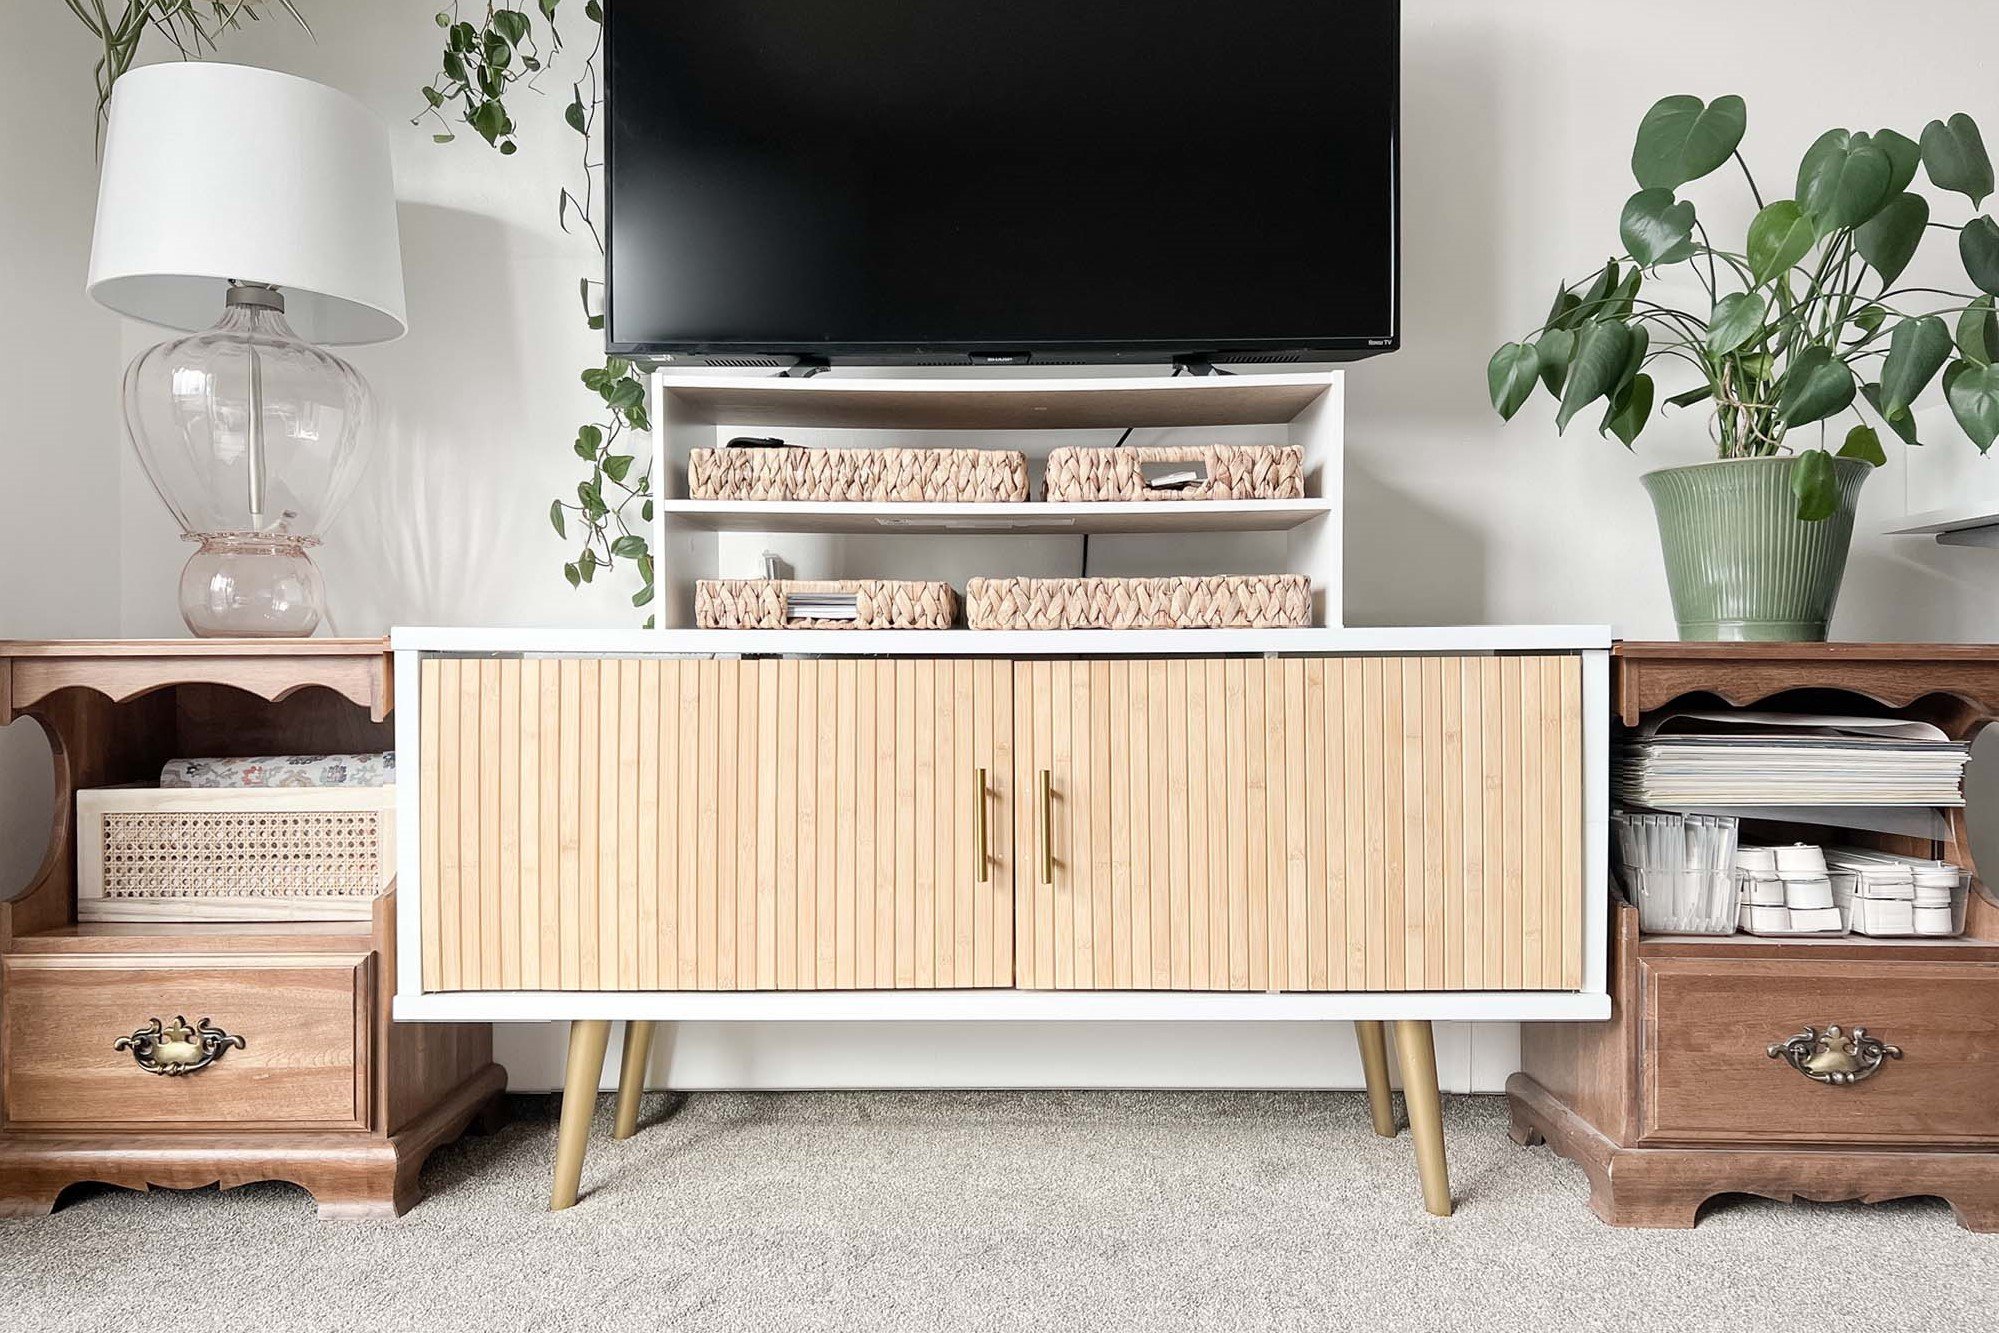
Step 5: Make it Presentable
While I always emphasize function, it’s also worth paying attention to form. Actual and visual clutter is not only unpleasant to look at — it also makes your space feel smaller. It’s best to hide your storage items in baskets or behind doors, or even behind a curtain as we did here.
Doors would have been the more elegant solution, but A) I only had one day to throw this together, and B) the curtain is actually more functional and easier to use. I picked up the rod system at Walmart for only $5, and found this perfectly-sized curtain on Amazon. (Finding perfectly-sized items is uniquely satisfying and extremely useful — well worth the effort!)
And finally, ADD A LAMP! Overhead lighting does nothing for atmosphere, and isn’t even necessary in a well-planned lighting scenario. I snagged this little accent lamp on FB Marketplace (originally from IKEA), and it’s much more pleasant (day and night) than our overhead fixture. I also added a basket on top of the table to hide away the odds & ends that so often appear on kitchen surfaces, like opened chip bags, half-eaten chocolate bars, cell phone charges, and that one random banana.

Step 5: Make it Presentable
So there you have it folks! This little kitchen extension is now the most functional 8 sq ft in our apartment. I hope you’re feeling inspired to extend your own little kitchen!
Related Articles


Are you wondering how to update your bedroom for under $1000?This may sound like a lot of money, but new bedding alone can cost upwards of $200, most rugs are in the $300-$400 range, and the minute you say “window treatments,” well, that’s another few hundred right there. But with a little patience, persistence, luck, and creativity you can stretch your budget a long way and create a whole new feel!