
Easy DIY Media Unit Doors Using IKEA Rodeby Armrest Trays
Open TV stands are like clear glass light fixtures: gorgeous in theory, dysfunctional in reality! Housing a menagerie of books, games, cords and accessories, media units should most definitely have doors. After growing tired of the clutter in our open unit, I turned a couple of IKEA Rodeby armrest trays into some (very) simple doors using just finishing nails, super glue, and leftover door pulls.
Before - The Open TV Stand
A few years ago, we got this mid-century TV stand and quickly regretted it. No matter which baskets I used or how nicely the books were stacked, I was always bothered by the busy contents of the shelf.
One evening while staring idly at my nemesis, I realized the height of the opening was about the width of an IKEA Rodeby armrest tray. #lightbulbmoment! So I removed the original door, painted the legs, drilled four tiny holes and added the Rodebys! Details below 😊

BEFORE | Even though it was organized, I still didn’t like the cluttered look of our open TV stand.
During - The Rodeby Strategy
After deciding proper hinges and doors were too expensive and complicated, I opted for the easiest and jankiest solution possible: a nail in a hole.
I super-glued some finishing nails to the backs of the Rodebys — one at the top and bottom on the side of each “door” — then drilled small, coordinating holes into the unit.
It was important to carefully measure both the position and depth of the holes, so both the top and bottom nail were aligned, and so the door would sit at the correct height.
The top hole is deeper to accommodate the “installation” of the door, and it doesn’t have to be exact. But the bottom hole must be drilled precisely to ensure the door sits at the desired height.
TIP: You can monitor your drilling distance by wrapping a piece of tape around your drill bit at the point you need to stop!

TOP LEFT — I glued the bottom half of the nail right in the middle of the end strip of bamboo — one at the top, one at the bottom. NOTE: The glue takes a long time to cure! Be patient and give it at least 24hrs to harden up.
BOTTOM LEFT — After carefully measuring the placement of the hole and ensuring the door had enough room to rotate open, I drilled precisely to the depth required for the door to sit in the middle of the opening. (This depth will vary based on the height of your opening.)
RIGHT — I added door pulls and some small magnets to the inside of the door and shelf to keep the door closed.
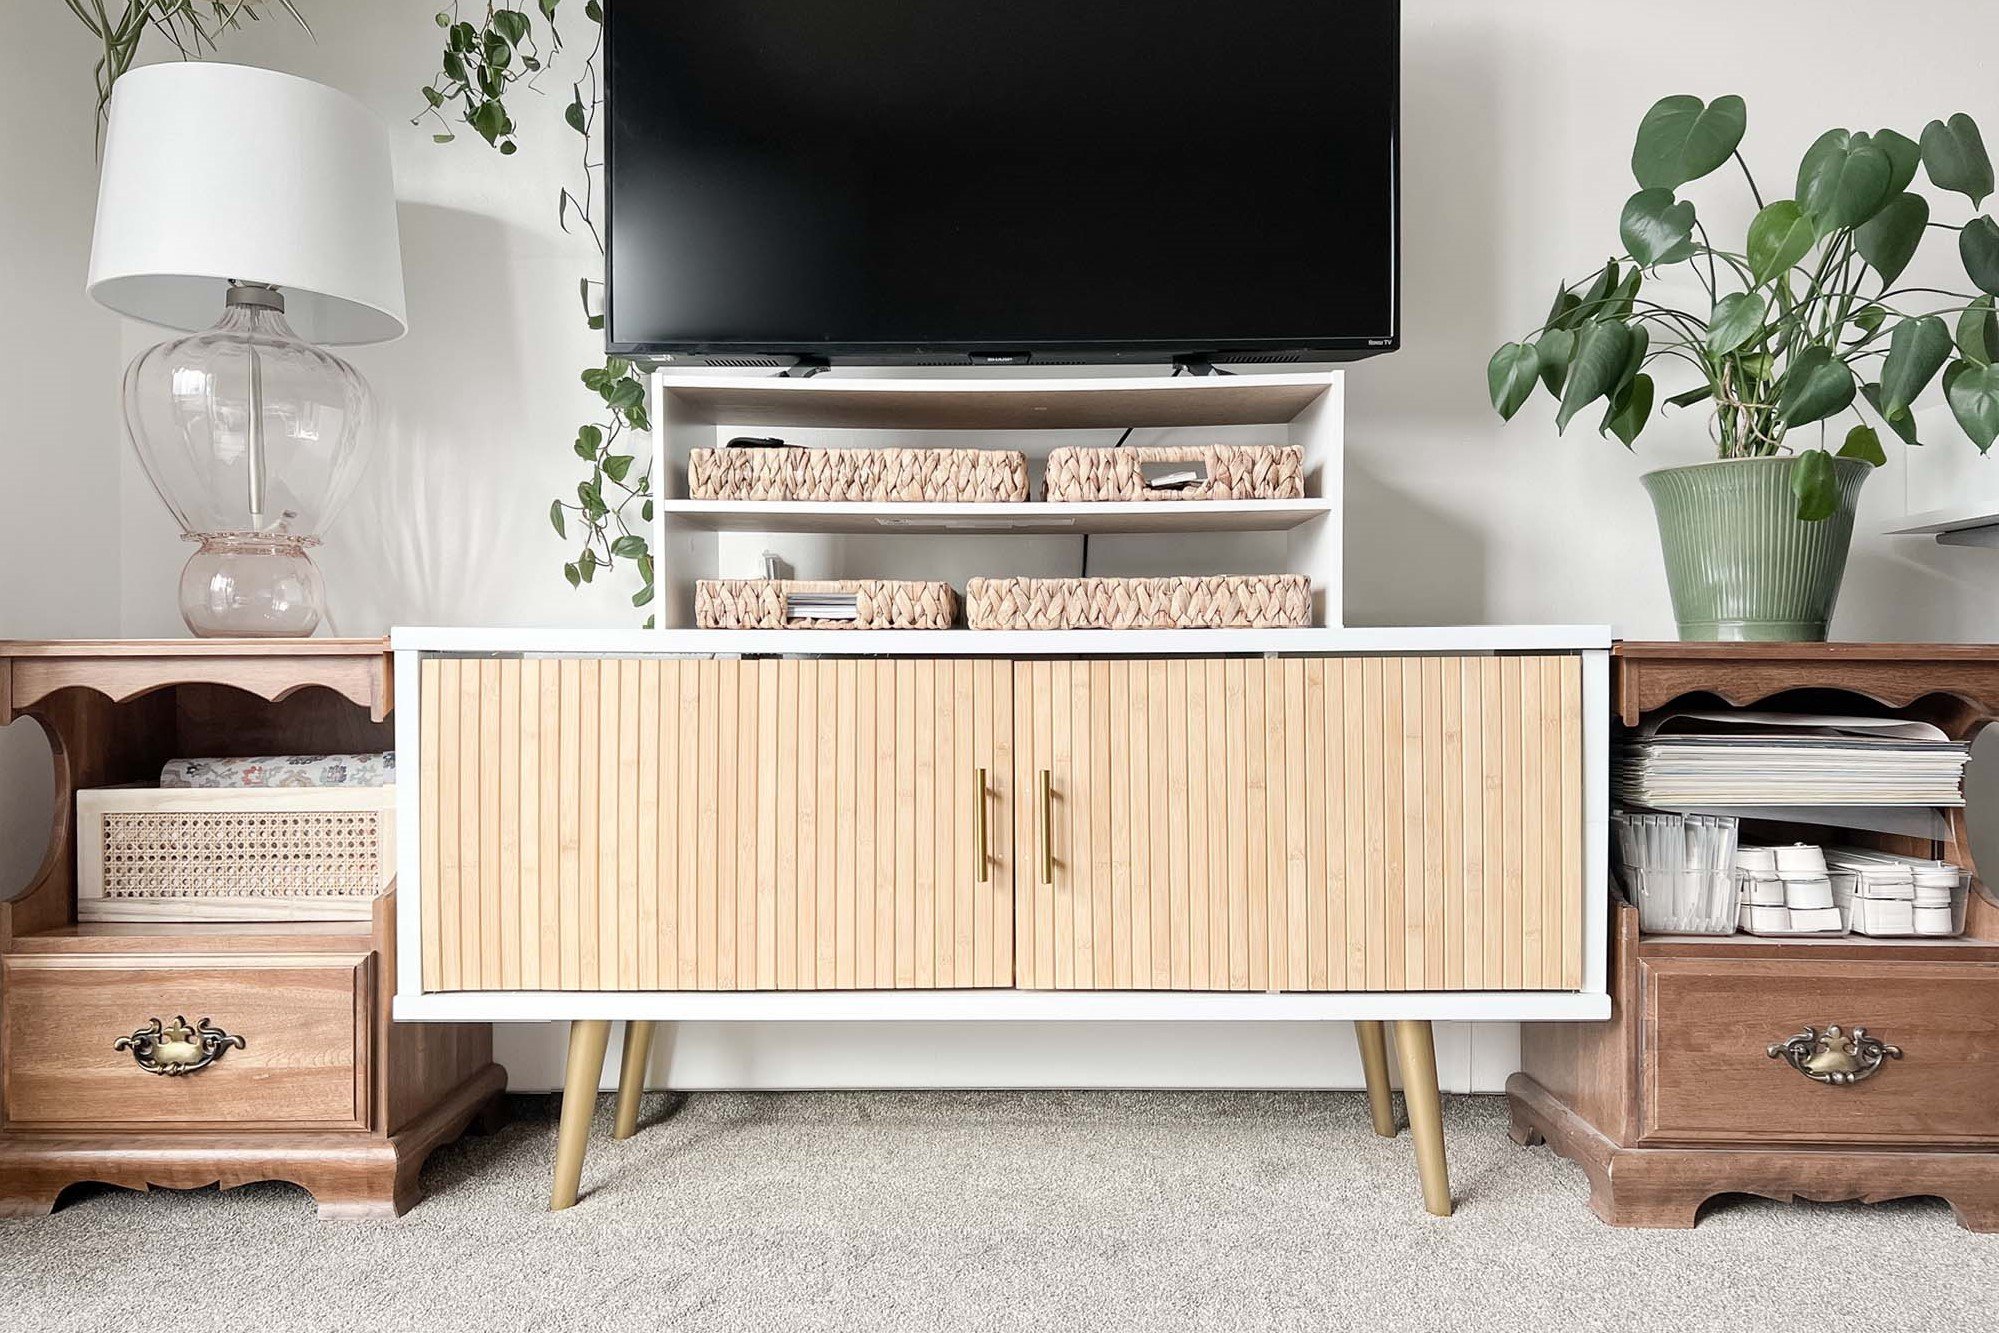
After - A Revamped Media Unit!
I had a couple left over door pulls from another project, so I painted the legs gold to match, added the pulls, and attached some magnets to the inside of the doors / shelves to hold the doors closed. This little project was super inexpensive and only took a few hours, but it completely transformed our TV stand!
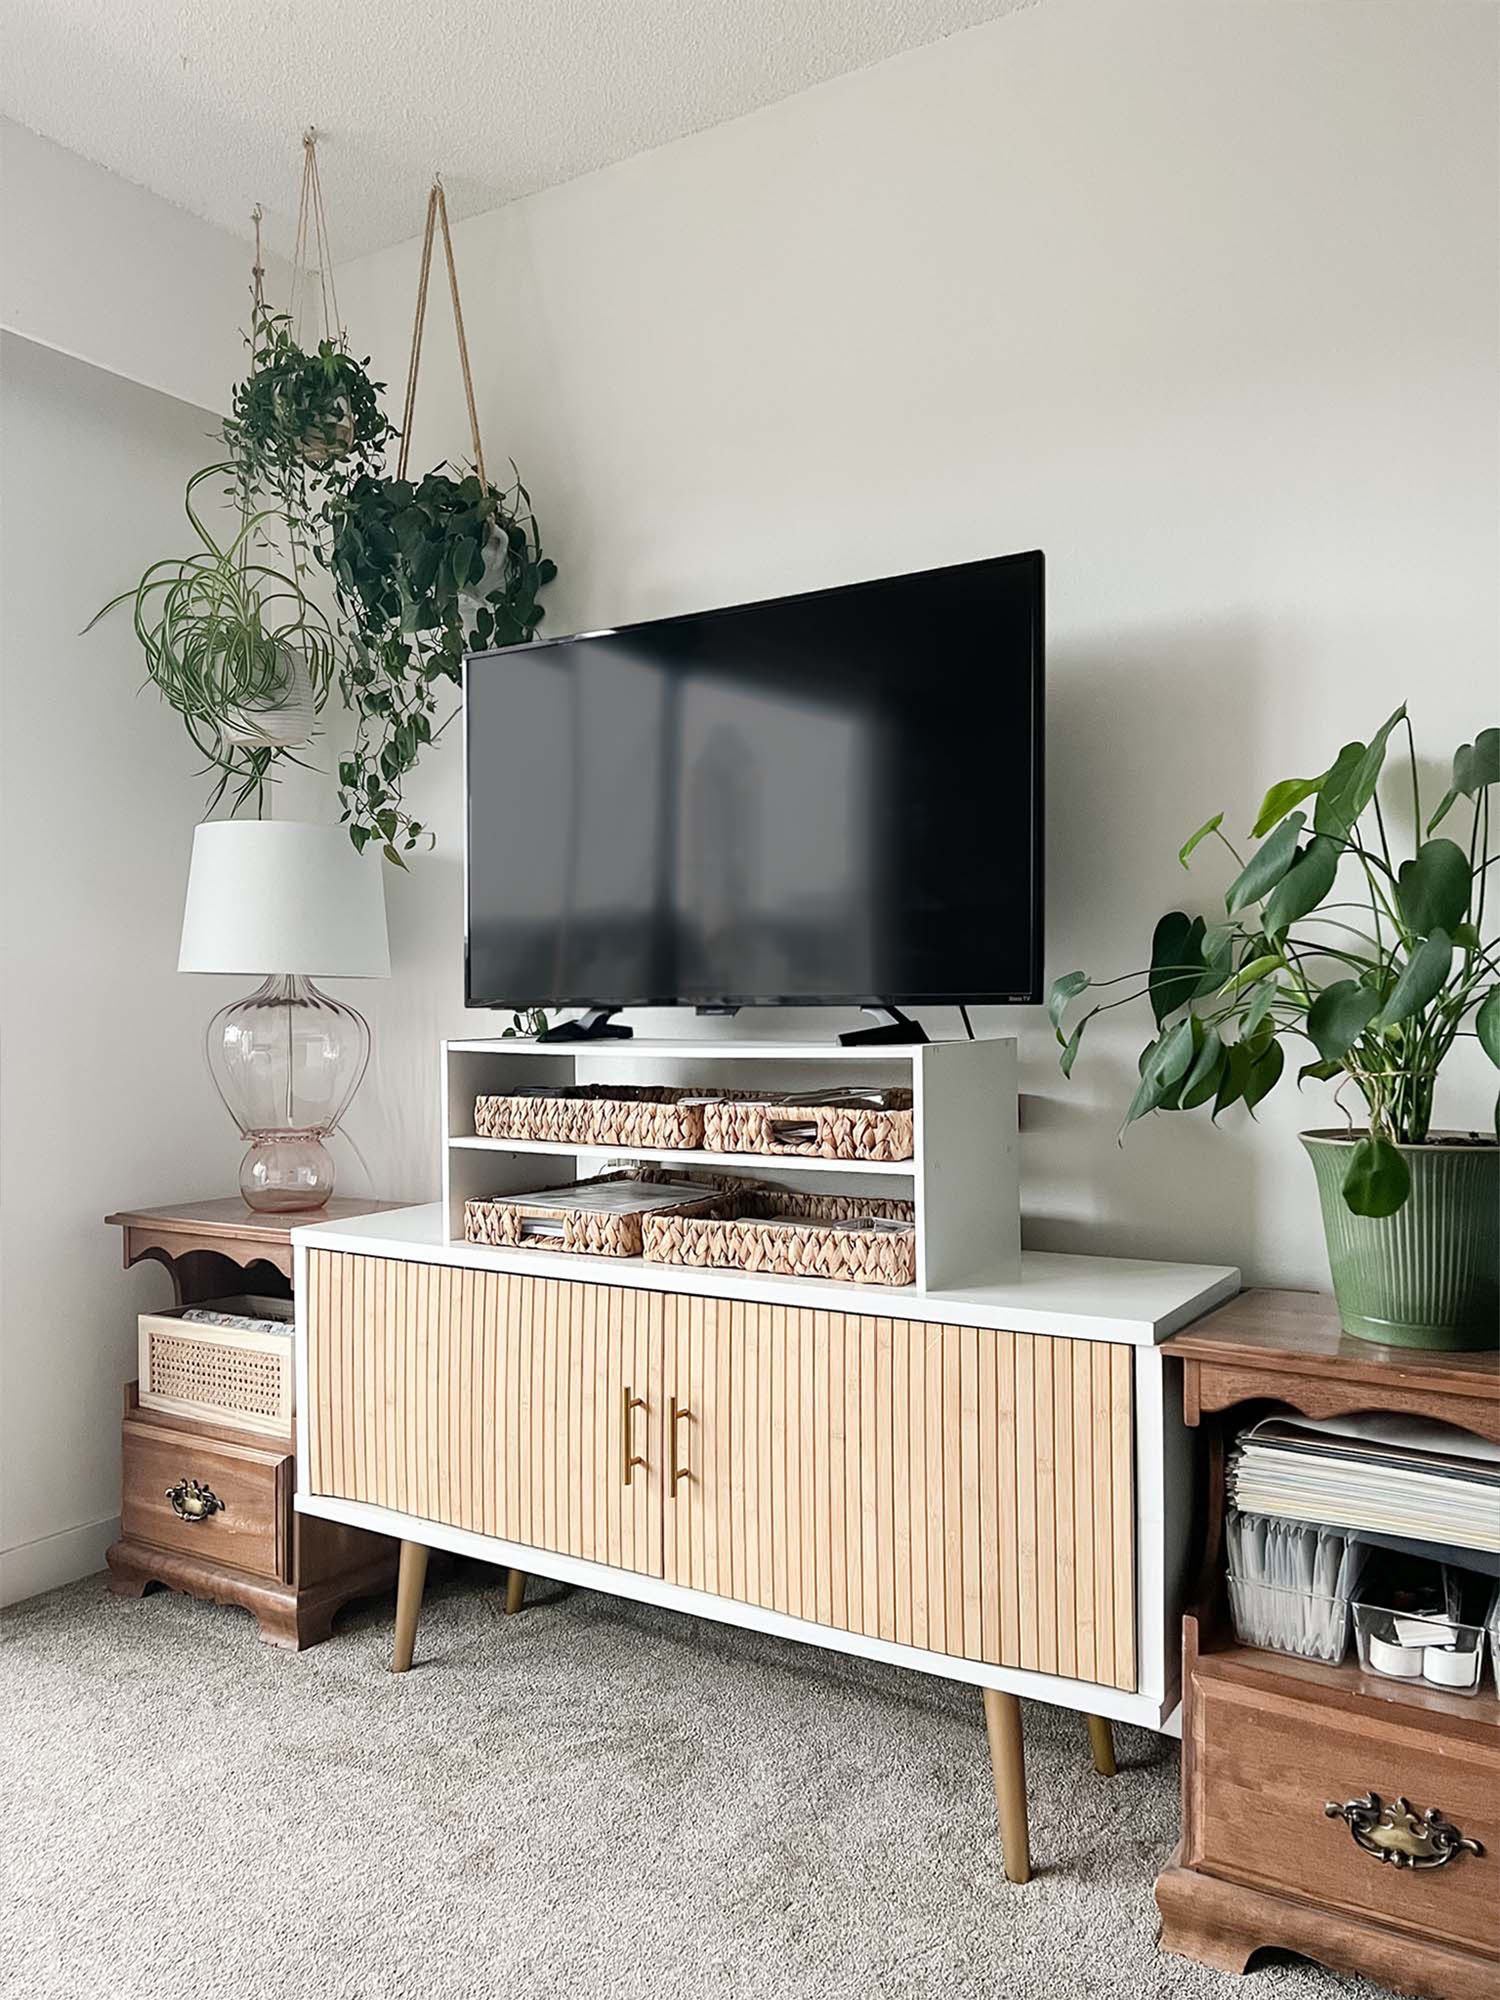
AFTER | So much better! The Rodebys weren’t perfectly sized so there’s a bit of a gap at the top, but I still consider this a major improvement. And hey, we’re just makin’ do & makin’ better here 😉

I’m convinced the humble Rodeby armrest is a treasure trove of DIY possibilities! I love how this TV console project turned out, and I hope you feel inspired to find design magic in unsuspecting places. ✨
Related Articles


Front doors are meant to be colourful! See how a pretty coral front door breathes new life into this historical lake-front cottage.