When I’m not pouring over space plans or shuffling paint chips, you can often find me hard at work in the kitchen 👩🍳. I’m going to start sharing some of my culinary creations, starting with this amazing gluten-free scone recipe I’ve been developing for months!
My sister has celiac disease, so I’m always experimenting with gluten-free baking and cooking recipes. After many years (and sooo much money!) testing flour after flour (like, all the flours), my top pick by a country mile is blanched almond meal. Like most GF substitutes it’s super expensive, but Costco has a great one that I use in all my GF baking.
You would never guess these scones are gluten free. They bake evenly, hold together, and are SO DANG GOOD!
Video
Recipe
Preheat oven to…. honestly I’m not exactly sure, because I have a VERY sub-par apartment oven that barely works! I bake these at 450F for about 17 minutes, but I suspect most of you could get away with 400F for 12-14 minutes. Let me know in the comments!
INGREDIENTS
In a medium bowl, whisk together:
1 c blanched almond meal
2 tbs tapioca starch
1 tbs potato flour (really adds structure to the mixture!)
1 tbs sugar
1 tsp baking powder
1/4 tsp salt
Stir in:
3/4 - 1 c aged cheddar cheese (I always prefer to use “light” cheese in baking)
1/3-1/2 c green onion and/or chives (apx 2 green onions or a handful of chives)
In another medium bowl, whisk together:
1/4 c melted butter (I usually use just under 1/4 c)
3 tbs thick plain yogurt
1 large egg
REMAINING STEPS
Add the dry ingredients to the wet ingredients and combine thoroughly. (Since this is a gluten-free recipe, you don’t have to worry about over-stirring the mixture and developing the gluten!)
Using a standard ice cream scoop / large cookie scoop, portion the dough into 6 scones onto a quarter-size baking sheet. (NOTE: I love my silicone baking mats by Silpat - nothing ever sticks and they’re washable & reusable!)
(Optional) With a sharp knife dipped in water, score the surface of each scone in a cross-hatch pattern to roughen up the top. This helps those delicious, crunchy, golden-brown bits to develop as they bake!
Bake until golden-brown on the bottom, and golden-brown bits have started forming on top (around 15 minutes depending on your oven).
Enjoy with scrambled eggs, or topped with butter or cream cheese (or even jam if you’re a weirdo like me)!
Related Articles
If you need a new sofa but don’t know where to start, this post covers 9 important things to consider as you’re looking for your new furniture.
Have you ever wondered which paint colours most closely match the JH Statement Collection colours? Or are you planning to install HardiePlank but can’t decide on a colour? This post lists the Benjamin Moore and Sherwin Williams colours that most closely match the standard JH colours so you can sample before you decide!
Redoing your home’s exterior can be a daunting process. If you’re considering HardiePlank, read on for an overview of the best standard colours from James Hardie’s Statement Collection, and some thoughts on which ones to avoid!
When I’m not pouring over space plans or shuffling paint chips, you can often find me experimenting in the kitchen 👩🍳. I’m going to start sharing some of my culinary creations, starting with this amazing gluten-free scone recipe I’ve been developing for months! Made with almond flour as the base and a few strategic binders, you’ll never guess these delicious, high-protein sconces are gluten free.
If you have a stretch of wall that needs some love, or if you already have a sideboard and don’t know how to style it, these few rules of thumb can help guide your affordable decorating project! Find out how Caitie created this sideboard vignette for under $300.
As is often the case in design, there is a bit of a formula for creating a great bedroom. Whether you’re sprucing up your own room or decorating a guest space, use these 10 tips to design a bedroom you’ll love!
Are you reluctant to purchase home decor online, worried it might not turn out as expected? We’ve all be burned by a bad online purchase, but online shopping majorly broadens your design horizons and there ARE a few ways to dramatically increase your chances of success!
Are you wondering how to update your bedroom for under $1000?This may sound like a lot of money, but new bedding alone can cost upwards of $200, most rugs are in the $300-$400 range, and the minute you say “window treatments,” well, that’s another few hundred right there. But with a little patience, persistence, luck, and creativity you can stretch your budget a long way and create a whole new feel!
There are many ways to build a colour scheme depending on where you’re at in your decorating journey. Are you starting from scratch? Are you working around existing pieces? Do you have a piece you LOVE and want to incorporate? Each approach shares parts of the method, but in this article, we focus on how to create a colour palette from the ground up!
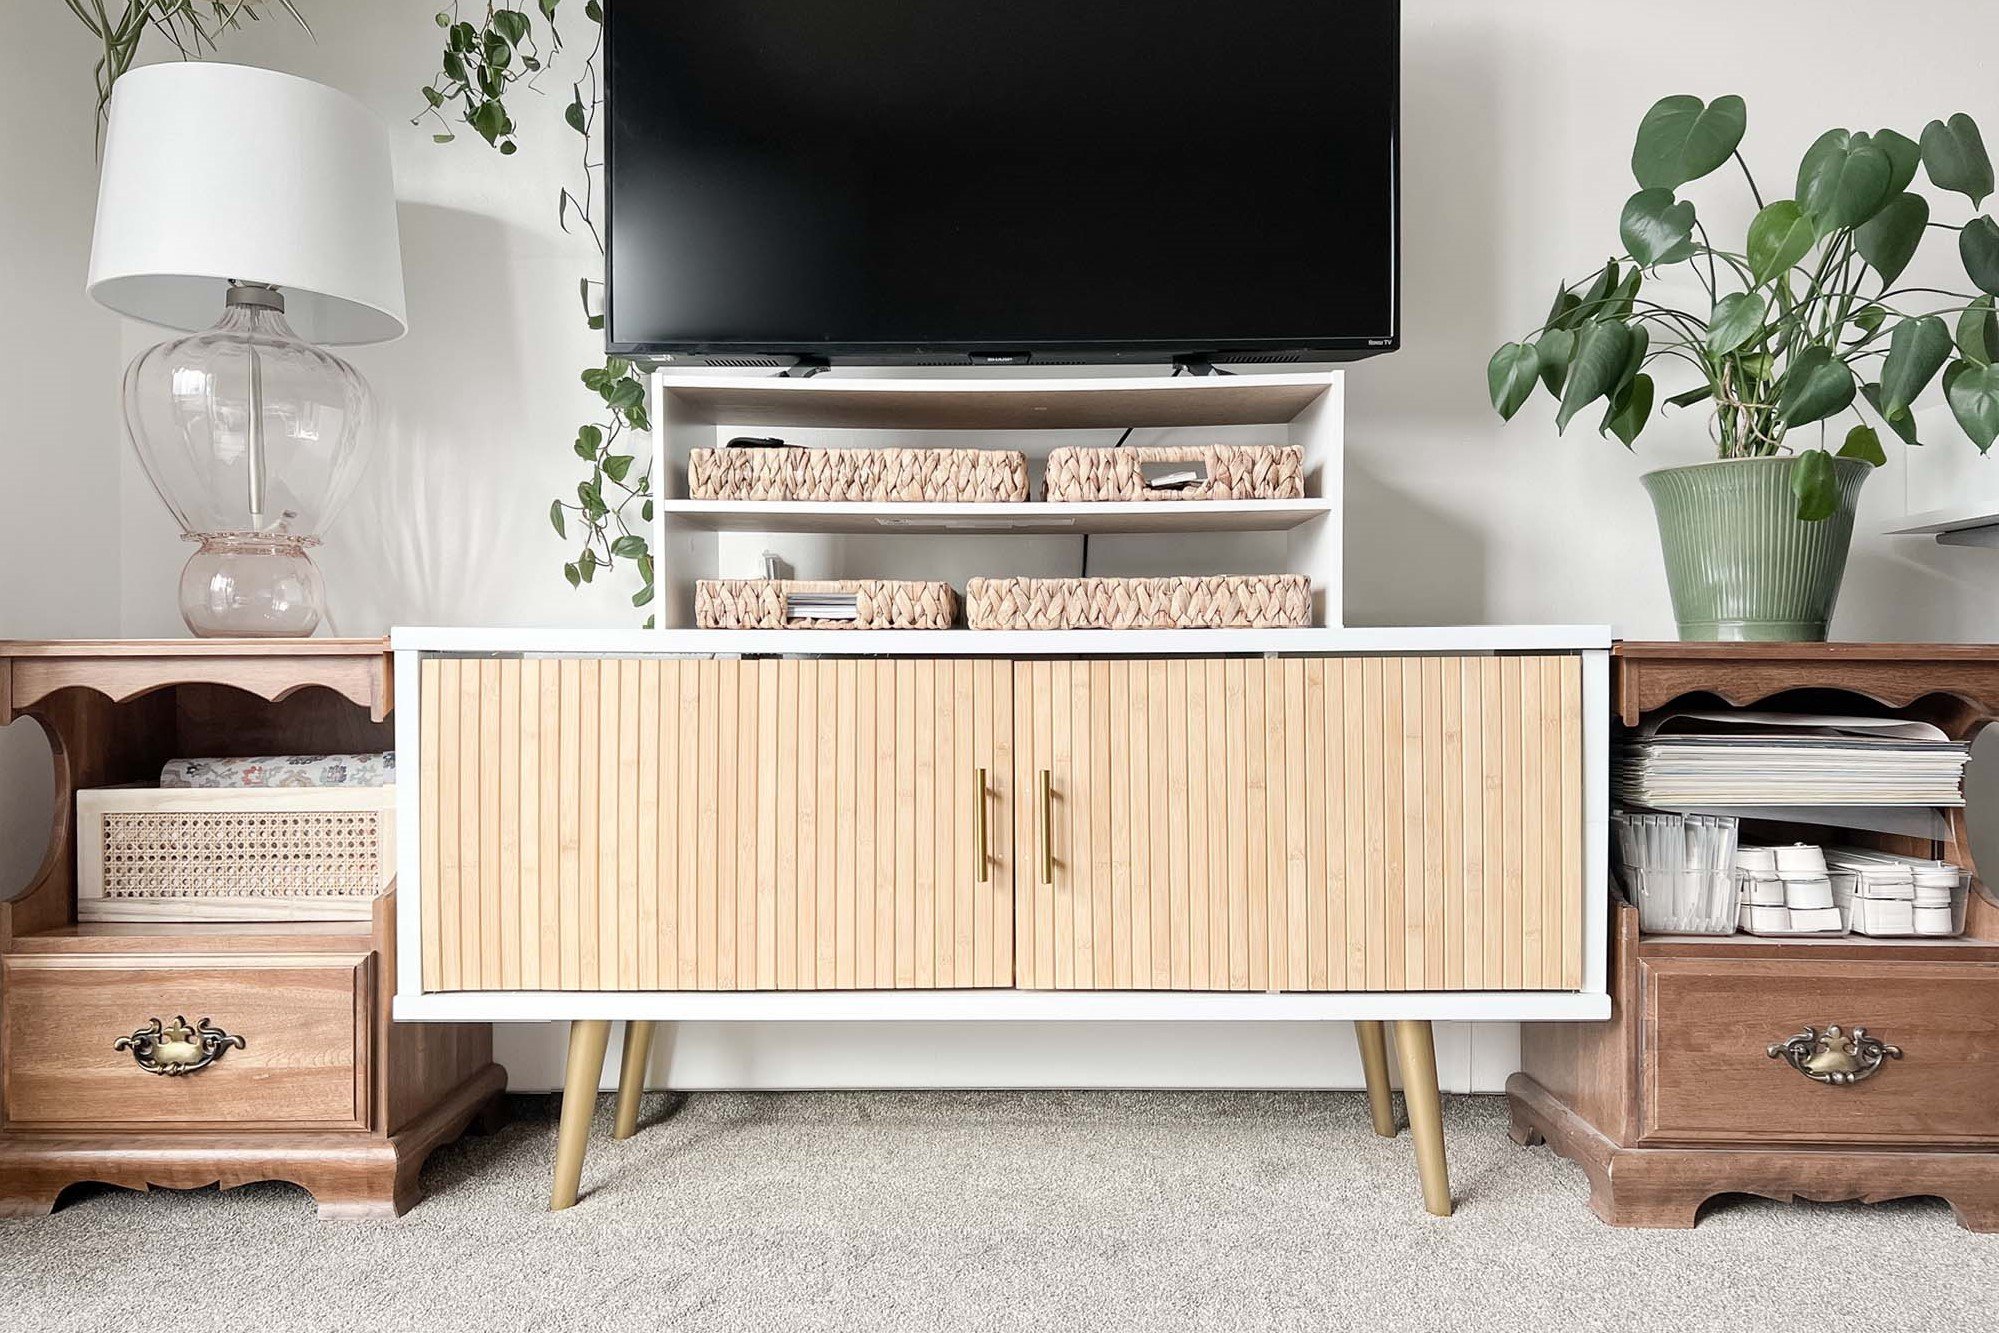
Open TV stands are gorgeous in theory, but an eyesore in reality. Housing a menagerie of books, games, cords and accessories, media units should definitely have doors! Find out how a couple of IKEA Rodeby armrest trays became some (very) simple doors using just finishing nails, super glue, and leftover door pulls.
If you live in a small home or apartment, multi-functional furniture can really help stretch your living space. In our inexpensive living room, we incorporated a sleeper sofa, lift-top coffee table, and hidden clothes line to maximize the use of our space! Read on for some budget-friendly ideas on how to get the most out of your small living room.
Are you wondering where you can find affordable art BESIDES IKEA? Well, I have good news! Digital, printable artwork has opened up a whole new world of affordable decor, making wall art more versatile and accessible than ever! You can get beautiful results at a FRACTION of the price you’d otherwise pay. Seriously, digital printable art is a TOTAL game changer!
Artwork is one of the best ways to add colour to your home, pull a room together, and fill an empty wall, but it’s also one of the easiest things to get wrong! This post reviews sizing, spacing, heights, framing, and colours to help you choose and hang your art correctly!
Do you have a big blank wall that needs some sprucing up? Are you stumped on what to do with that barren expanse behind the couch, above the bed, or in your dining room? There are a ton of great ways to decorate walls from coatings, to shelving, to hangings, and more. These 13 ideas will help you fill all the empty walls in your home!
Have you ever wondered what the difference is between beadboard, board & batten, shiplap, panel moulding (aka picture moulding!), and wainscoting!? Wooden wall treatments are one of the easiest ways to elevate and customize a room, so in this post, we’re looking at the five most popular wood wall treatments!
Do you want to cut down on clutter and purge your home but don’t know where to start? Performing big cleanouts is a daunting task, but it CAN be done methodically and successfully! This post breaks down the purging process to help you declutter and organize your home - the foundational first step of good interior design.
Home organization revolves around one simple commitment: specify a place for everything, and keep it there. Many articles online discuss how to keep a clean home, which is related but different. Getting organized comes first, so if you’re ready to take the plunge, follow these three steps to help you GET and STAY organized!
Is your tupperware drawer a chaotic mess? Would you like to transform it into an organized storage experience!? In this post, we discuss how to improve and maintain your food storage situation by purging, refreshing, and properly organizing your containers and lids.
Wall sconces are one of the best ways to diversify your lighting, adding mood & atmosphere to your rooms. They lend a flare that makes any space feel special, and thanks to a growing number of affordable plug-in options, sconces are more DIY- and renter-friendly than ever! Read on for a list of gorgeous and affordable plug-in sconces that are available in Canada.
This post explains how to optimize your home work space, whether it be a makeshift office or a random stretch of wall! By defining the space, investing in ergonomic equipment, and incorporating functional styling, even your small apartment or condo can have a comfortable, functional, and beautiful-ish work space!
This post explains how to make the most of your teeny tiny entryway with a focus on shoe storage, vertical storage, and functional styling.
Learn how to make the most of that dead-end wall in your small galley kitchen by turning it into an artistic moment, a storage opportunity, or something in between!
Learn how an underutilized storage shed was turned into a comfortable, functional sleeping space at the lake! This budget makeover took advantage of existing, pre-owned, and discounted items, resulting in a simple and affordable transformation in just one afternoon.
Does your little kitchen not have enough counterspace? Learn how to extend your kitchen by adding another work surface, utilizing vertical storage, and maximizing your additional storage space!
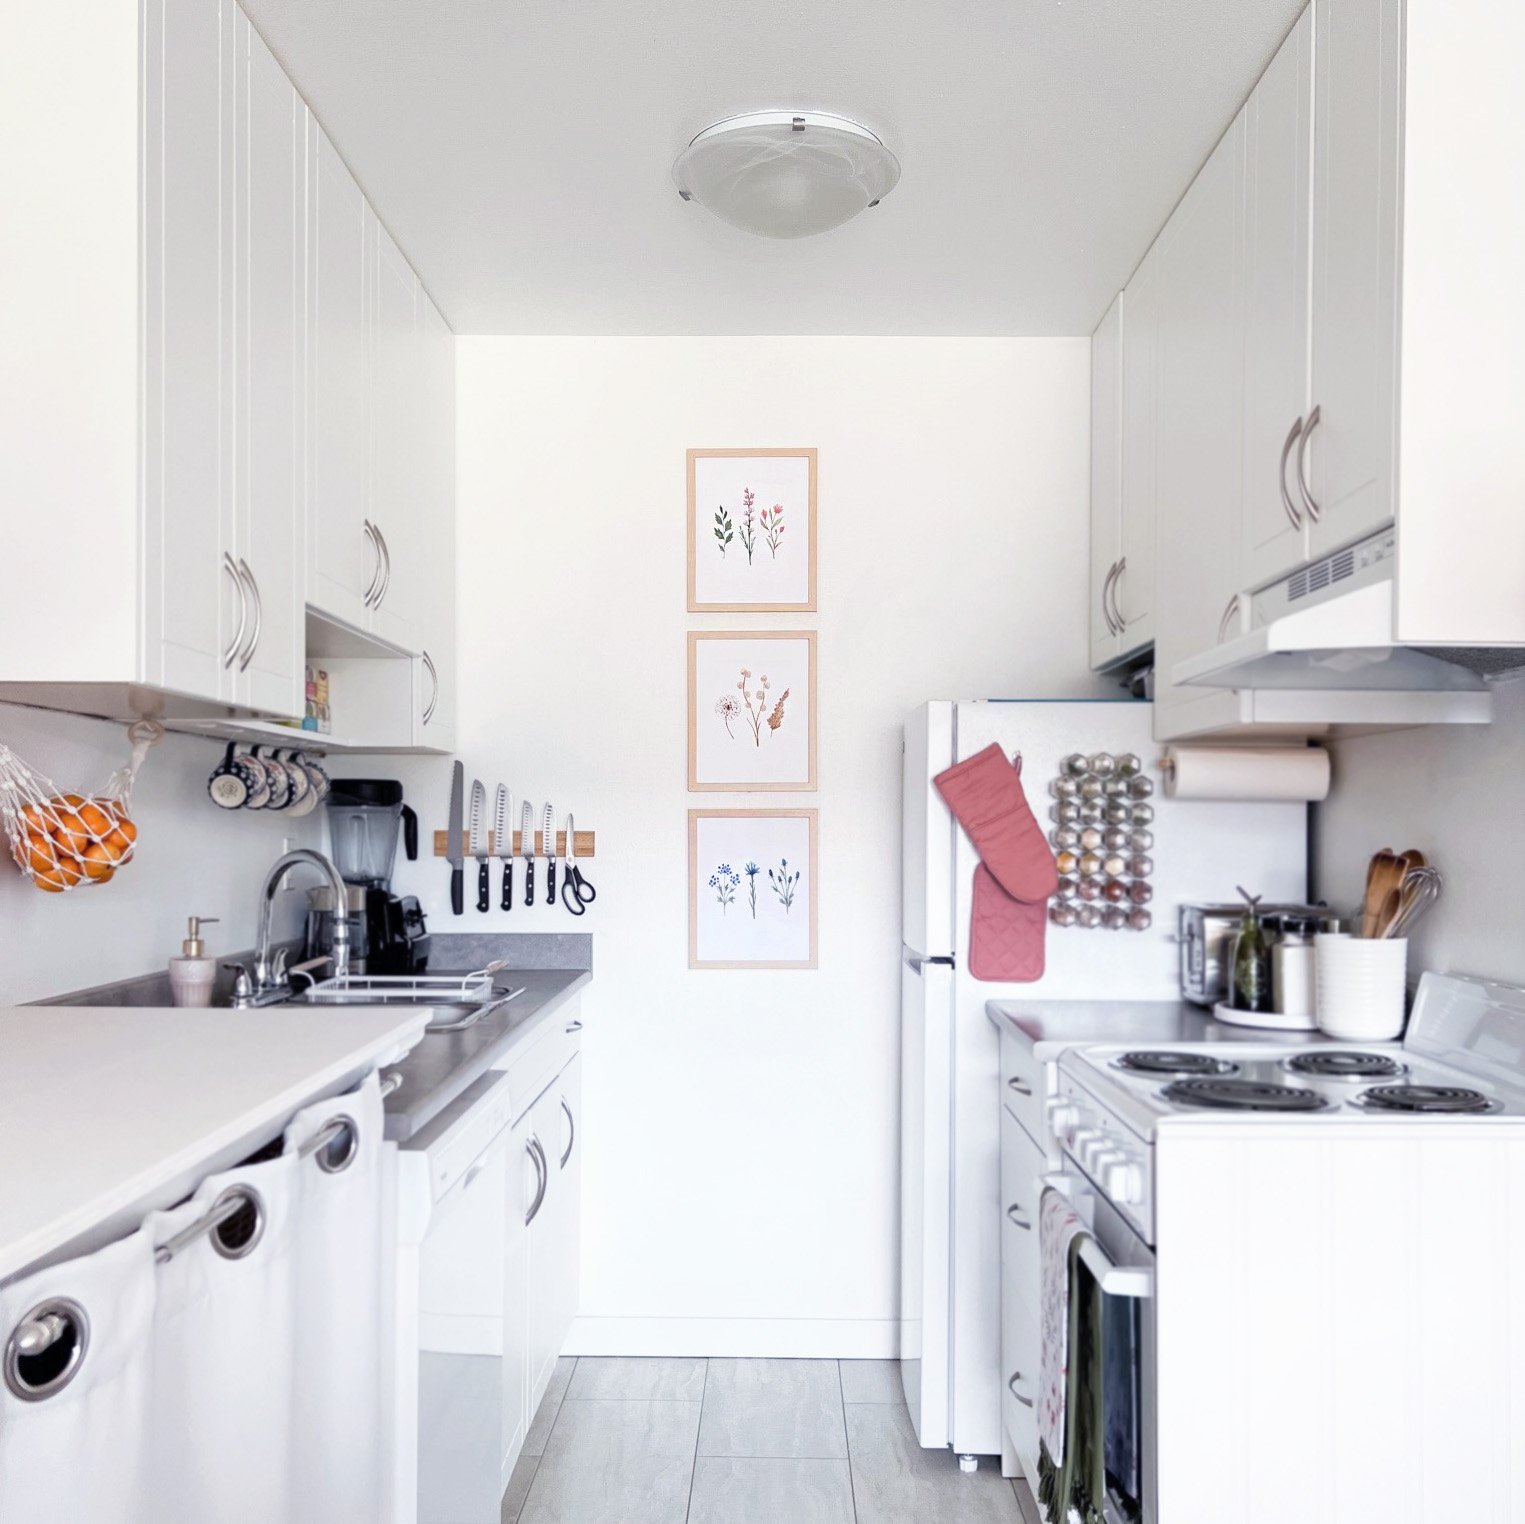
Learn how to make the MOST of your small kitchen, by purging what you don’t need, utilizing vertical storage, and extending your usable counter space. These simple design ideas can help improve the functionality of any little kitchen!
This post explains how to extend your little eating area for guests by utilizing convertible furniture. Turn a table for two into a dinner for four in just a few simple steps!
This post explains how to create a cute little eating area from an otherwise unusable stretch of kitchen by defining the space, choosing versatile furniture, and adding some functional styling!
Have you heard the word “undertone” but aren’t exactly sure what it means? This post explains its various definitions so you can better understand and use this handy colour term!
This post introduces the Neutral Colour Map, which shows how common neutral colours relate to one another. Neutrals are colours with so little chroma (colourfulness) that they seem to lack colour altogether. However, they nearly all have underlying hues which are important to identify when choosing interior finishes!
I’m Caitie, and I’m all about making your home more comfortable, functional, and beautiful on a budget!
If you live anywhere in Canada or the US and need some help with your home, check out my virtual design services!
This post may contain affiliate links, through which I earn a small commission. There is no extra charge for using the links — they simply help support the blog so I can keep providing design advice for free!
Welcome to Design by Caitie, where we make our homes more functional, comfortable, and beautiful on a budget.


Front doors are meant to be colourful! See how a pretty coral front door breathes new life into this historical lake-front cottage.